ASUS MeMo Pad FHD10 Headphone Jack Replacement
Duration: 45 minutes
Steps: 12 Steps
Ready to rock and swap out that headphone jack on your ASUS MeMo Pad FHD10? Let’s do this! If your tunes are AWOL or your headphones aren’t vibing with the device, it’s time for a replacement. Your ASUS MeMo Pad FHD10, a sleek 10.1-inch tablet, rocks a 3.5 mm headphone jack. Before you dive in, make sure to unplug the charger, turn off the device, and remove the memory card. You’ll need a soldering iron to detach the headphone jack from the motherboard, so prep yourself by brushing up on your soldering skills. Remember, if things get tricky, you can always schedule a repair.
Step 1


Just a friendly reminder: turn off your device to keep things safe and sound before diving in!
– Pull out the charger and yank out any memory card chilling in the device.
– Grab your plastic opening tool and gently pry it between the front and back cover, working your magic on every side.
– Slide that tool back and forth like you’re dancing to disconnect the back cover completely.
– Once you’ve set it free, lift off the back cover from the device screen like a pro.
Step 2


When you’re using those tweezers, remember to go gentle! A little finesse goes a long way in keeping all the tiny components safe and sound.
– Peel off that shiny copper sticker and ditch any tape clinging to your device like an overzealous fan.
– Grab your trusty tweezers and gently disconnect the ribbon cable from its cozy home on the motherboard.
Tools Used

Step 3


– Unscrew the four 2 mm Phillips #00 screws that are keeping the battery tray locked in place. No rush, just a few turns and you’ll be good to go!
Step 4


When separating the metal frame, stick to the center! The battery’s got two separate cells, and you’ll want to keep things steady.
– Find that battery cable snugly connected to the motherboard. Just like you did with those ribbons, give this battery the same gentle touch.
– Now it’s time to say goodbye to the battery! Once it’s out, grab your trusty plastic tool and carefully pry the metal frame away from the battery. You’ve got this!
Step 5

– Grab your Phillips #00 screwdriver and unscrew three screws—you’re just three twists away from success!
Tools Used

Step 6

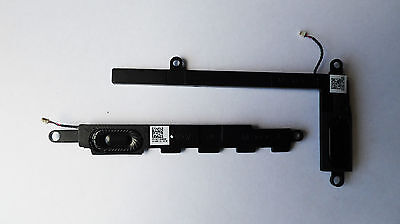
Let’s get started by locating the two speakers on your device. You’ll find them on opposite sides, and they’re pretty easy to spot – just look for the long black pieces that connect to the motherboard.
– Carefully detach the speaker cables from the motherboard connections with a pair of tweezers, taking your time to avoid any mishaps.
Tools Used
Step 7


– Carefully pop those speakers out with your hands, giving them a gentle nudge. You’ve got this!
Step 8

– Grab your Phillips #00 screwdriver and unscrew those five screws. You’ve got this!
Tools Used
Step 9


– Gently unplug the cord that links the on/off button to the motherboard. We want to keep everything nice and safe!
– Carefully peel away the electrical tape that’s keeping the connections of the motherboard snug against the device’s frame. You’ve got this!
Step 10

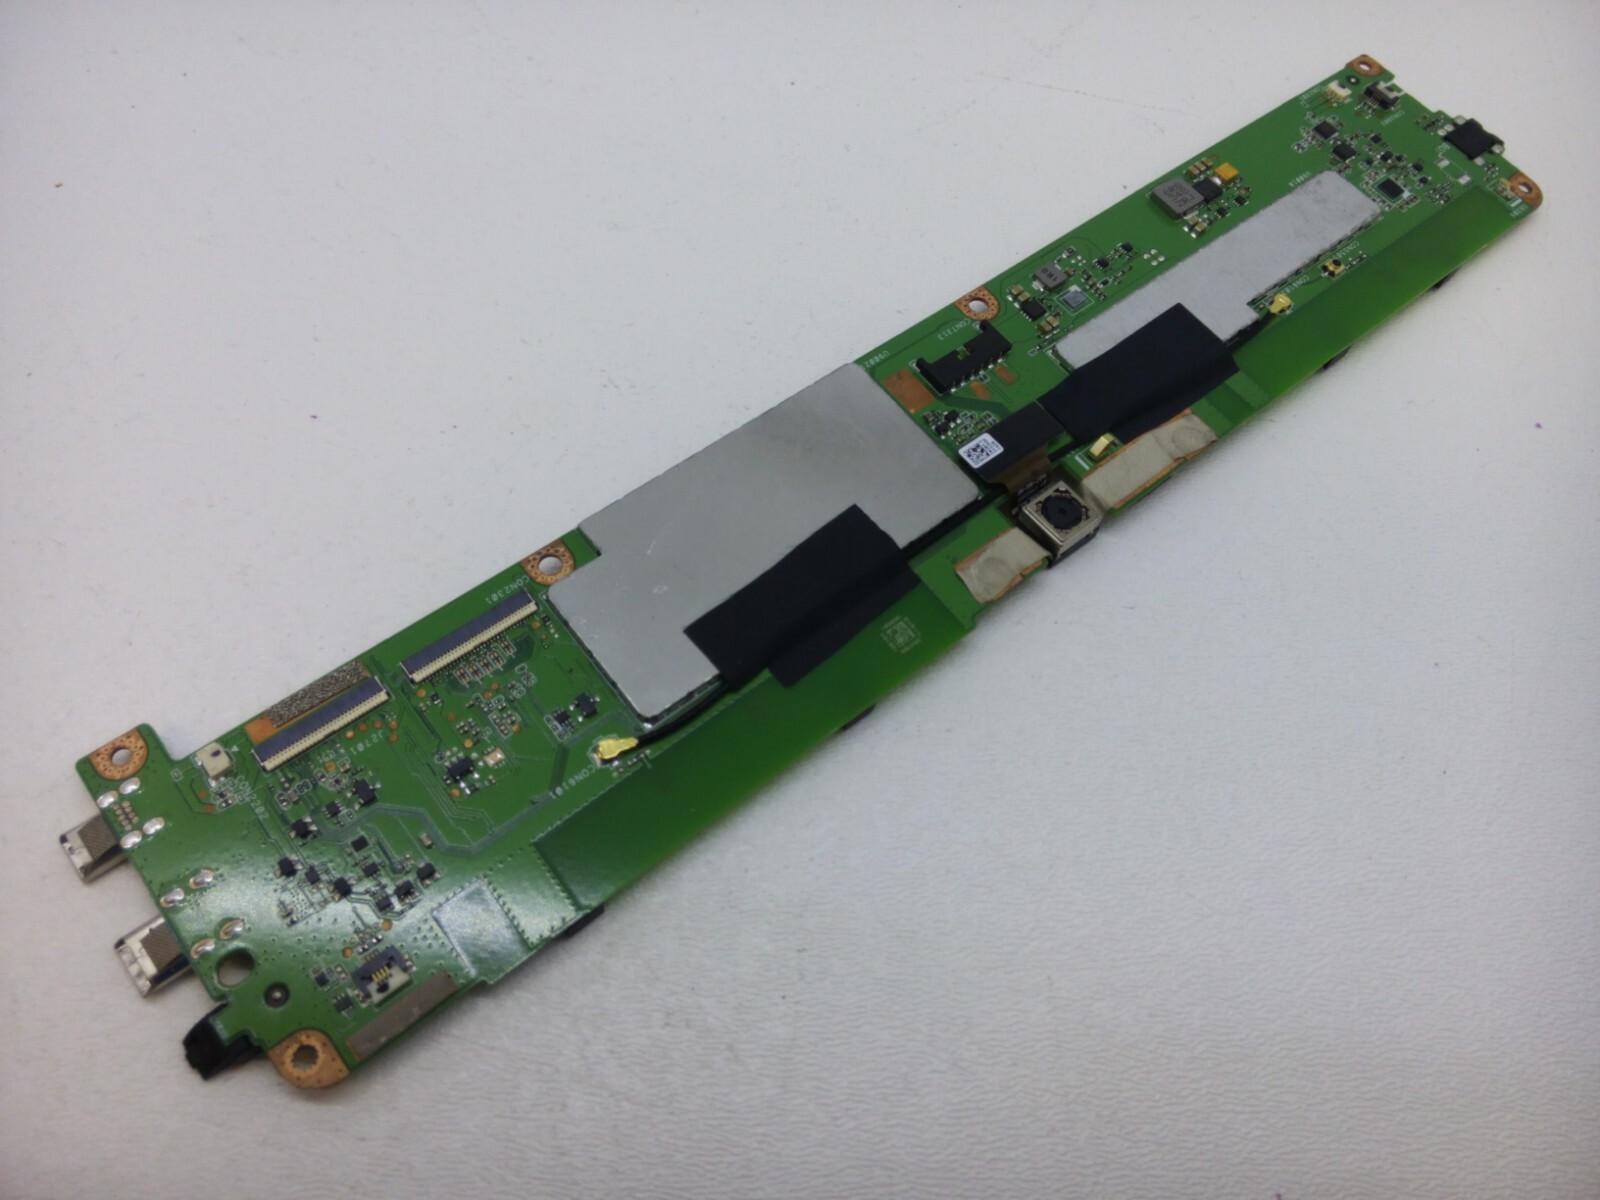
– Now it’s time to get hands-on – carefully lift the motherboard out of the device with your hands.
Step 11


Never handled a soldering gun before? Don’t sweat it! You can learn the ropes with an awesome guide to soldering and desoldering.
– Grab your trusty soldering gun and carefully desolder the headphone jack from the motherboard, one connection at a time. Take your time and enjoy the process—you’re doing great!
Step 12

Let the solder cool down so you don’t end up with scorch marks or burned fingers—patience pays off!
– You made it. To put everything back together, just reverse the steps you followed to get here. Nice job. If you need help or have any other devices that need some TLC, you can always schedule a repair.
–
Success!