ASUS MeMo Pad FHD10 Motherboard Replacement
Duration: 45 minutes
Steps: 10 Steps
The motherboard is like the heart of your device, with all sorts of components attached to it. So, treat it gently and follow the instructions step by step to avoid any mishaps. A little care goes a long way!
Step 1


Before we get this repair party started, make sure your device is totally powered down – safety first!
– Unplug the charger and pop out any memory cards hanging out in the device—time to give them a little break.
– Grab your trusty plastic opening tool and carefully wedge it between the front and back cover on all sides—it’s like giving your device a friendly nudge.
– Gently slide the plastic opening tool back and forth to make sure the back cover is fully loosened up and ready to part ways.
– Once it’s loosened, lift off the back cover from the screen. And voilà—you’ve got access!
Step 2


When using tweezers, be gentle and precise to avoid accidentally damaging any of the tiny components. You got this!
– Let’s get started by removing the protective copper sticker and any tape that’s holding on tight to your device.
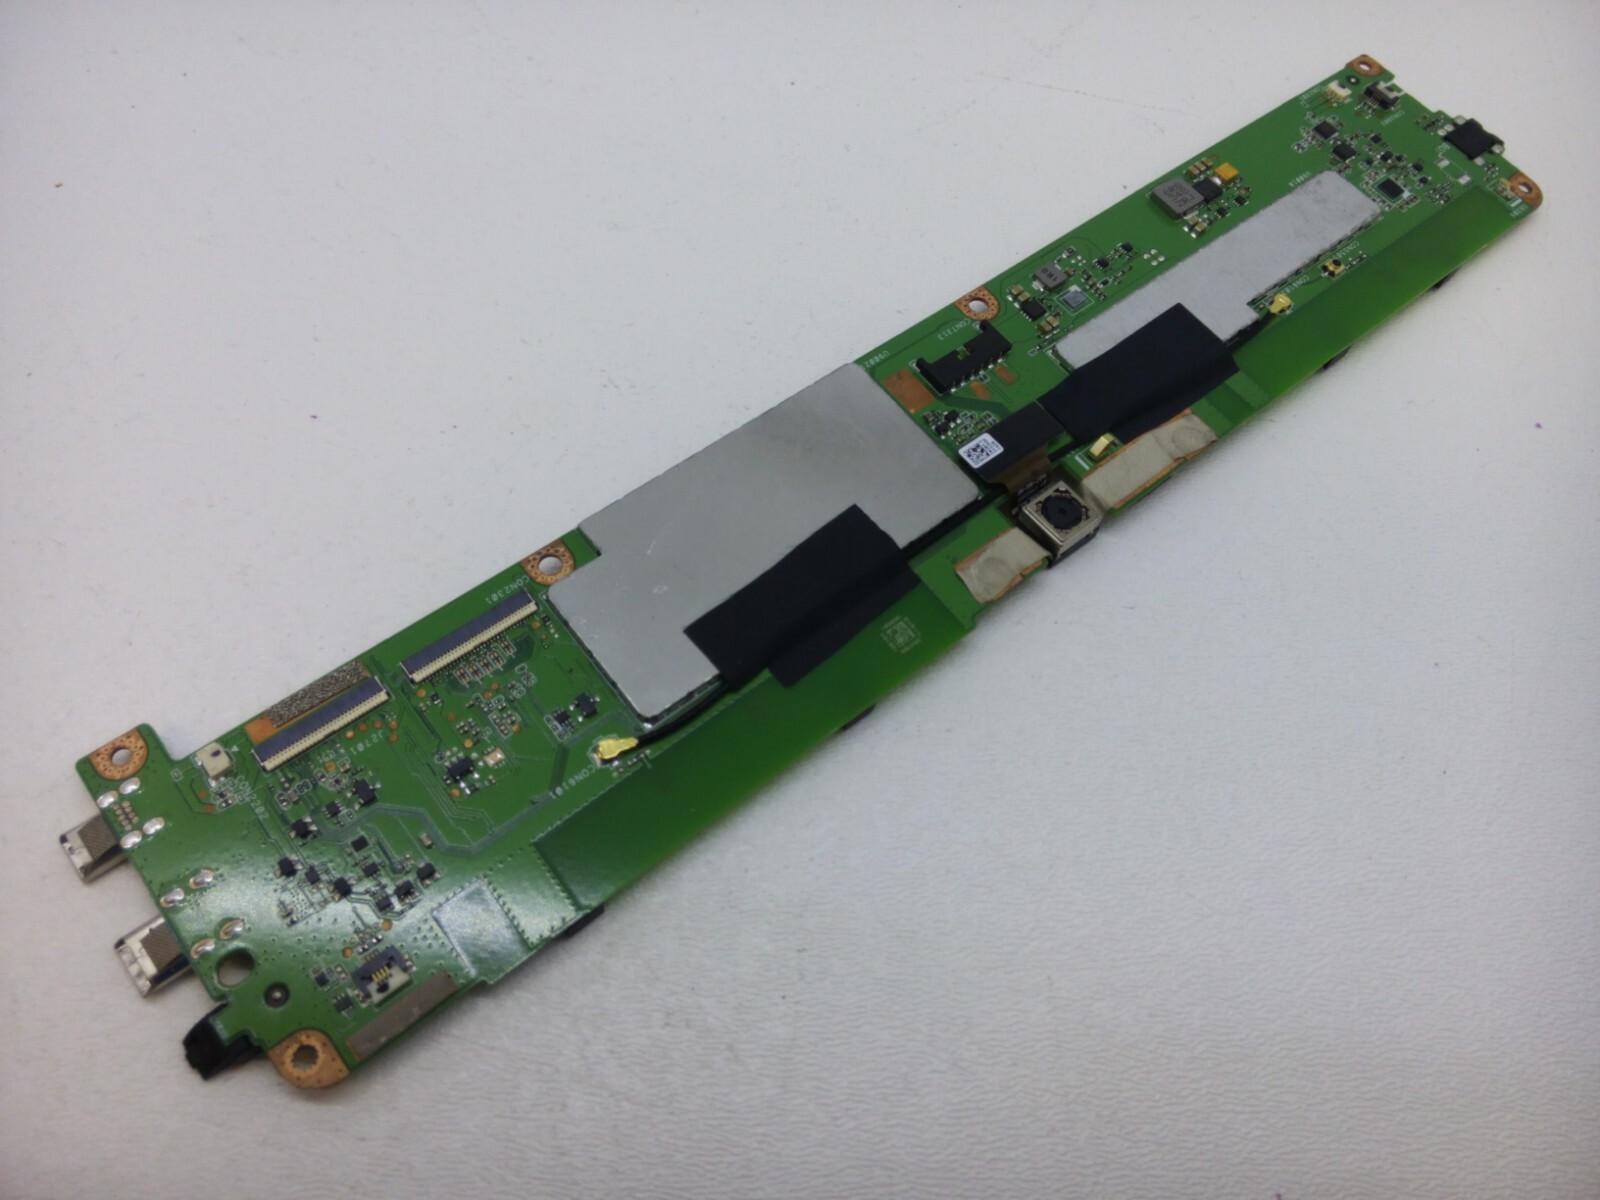
– Next, use your trusty tweezers to gently remove the ribbon cable from its connections on the motherboard. Take your time and be careful not to damage anything.
Tools Used

Step 3


– Unscrew those four little 2 mm Phillips #00 screws that are keeping the battery tray cozy in its spot. Time to give it some breathing room!
Step 4


When you’re separating the metal frame, make sure to grip it right in the middle—it’s holding onto two separate battery cells, so stay centered!
– First up, find that battery cable snugly attached to the motherboard. Just like you did with those ribbons earlier, give it a gentle nudge to disconnect the battery.
– Now, time to bid adieu to the battery itself! Once you’ve popped it out, grab that handy plastic tool and carefully work your way around to separate the metal frame from the battery.
Step 5

– Grab a Phillips #00 screwdriver and unscrew three screws. Easy peasy!
Tools Used

Step 6

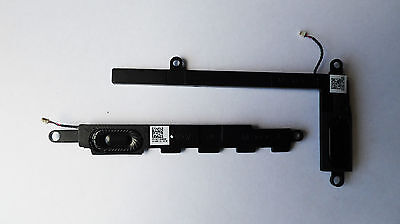
Let’s get started by locating the two speakers on your device. You’ll find them on opposite sides, and they’re pretty hard to miss – just look for the long black pieces that connect to the motherboard.
– Carefully disconnect the speaker cables from their motherboard connections using tweezers—think of it as a delicate operation, not a wrestling match!
Tools Used
Step 7


– Time to get those speakers out – gently pry them loose with your hands, nice and easy!
Step 8

– Unscrew the five screws with your trusty Phillips #00 screwdriver. You’ve got this!
Tools Used
Step 9


– Gently unplug the cord connecting the on/off button to the motherboard—this part’s a little delicate!
– Carefully peel back the electrical tape that’s securing the motherboard connections to the device frame. Take your time here—no need to rush!
Step 10

– To put everything back together, just follow these steps in reverse – easy peasy!
– You made it! If you need help or have any other devices to fix, you can always schedule a repair with Salvation Repair.
Success!