Asus PadFone X mini Camera Replacement Guide DIY – Step-by-Step
Duration: 45 minutes
Steps: 11 Steps
Step 1

Aha, this ain’t the cover groovin’ with the speaker. Stay cool and make sure you pick the right one, or else, no tunes, no funs!
– Alright, let’s get this party started! Flip your phone over so the screen is down. Now, check out that bottom right corner – you’ll find a little groove just waiting for your attention. Grab your trusty plastic opening tool and gently lift up to pop off that outer cover. You got this!
Step 2

– Gently pop the battery out from the top of your device like you’re revealing a surprise gift!
Step 3

– Alright, champ, time to loosen those screws. Around the edge, you’ll find 10 tiny 2 mm T5 Torx screws. Get ’em out!
– Now, slide that cover off. You’re doing great!
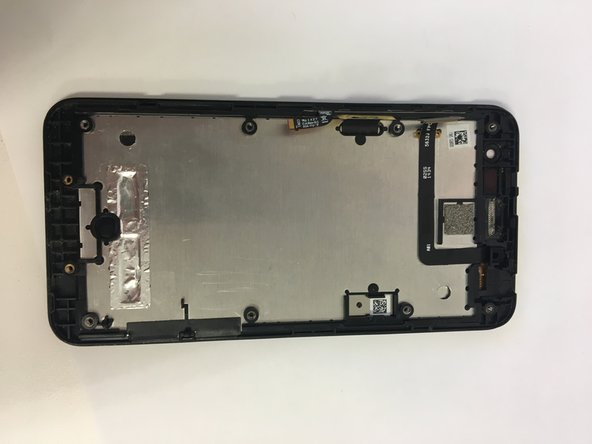
Step 4

The speaker cozy is nestled inside the cover, just to the right of the camera hole, waiting to bring your device back to life with some sweet tunes!
– Flip that cover over, amigo!


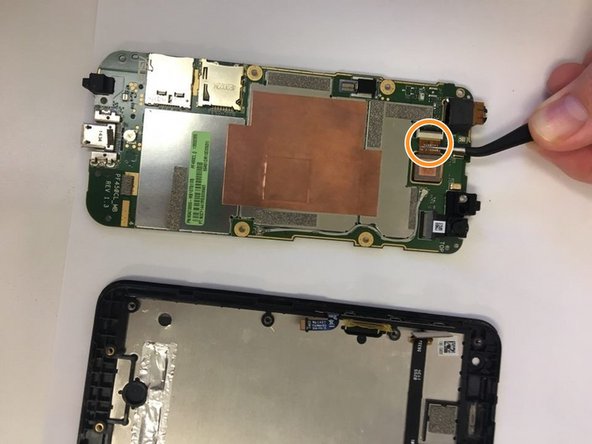
Step 6

Whoa there, cowboy! Don’t go yanking that black connector out completely. Just a little wiggle is all you need.
– Time to disconnect that black connector on the left side of the motherboard. It’s like giving your device a little break!
Step 7

– Unplug the shiny silver connector from the motherboard. You’ll find it chilling on the left side, right above the black connector.


Step 10

– Alright ace, grab those tweezers and carefully unseat the connector that ties the camera to the motherboard.
Tools Used
Step 11

– Time to put it all back together! Just follow these steps in reverse order.
– Need a hand? No worries, you can always schedule a repair.
–
Success!

