ASUS PadFone X Station Docking Connector Replacement
Duration: 45 minutes
Steps: 7 Steps
Time to check out the USB connector for any signs of water damage, and swap in a fresh 1413 USB/ANT docking connector. Stay calm, stay focused—you’re one step closer to saving the day!
Step 1


– Time to get this repair started. Use a plastic opening tool to carefully pry open the edge – it’s like opening a stubborn jar, but easier, we promise.
– If the back cover is being a bit stubborn, don’t worry, just use your hands to gently pull it away from the front. You got this.
Step 2


– First, track down the CON101. It’s hiding somewhere in your device, so keep an eye out!
– Next, check out the white sticker. It’s your water exposure indicator. If it’s white, your device has been water-free. If it’s red, then yep, your device has had a splash or two.
Step 3

– Let’s get started by removing two Phillips screws. Take your time and make sure they’re fully removed before moving on to the next step.
Step 4


– Find the P92L spot on CON1504 – it’s time to get started
– Carefully peel back and remove the plastic tape, nice and gentle
Step 5
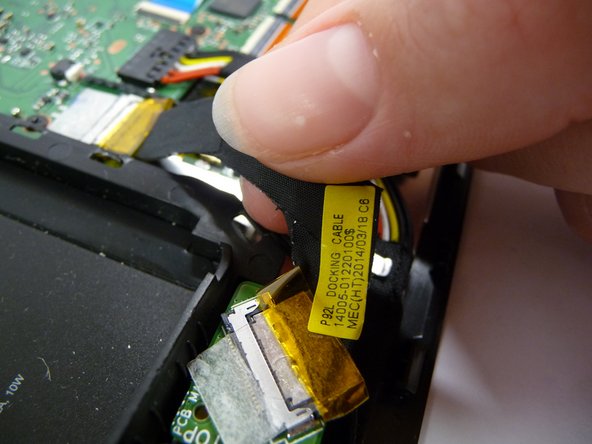


– Gently nudge the P92L with your fingertips to lift it away from the CON1504, taking care not to apply too much pressure.
Step 6

– Let’s get started by identifying the antenna wires – these are the key to unlocking your device’s communication skills!
– Now, carefully trace these wires to track down the two antennas, and you’ll be one step closer to getting your device back in action!
Step 7


– Now, just retrace your steps in reverse to put everything back together, and you’re good to go!
– Remember, if you hit a bump in the road, don’t hesitate to schedule a repair for some expert help.
Success!