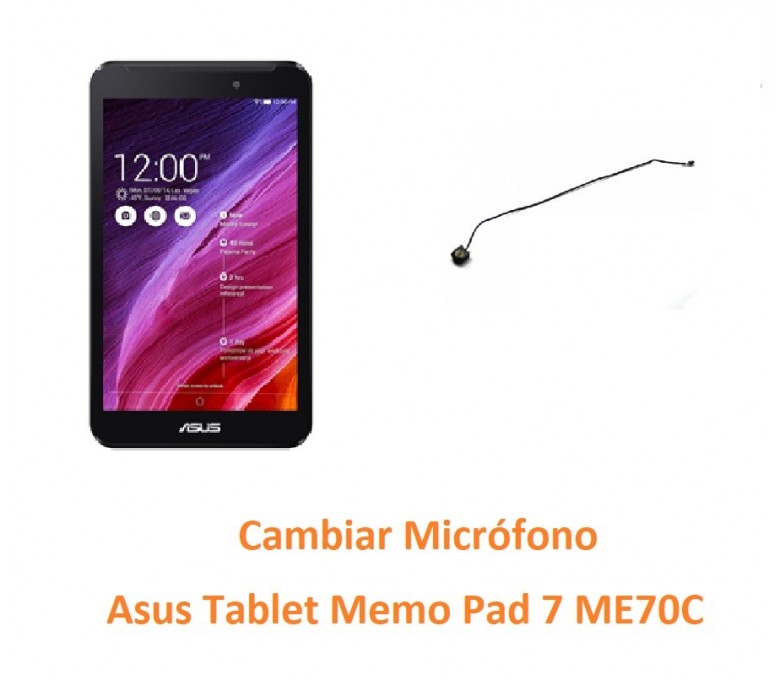
Asus Tablet MeMo Pad 7 ME7000C Microphone Replacement
Duration: 45 minutes
Steps: 7 Steps
Get ready to breathe new life into your Asus Tablet MeMo Pad 7 ME700C by replacing that dead or non-working microphone. To avoid any damage to your tablet, make sure you’ve got the right tools and take your time when opening the back panel. If you’re not feeling confident, don’t worry – we’ve got you covered. Follow these steps and you’ll be back to chatting and recording in no time.
Step 1


– Time to get started. Flip your tablet over and let’s get familiar with the back cover. Locate the second button on the left, just below the volume buttons, and hold it down until your device powers off.
Step 2


Feeling stuck with the blue plastic opening tools? No worries—switch it up and give the black spudger a try!
– Starting at the top corner of your tablet, grab that trusty blue plastic opening tool and gently glide it along the seam. Take it nice and slow—treat your device like the delicate superstar it is!
Tools Used

Step 3


– Gently separate the rear panel and the display screen, letting them glide apart like old friends parting ways.
Step 4


– Grab your trusty spudger and give that black button on the plug port a gentle nudge. It’s your secret weapon to free the battery from its snug little home!
Tools Used
Step 5


– Pop that battery out of the device—easy does it!
Step 6


– Gently disconnect the microphone plug from the motherboard. A little wiggle might help, but be kind to those delicate connections!
– Grab your tweezers and carefully pull the white plug away from the motherboard. No need to rush – slow and steady wins the race here.
Tools Used

Step 7


– To wrap things up, simply reverse the steps you followed to take your device apart. Easy peasy!
– If you need help or want some extra guidance, you can always schedule a repair
Tools Used
Success!