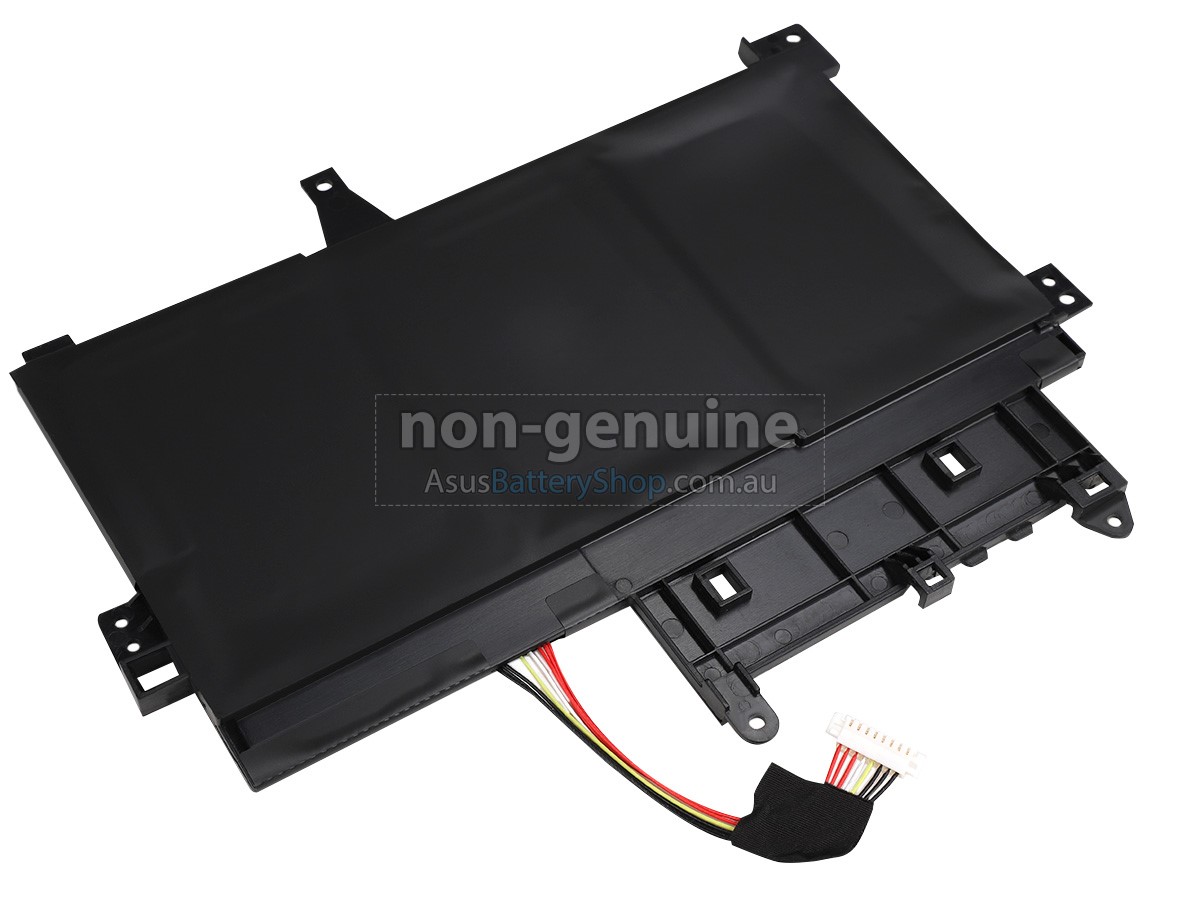
ASUS Transformer Book Flip TP500LA Battery Replacement
Duration: 45 minutes
Steps: 6 Steps
In this guide, we’ll walk you through the simple steps to access and swap out the battery of your ASUS Transformer Book Flip TP500LA. Whether your battery’s feeling a bit tired or just needs a refresh, we’ve got you covered. Ready to boost your device’s power? Let’s get started—if you need help along the way, you can always schedule a repair.
Step 1


– Grab your Phillips #0 screwdriver and remove the ten 10 mm screws holding down the back case. Set those screws aside somewhere safe—you’ll need them later!
Step 2


– Take your trusty heavy-duty spudger and slide it between the back case and the computer—nice and steady.
– Work your way around the edges, gently popping those clips free as you go.
– Once all the clips are loose, carefully lift off the back case and set it aside.
Tools Used

Step 3


– Gently slide a heavy-duty spudger into the ZIF connector, then carefully lift the retaining flap to open it up.
– Now, grab the blue tab and give it a gentle pull to remove the ribbon.
Tools Used
Step 4


– Start by unscrewing the three 5 mm Phillips #0 screws. They’ll come out easily, no need to rush.
– Next, remove the one 6 mm Phillips #0 screw. Take your time; it’s just one more tiny step closer to getting your device back in action.
Step 5


Heads up! The black 8-pin connector on the motherboard is pretty delicate, so take it slow when unplugging the white 8-pin connector.
– Grab a sturdy, heavy-duty spudger and gently pry the white 8-pin connector away from the motherboard—think of it as giving it a friendly nudge to loosen things up.
– Once it’s loosened, carefully pull the connector away from the motherboard, making sure not to rush. Keep it smooth and steady, and you’re all set!
Tools Used
Step 6

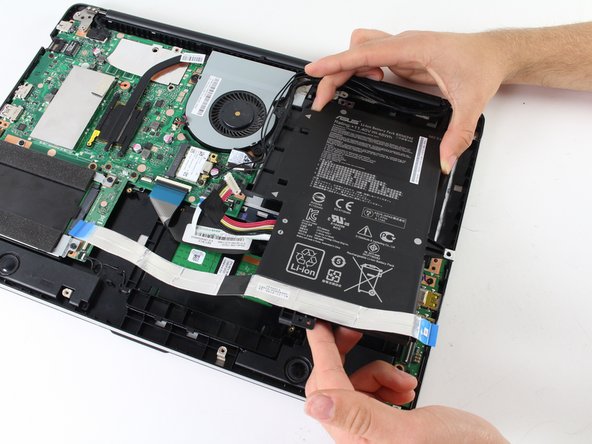
– Grab your trusty blue plastic opening tool and gently pop off the three black wires connected to the battery. Easy does it!
– Now, just slide the battery out of its spot and set it aside. Nice work!
Success!
