ASUS Transformer Book Flip TP500LA Fan Replacement
Duration: 45 minutes
Steps: 9 Steps
Your computer’s fan is like its personal breeze—keeping things cool so you can keep going. If your ASUS Transformer Book Flip TP500LA keeps shutting down or turning into a mini oven, it might be time to swap out the fan. Follow these simple steps to give your laptop a chill new start.
Step 1


– Time to break out your Phillips #0 screwdriver! Take out the ten 10 mm screws on the back of your computer to get things rolling.
Step 2


– Grab your heavy-duty spudger and gently slide it between the back case and your device. Nice and easy!
– Take your time and work your way around the edges, loosening those clips to fully separate the back case from your device. Patience is key here!
– Now, gently lift the back case off – you’ve got this!
Tools Used

Step 3


– Take your trusty spudger and slide it into the ZIF connector, then lift up the little flap to pop it open.
– Give that blue tab a gentle pull and the ribbon will slide right out.
Tools Used
Step 4


– Unscrew the three 5 mm Phillips #0 screws and set them aside.
– Take out the lone 6 mm Phillips #0 screw—don’t let it feel left out!
Step 5


The black 8-pin connector on the motherboard is a bit delicate, so make sure to handle it with care when you’re removing the white 8-pin connector.
– Grab your sturdy spudger and gently pop the white 8-pin connector away from the motherboard.
– Carefully wiggle the connector out—no need to rush, just a smooth move away from the board.
Tools Used
Step 6

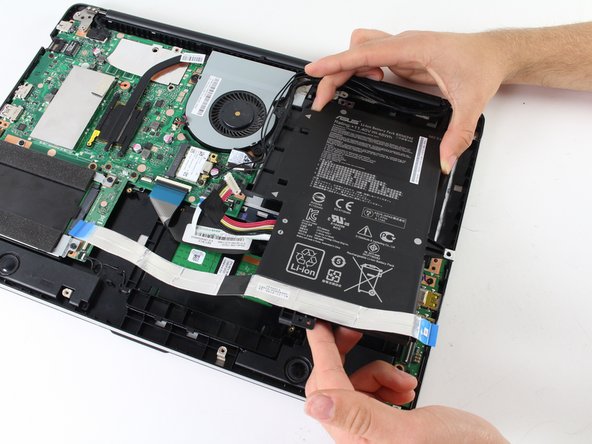
– Grab your blue plastic opening tool and gently pop the three black wires off the battery—no wrestling required.
– Now, just slide the battery out of its spot and set it aside. Mission accomplished!
Step 7

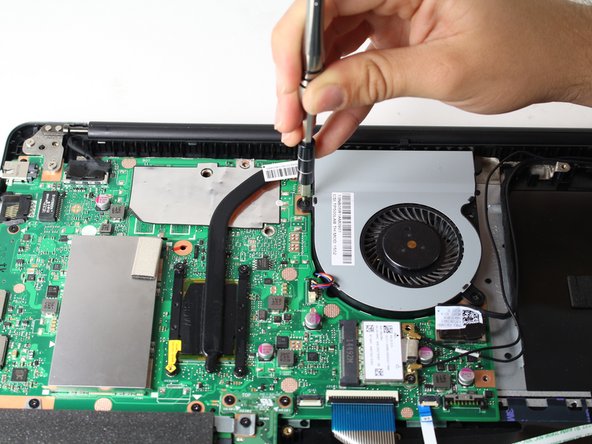
– Grab your screwdriver and remove those six 5 mm Phillips #0 screws. You’re making progress—keep it up!
Step 8

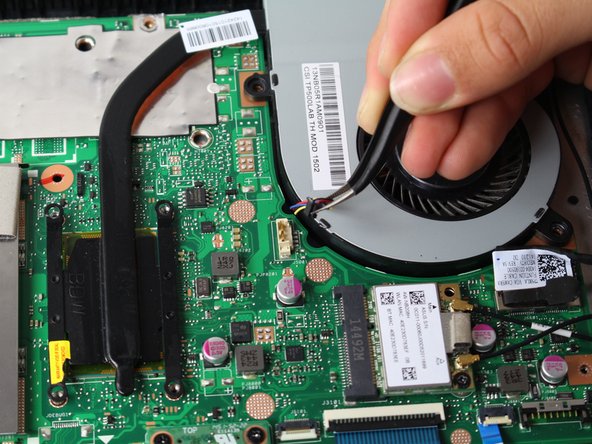

– Grab hold of the top of the 3-pin connector with your trusty tweezers.
– Give the connector a gentle wiggle until it starts to loosen up from the motherboard.
– Carefully lift the connector away from the motherboard attachment, and you’re all set.
Tools Used

Step 9

The fan comes with some thermal paste that you’ll need to reapply before popping it back onto the motherboard. To keep things running cool, check out our guide for a smooth thermal paste application.
– Gently lift the fan up and away from the motherboard.
Success!
