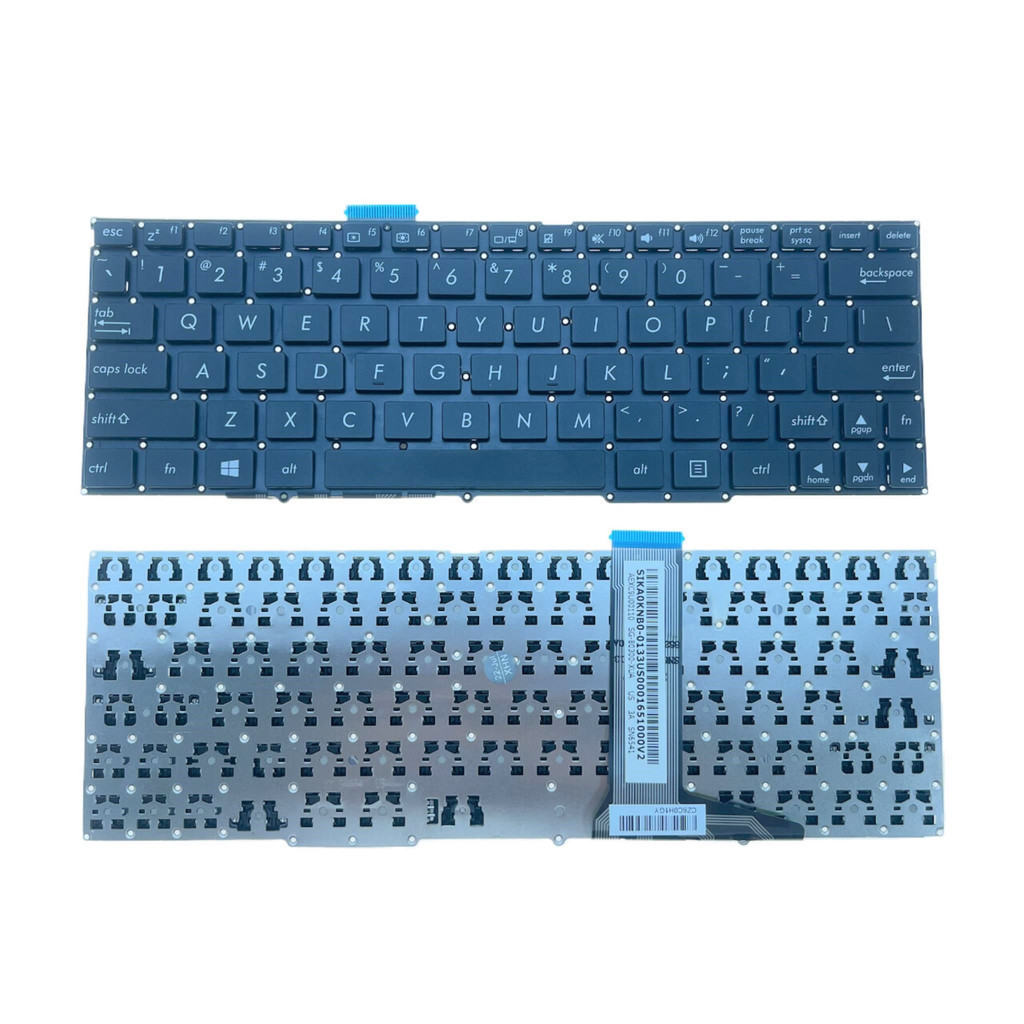
Asus Transformer Book T100TAR Keyboard Replacement
Duration: 45 minutes
Steps: 8 Steps
Get ready to roll up your sleeves! This guide will walk you through the steps to take apart the bottom of your laptop so you can swap out that keyboard dock like a pro.
Step 1


– Press the silver release button at the base of your tablet to easily separate the screen from the keyboard. It’s a simple move, just a little press and you’re good to go!
Step 2


The remaining screws you’ll encounter in this guide are your classic Phillips #0 head screws. Easy-peasy, right?
– Grab your trusty Phillips #0 screwdriver and let’s get to work! Unscrew six 4mm screws from the back cover of the keyboard. Easy peasy!
– Next up, take that metal spudger and carefully lift off the rubber feet located near the top of the keyboard—where it connects to the screen. You’ll find two sneaky 6mm screws hiding underneath those rubber feet. Let’s reveal those screws!
Tools Used


Step 3

Take it easy with those clips! Forcing them can lead to breakage and a wobbly screen—yikes! Gently and cautiously open the rear cover like you’re unwrapping a precious gift.
– Grab your trusty metal spudger and carefully insert it into the seam of the rear cover casing. Gently pry upwards – it’s like opening a stubborn jar, but easier, we promise!
– If you’ve done it just right, you should feel the clips release. It’s a small victory, but you’re one step closer to fixing your device!
Tools Used
Step 4

– Start by unscrewing the screws that are holding down the base plate of your keyboard dock. You’ll find four 4mm screws at the bottom and four 6mm screws along the top, plus one single 4mm screw marked in orange. Easy, right?
Step 5

This tape has some serious stickiness—grab those tweezers and work your magic to loosen it up before peeling it off.
– Gently peel away the black tape that’s keeping the metal plate snug and secure. You’ve got this!
Tools Used

Step 6

Whenever you’re diving into the guts of your device, grab that trusty black nylon spudger! It’s your best buddy for navigating around those delicate internal parts. Keep it cool and use it whenever you can!
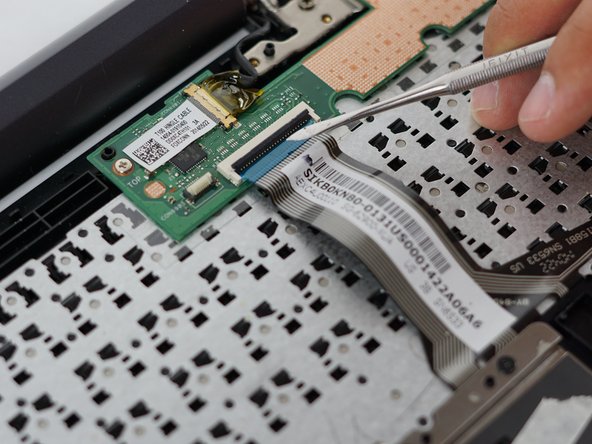
– Gently pop up the little white tab holding the white ribbon in place with your trusty nylon spudger and slide that beauty right out.
– Now, give that bigger black tab a little lift to free the black ribbon, using the nylon spudger, and smoothly slide it out as well. You’ve got this!
Tools Used
Step 7


– Let’s get started by removing the single 6mm screw that’s holding the keyboard’s motherboard in place. Simply unscrew it and gently take it out.
Step 8


– Remove the three 4mm screws holding the trackpad in place, and gently take out the trackpad. If you’re having trouble, don’t hesitate to schedule a repair.
Success!
