Asus Transformer Book T100TAR Speaker Replacement
Duration: 45 minutes
Steps: 13 Steps
Step 1


– Give that silver release button at the base of your tablet a friendly press, and voilà—you’re ready to gently coax the screen away from the keyboard!
Step 2

Be gentle when releasing the clips – forcing them can cause breakage, leading to a loose screen. Open the rear cover with care, taking your time to avoid any damage.
– Grab your metal spudger and carefully slide it into the seam of the rear cover casing. Gently pry it upwards – no need to rush!
– If you’re doing it right, you should feel the satisfying pop as the clips release. Nice job!
– Now, just to make sure you’ve got them all, run the metal opening tool along the edges of the tablet. Give those clips a little extra love to ensure they’re all free and clear.
Tools Used

Step 3

– Let’s get started by removing the rear case.
Step 4


– First up, find the left speaker, which is hanging out just to the left of the battery—check out the image for a visual cue.
– Next, grab your trusty Phillips #0 screwdriver and remove those three 5mm screws that are keeping the speaker snug in its spot. You’ve got this!
Tools Used

Step 5


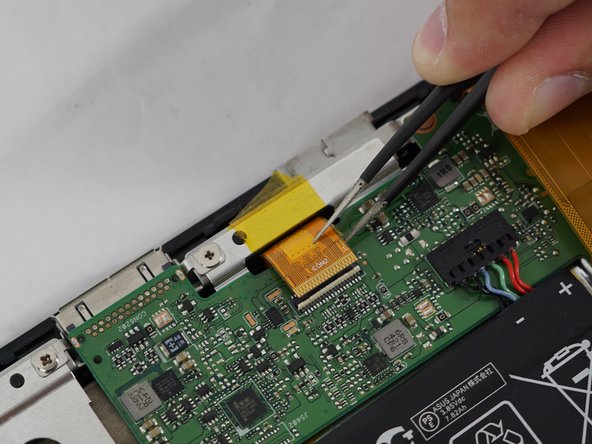
– Time to get started. Use your trusty tweezers to carefully lift the black tape that’s holding the speaker connection cable in place.
– Now, gently pull the cable free from the motherboard using your tweezers. It should come out easily, but be patient and take your time.
Tools Used

Step 6

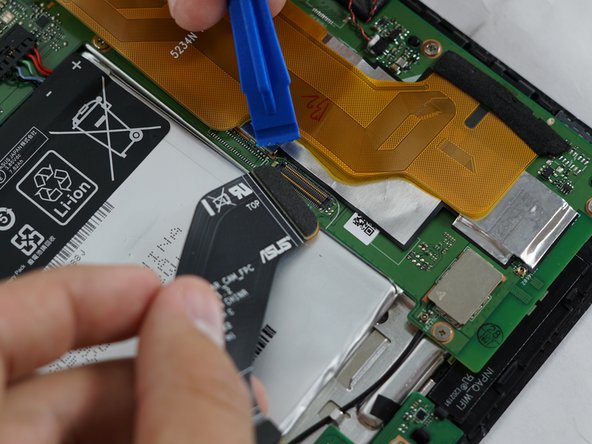
– To get that right speaker out, start by carefully prying off the big black strip that connects the camera board to the motherboard. A plastic opening tool will be your best buddy here!
Step 7

– Grab your trusty tweezers and gently unplug the small black cable from the motherboard. Just a little wiggle and tug will set it free!
Tools Used
Step 8
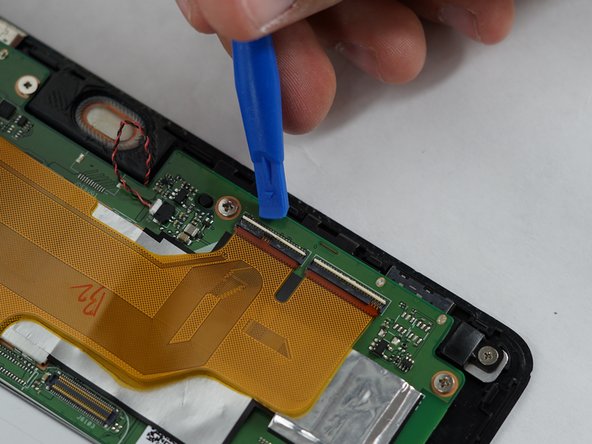


– Grab your tweezers and gently peel away the black tape that’s keeping that big orange strip in check.
– Next up, take your trusty plastic opening tool and pop those white tabs up. With a little tug, the orange strip will be free!
Tools Used
Step 9

– Let’s get started by carefully removing the black protective strip with tweezers, then gently tug on the orange ribbon to disconnect the LCD connection apparatus.
Tools Used
Step 10

– Grab your trusty nylon spudger and let’s gently persuade that battery to disconnect. Just nudge the sharper end against the base with care, and you’ll be golden.
– Look for a tiny dent right in the middle—that’s your sweet spot! Just give it a gentle push from there.
Tools Used
Step 11

– First, grab your trusty Phillips #0 screwdriver and get ready to set that motherboard free! Remove the six 5mm screws holding it in place – you got this!
– Next, stick with your Phillips #0 screwdriver and take out the two additional 4mm screws from the top left ends of the motherboard. Easy peasy!
Tools Used
Step 12
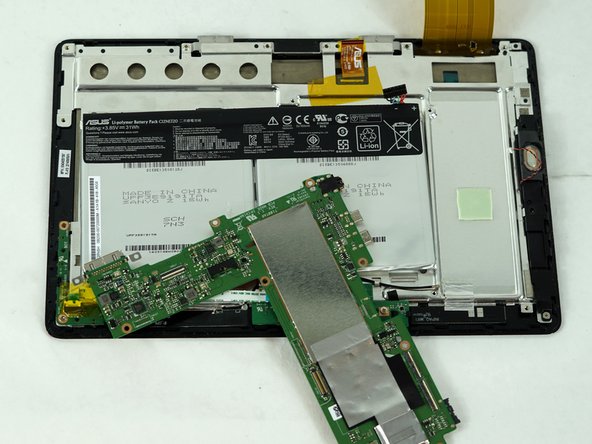

– Gently pull on the cable head with tweezers to disconnect the speaker from the motherboard—nice and easy does it!
– Now, go ahead and remove that motherboard like a pro!
Tools Used
Step 13

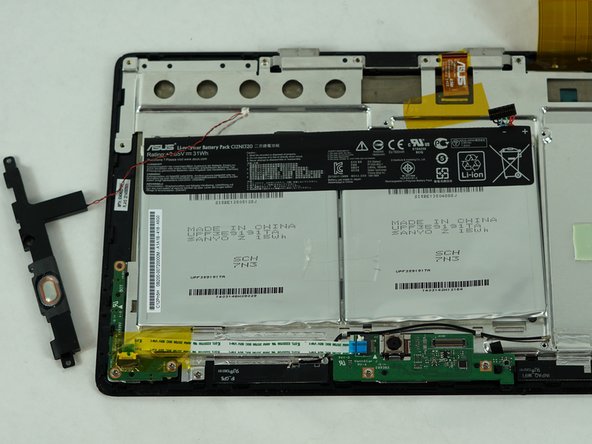
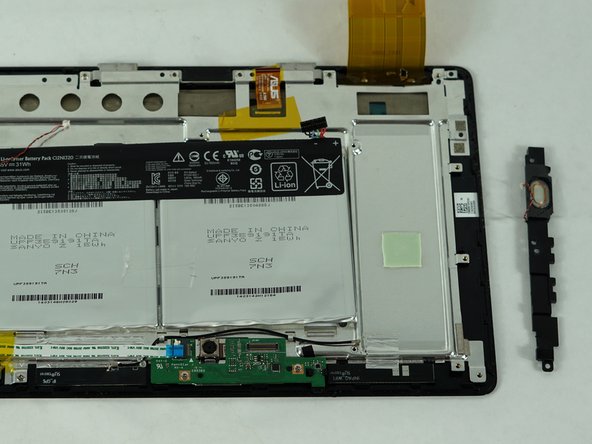
– Grab your Phillips #0 screwdriver and loosen up a single 5mm screw from the bottom of the right speaker unit—you’re almost there!
– Carefully lift out the speaker and set it aside like the star that it is.
Tools Used
Success!