Asus Transformer Book T100TAR Trackpad Replacement
Duration: 45 minutes
Steps: 6 Steps
Get ready to dive into your laptop and say goodbye to that pesky trackpad! In this guide, we’ll walk you through the steps to take apart the bottom half of your laptop and switch out the trackpad with ease. Let’s make those tech troubles a thing of the past!
Step 1


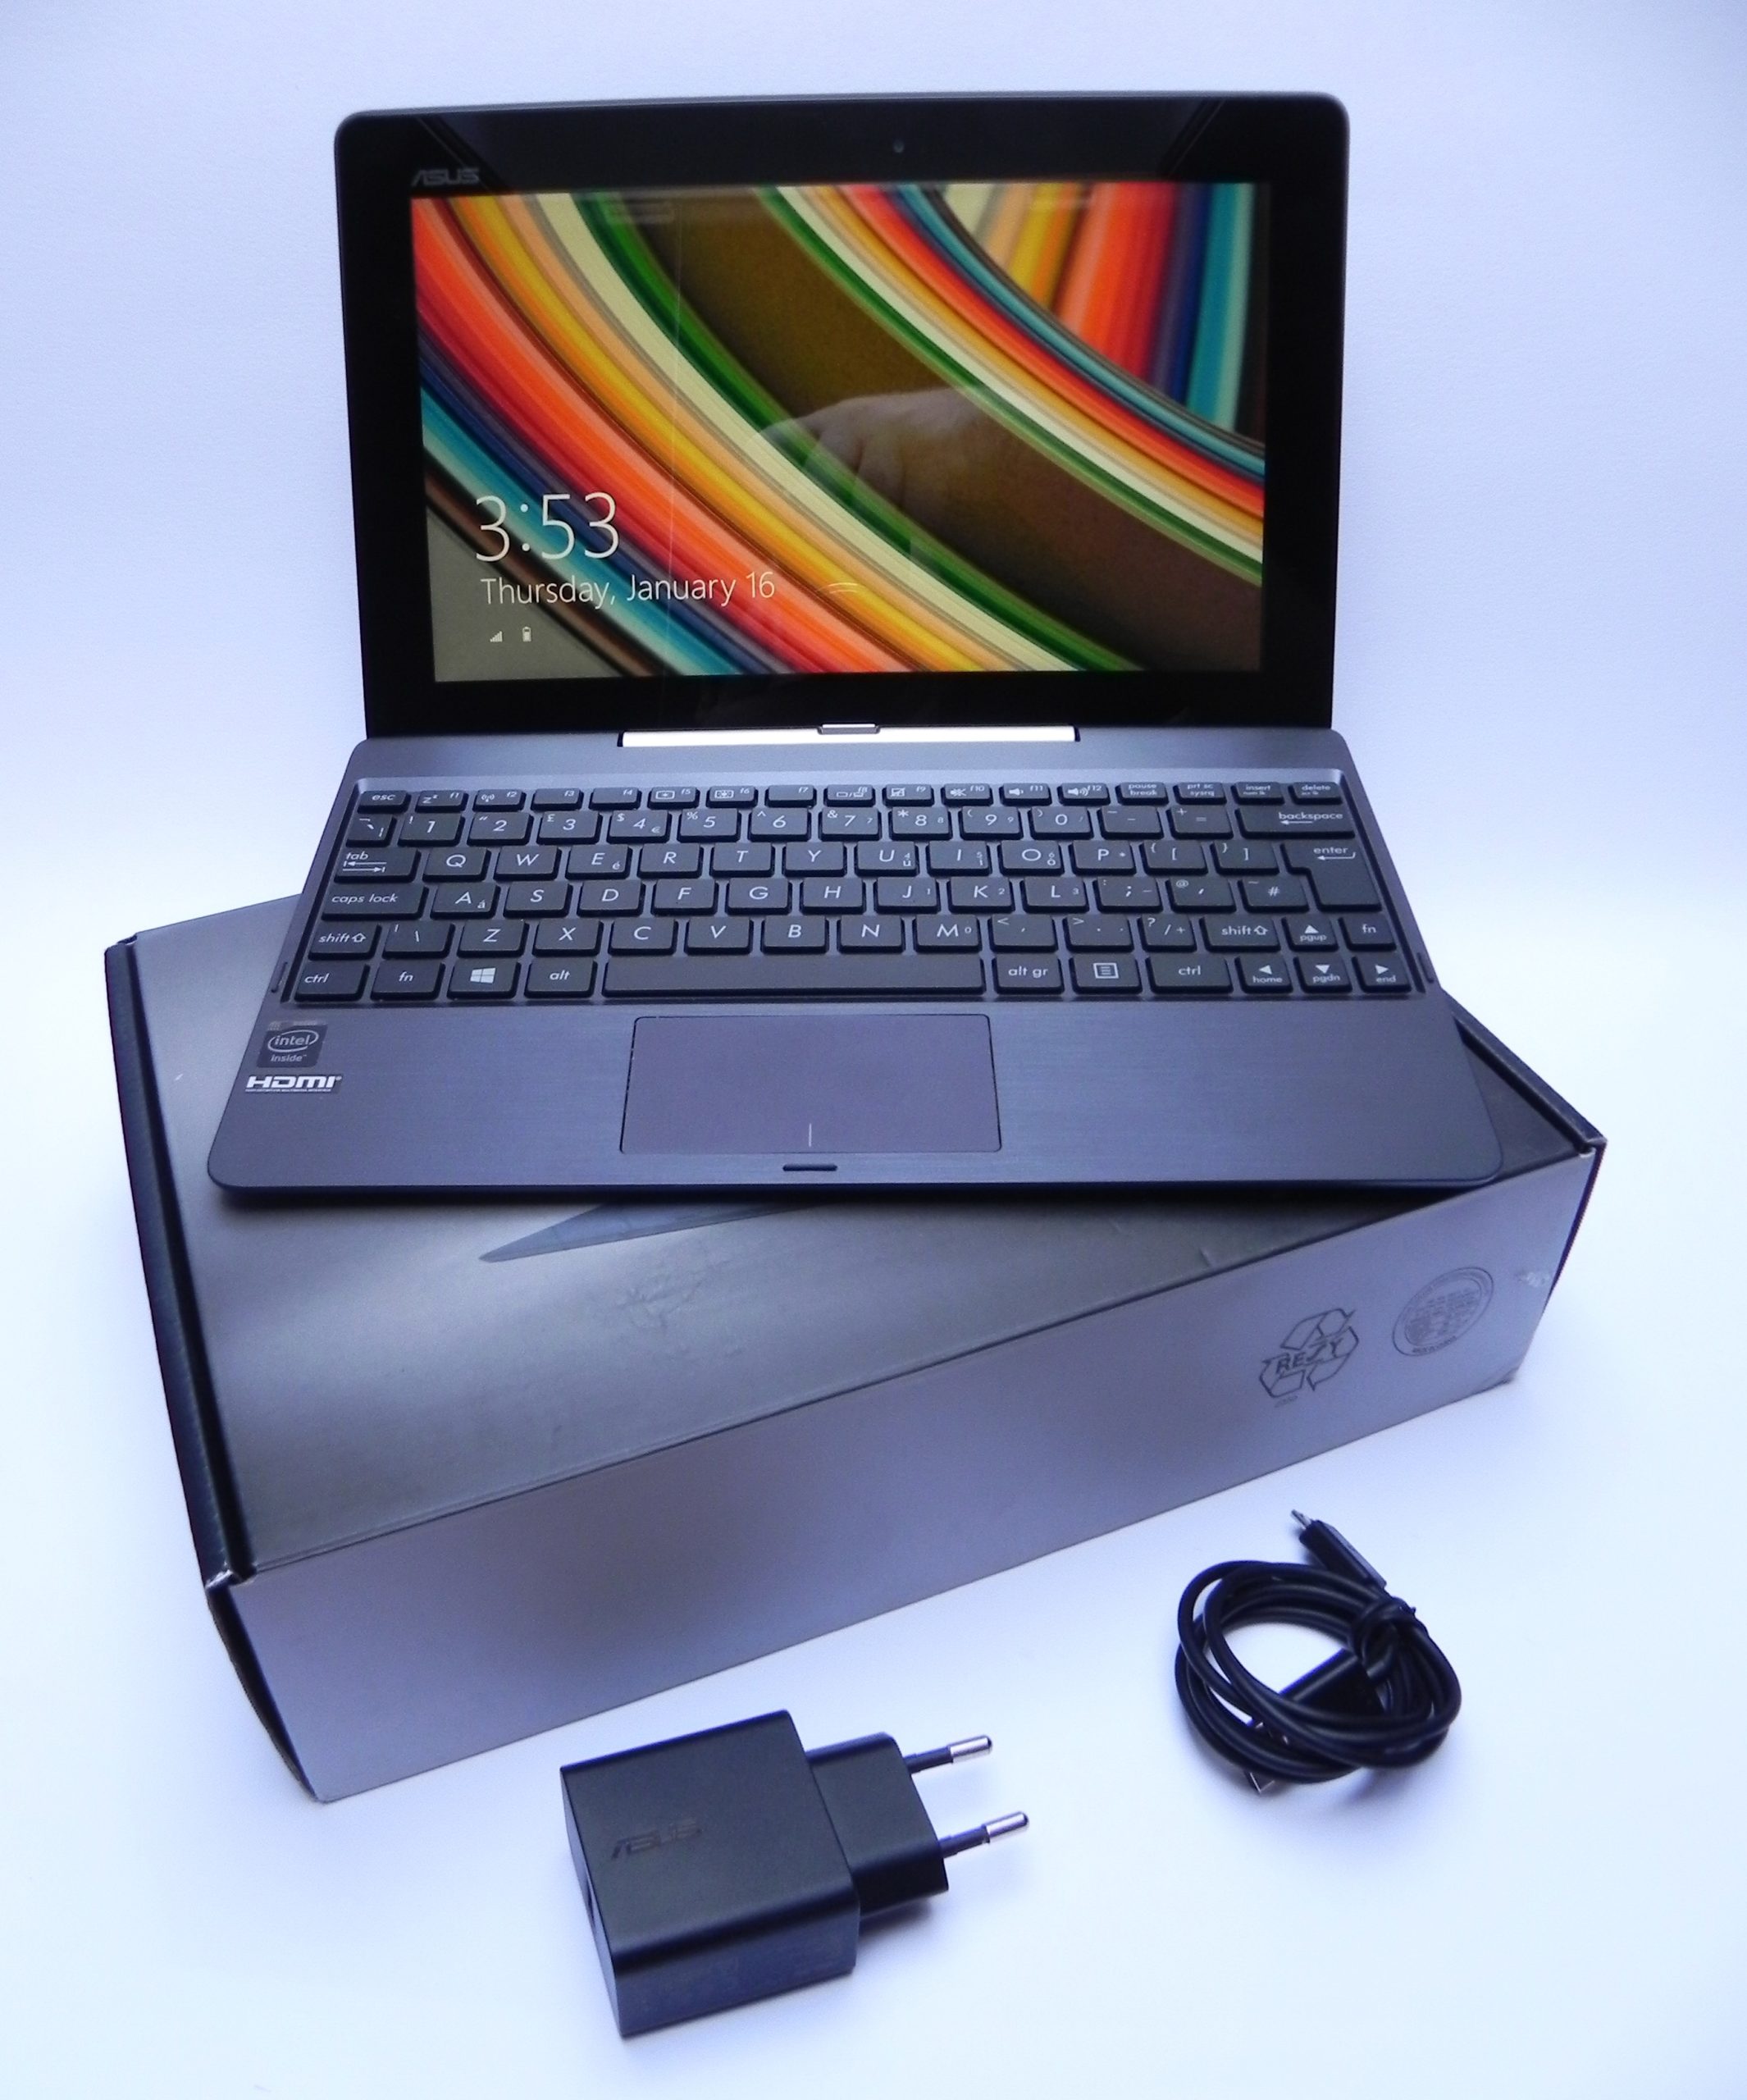
– Give that silver release button at the base of your tablet a friendly press, and voilà—you’re ready to gently coax the screen away from the keyboard!
Step 2


From here on out, you’re working with Phillips #0 head screws—small but mighty! Keep that driver steady, and you’ll be cruising through the next steps like a pro.
– Grab your trusty Phillips #0 screwdriver and get ready to unscrew six 4mm screws from the rear cover of the keyboard. Easy peasy!
– Now, let’s get that metal spudger in action! Carefully pry off the rubber feet located near the top of the keyboard, right where the connecting dock to the screen is. You’ll find two sneaky 6mm screws hiding under those rubber feet, just waiting to be uncovered.
Tools Used


Step 3

Take it easy with the clips! Forcing them can break them, and if they’re broken, your screen might start to wiggle. Gently open the rear cover with care and a steady hand.
– Grab your trusty metal spudger and gently slide it into the seam along the rear cover. A little nudge upwards, and you’re on your way.
– If everything goes as planned, you’ll feel the satisfying click as the clips release. Easy does it!
Tools Used
Step 4

– Start by unscrewing the screws that hold the base plate of the keyboard dock in place. You’ll find four 4mm screws along the bottom and four 6mm screws along the top. Oh, and don’t miss the single 4mm screw marked in orange – it’s easy to spot!
Step 5

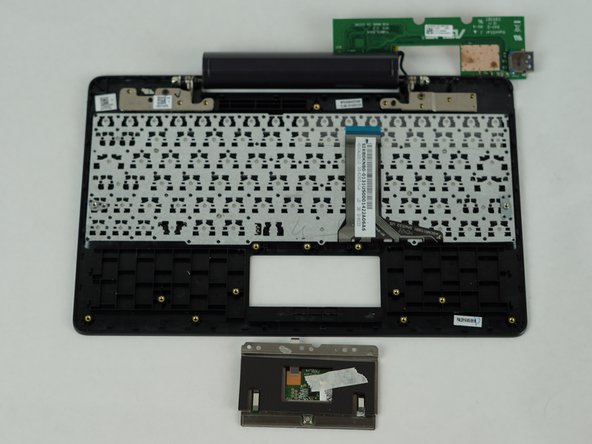
Be careful with this tape – it’s super sticky. Consider using tweezers to gently loosen it before peeling it off.
– Now it’s time to get gentle – carefully peel away the black tape that’s holding the metal plate in place.
Tools Used

Step 6

– You made it. To put everything back together, just reverse the steps you followed to get here. Nice job. If you need help or have any other devices that need some TLC, you can always schedule a repair.
–
Success!