Asus Transformer Flip Book TP200S LCD Screen Replacement
Duration: 45 minutes
Steps: 8 Steps
If your screen is damaged or unresponsive then a replacement may be in order. Follow this guide to do it yourself in a few easy steps.
Step 1
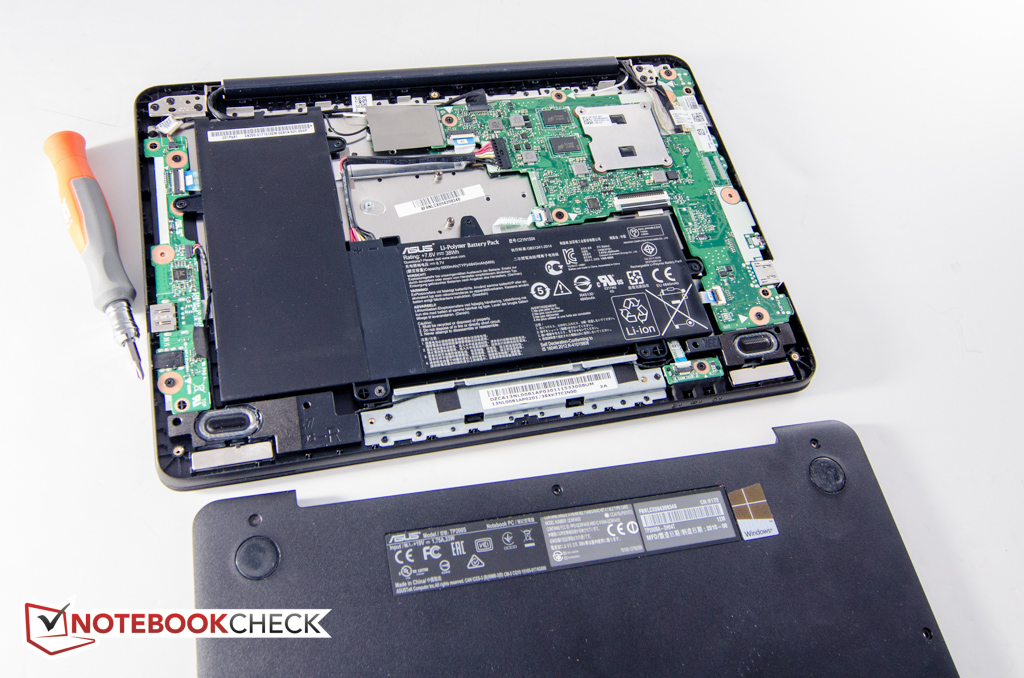
– Grab your J000 screwdriver and carefully remove those 6mm and 8mm screws from the back. You’re doing great—keep it up!
Step 2
– Gently pry off the back cover of the flip book using a metal spudger. Take your time and work around the edges carefully. If you need help, you can always schedule a repair.
Tools Used
Step 3
– Grab your J000 screwdriver and carefully unscrew the 3mm screws holding the battery in place on the motherboard. Keep those screws safe—you’ll need them later. If you need help, you can always schedule a repair.
Step 4
– The battery is hanging out with the motherboard, so you’ll need to unplug it before you can show it the exit.
– Carefully disconnect the battery from the motherboard using tweezers—give it a gentle wiggle, not a wrestling match.
– Next, unhook the WiFi cables that are clipped around the battery’s edge. Easy does it.
– Slide the battery out and set it aside. Nice work!
Tools Used
Step 5
– Flip open your device so the screen is facing you. Check out those two rubber pads chilling at the bottom of the screen.
– Grab a metal spudger and pop those rubber pads off—surprise, they’re hiding two 3mm screws! Take your Phillips J000 screwdriver and unscrew them.
Tools Used
Step 6
– Once the screws are gone, grab your trusty metal spudger and gently work your way around the screen casing. Pry it open slowly from the flip book casing – no rush, just a bit of finesse!
Tools Used
Step 7
– With your tweezers, carefully unplug any connectors and peel off the tape that’s holding onto the screen. Take it slow and keep track of what you remove!
Tools Used
Step 8
– Once you’ve unplugged everything, grab your metal spudger and gently pop the screen out of its casing. Take your time—steady hands make this step much smoother!
Heads up: The screen is glued to the case with adhesive, so you’ll need to apply some force to remove it. This might cause permanent damage to your old screen, so make sure you have a replacement ready before you start. If you need help, you can always schedule a repair.
No need to mess with the adhesive again—one less thing to worry about!
Tools Used
Success!


