Asus Transformer T100 Battery Replacement
Duration: 45 minutes
Steps: 8 Steps
The battery hangs out inside the tablet’s body. To get to it, you’ll need to pop off the plastic backing—it’s like unveiling the secret layer!
Step 1


– Pop the tablet off the base by giving the big silver button under the tablet a firm press. You’ll find this shiny button living happily at the bottom of the tablet.
– Once you’ve pressed the button, lift the tablet straight up to detach it. Easy as pie!
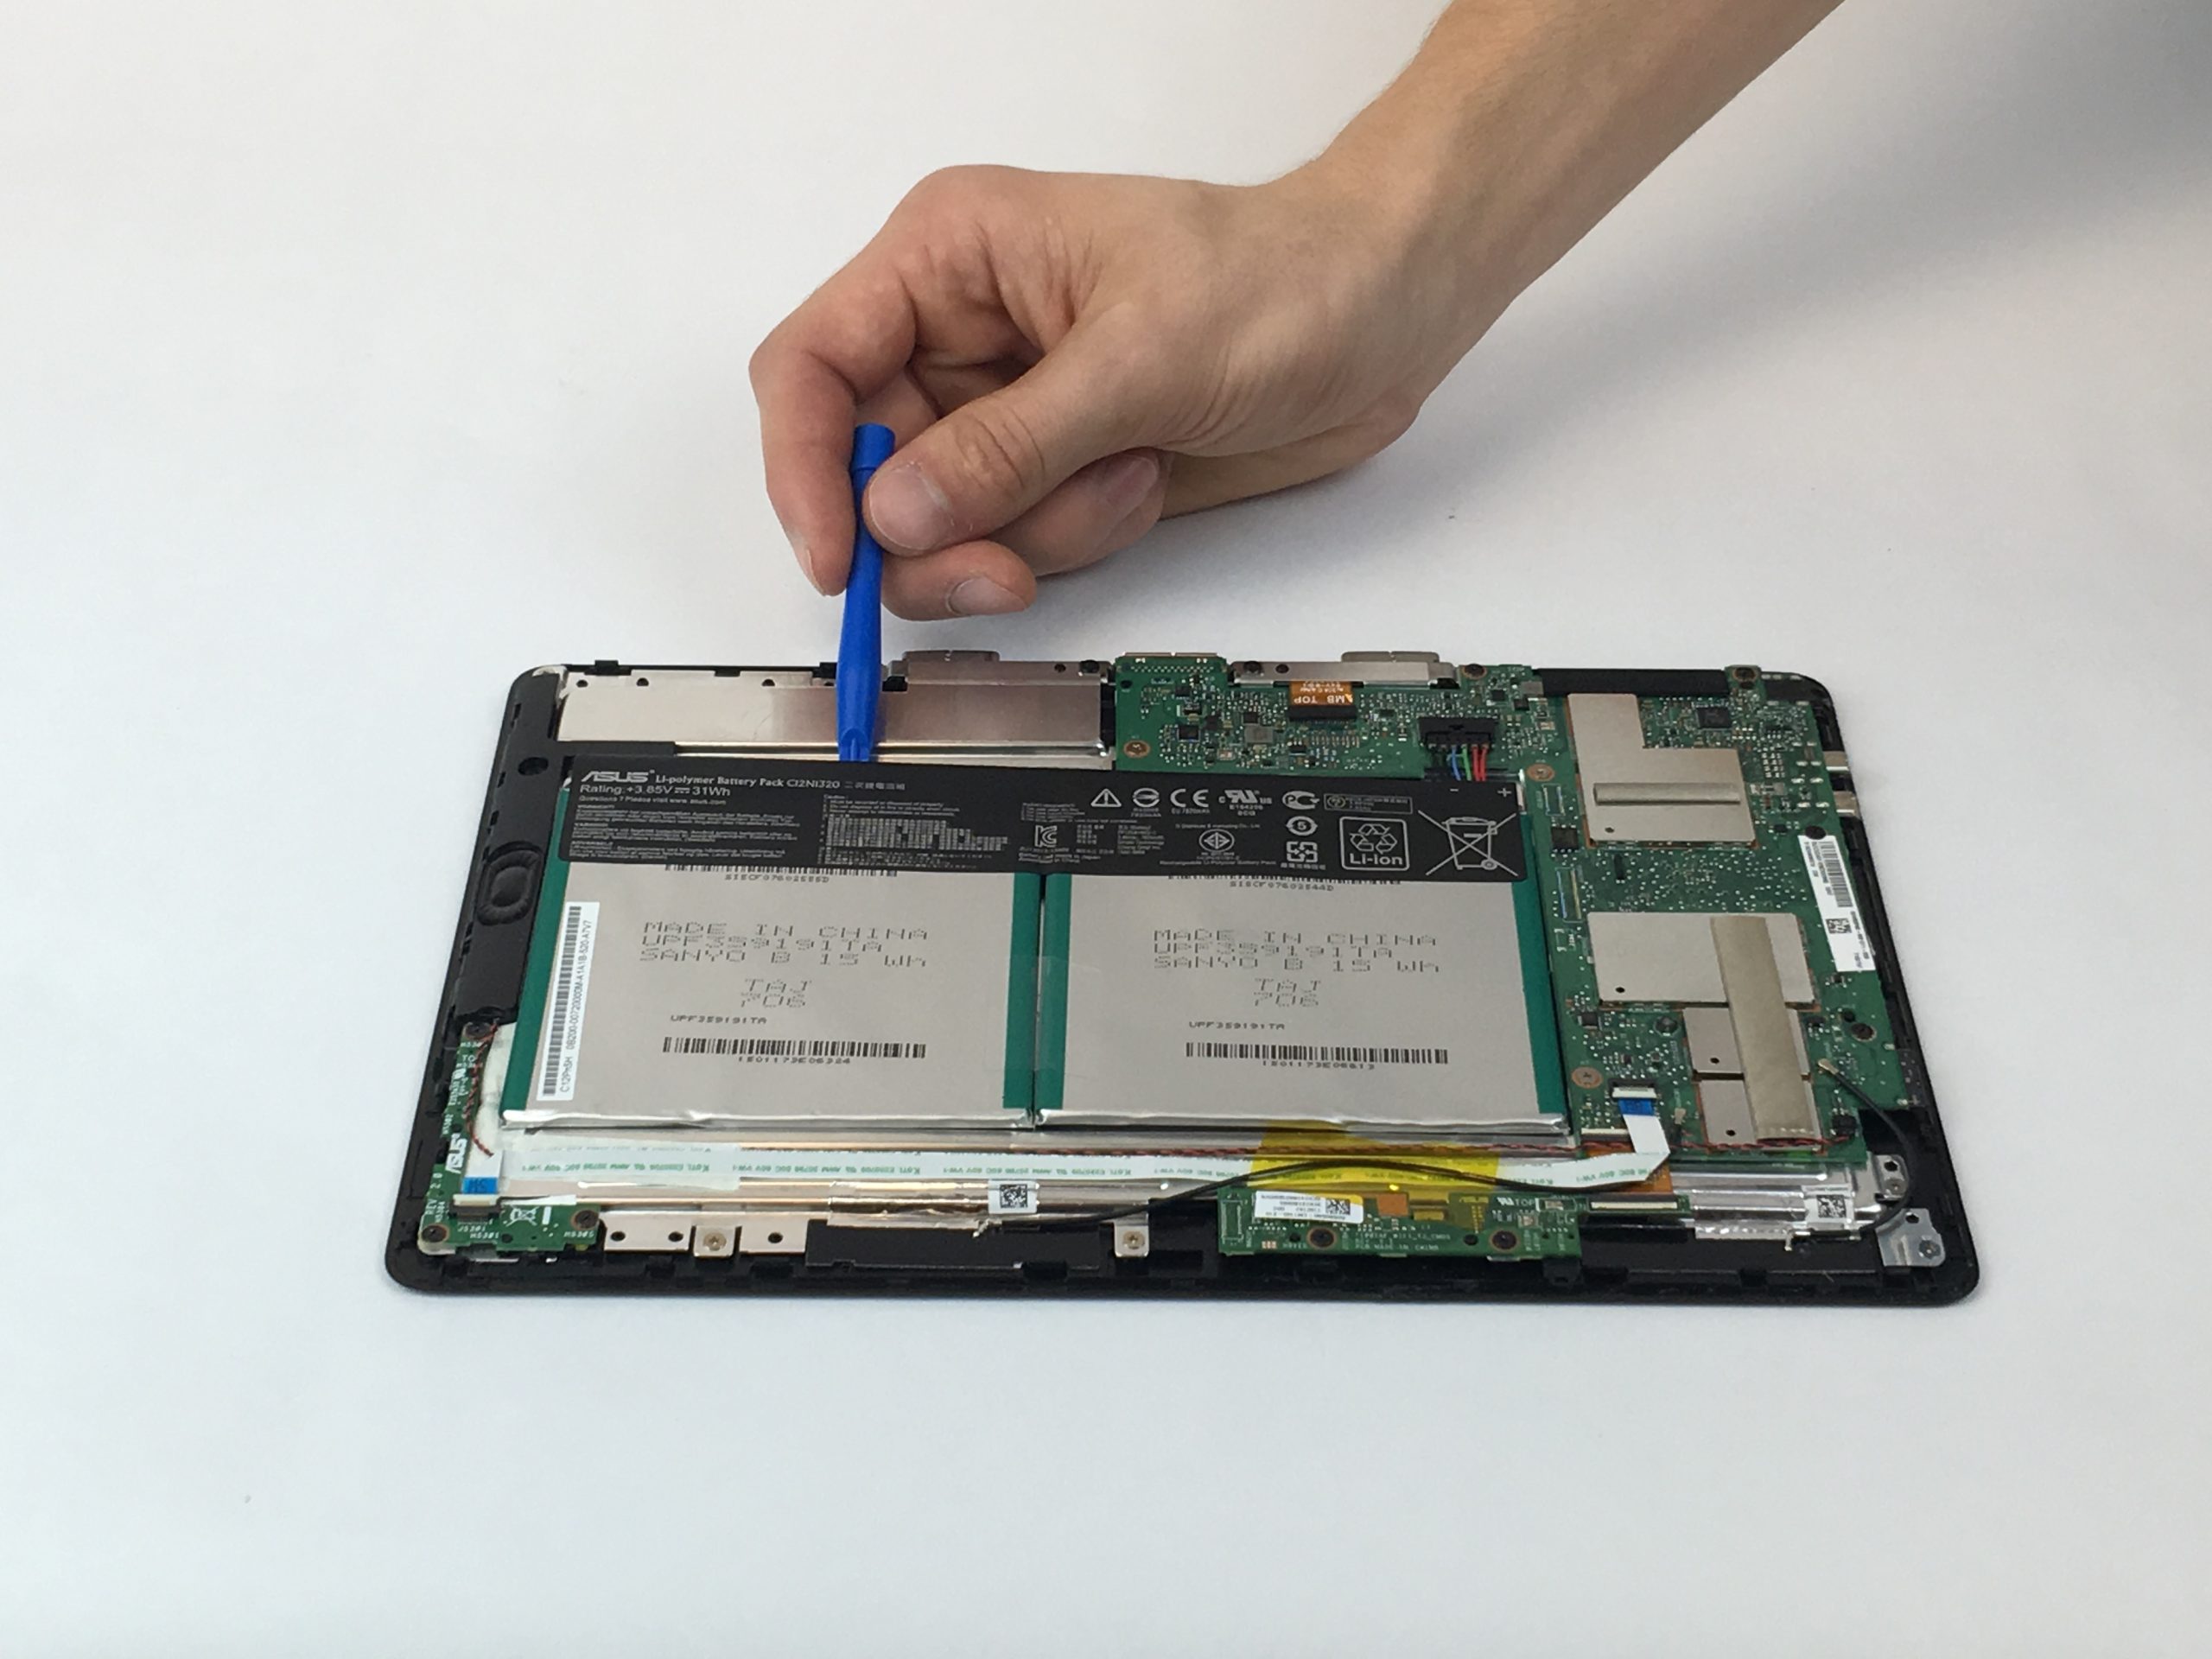
Step 2


– Time to get started! Insert your trusty opening tool into the seam of the tablet casing and gently pry it upwards – you got this!
– With a bit of gentle pressure, you’ll start to feel the clips releasing. Keep going, you’re making great progress!
Step 3

Be careful not to damage these clips, or your screen’s security will be compromised. Let’s keep that screen safe and secure!
– Now it’s time to get those clips to release! Slide your tool along all four edges of the tablet, making sure each clip lets go – you got this!
Step 4


– Pop off the rear casing like you’re opening a treasure chest. Easy does it!
Step 5

– Gently peel off the copper tape—it’s all about finesse here, no rush!
Step 6


– Carefully peel back that yellow see-through plastic lounging over the battery connection port—nice and easy now, like you’re unwrapping the last candy in the jar.
Step 7


As you gently pry the battery up, the battery wire harness is going to slide right out. Easy peasy!
– Flip the device around so the screen is facing you. Slide the plastic opening tool under the battery and gently lift upwards to free it from its spot.
Step 8


– Gently coax the battery away from the connected side, like peeling a banana—easy does it! You’ll see the adhesive on the back pulling away from the battery like it just can’t take the separation.
Success!