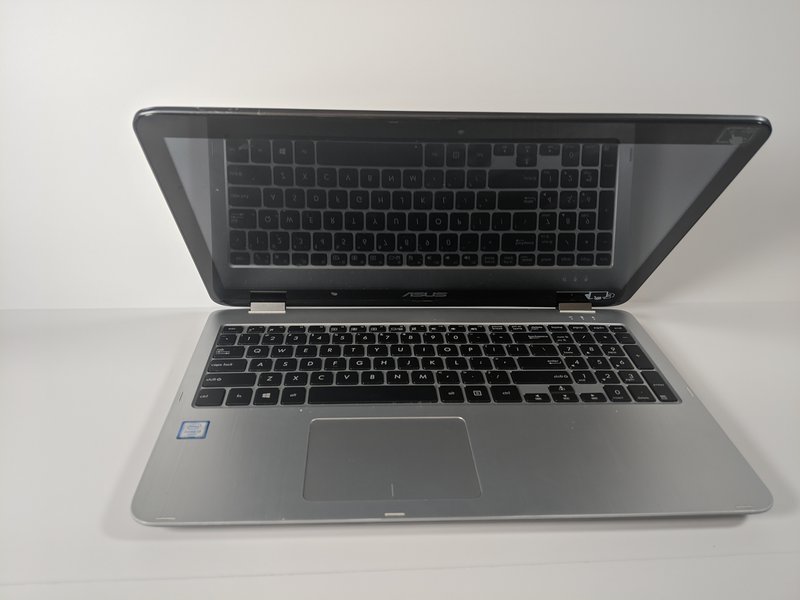
ASUS VivoBook Flip TP501U Battery Replacement
Duration: 45 minutes
Steps: 7 Steps
The battery stores the power needed to run the device. Batteries can age over time, decreasing in capacity, or even fail outright. Replacing the battery with a new one can solve this issue. This guide will walk you through the process of replacing the battery of the ASUS VivoBook Flip TP501U.
Step 1


– Flip the laptop open until it’s lying flat, with the screen facing down.
– Take out the eight Phillips #00 screws (9.6mm) from the bottom side.
– Pop out the two Phillips screws (4.8mm) from the corners. Keep track of those tiny guys!
Step 2

Gently wiggle the panel away from the chassis, taking care not to pull too hard—those ribbon cables are hanging on for dear life between the keyboard and the internal parts. If you need a hand, you can always schedule a repair.
– Flip your device so it’s facing up, like it’s ready for its close-up.
– Grab your trusty plastic Opening Pick and gently work it around the keyboard panel to pop it free from the chassis you just unscrewed. Easy does it—no need to wrestle!
Step 3

– With the keyboard panel pulled up, detach the two ribbon cables from the motherboard using the blue tabs on the cables.
– Remove the keyboard panel completely.
Step 4

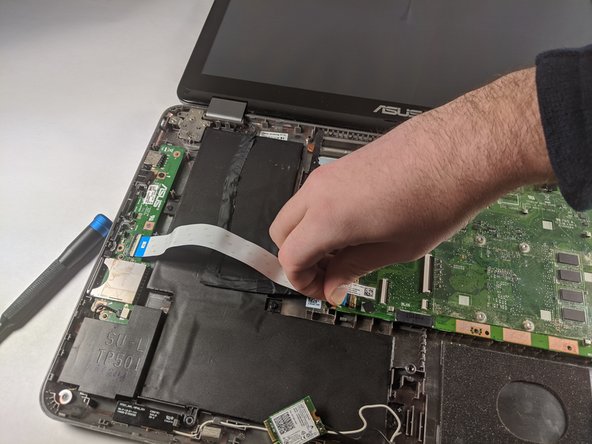
– Gently pull on the blue tab to detach the white ribbon cable. It should come off with ease—no need to stress, just give it a little tug!
Step 5


– Gently unplug the black cable hiding underneath the white ribbon cable you just took out.
Step 6

– Carefully unplug the wire bundle shown to disconnect the battery from the motherboard. You’ve got this!
Step 7

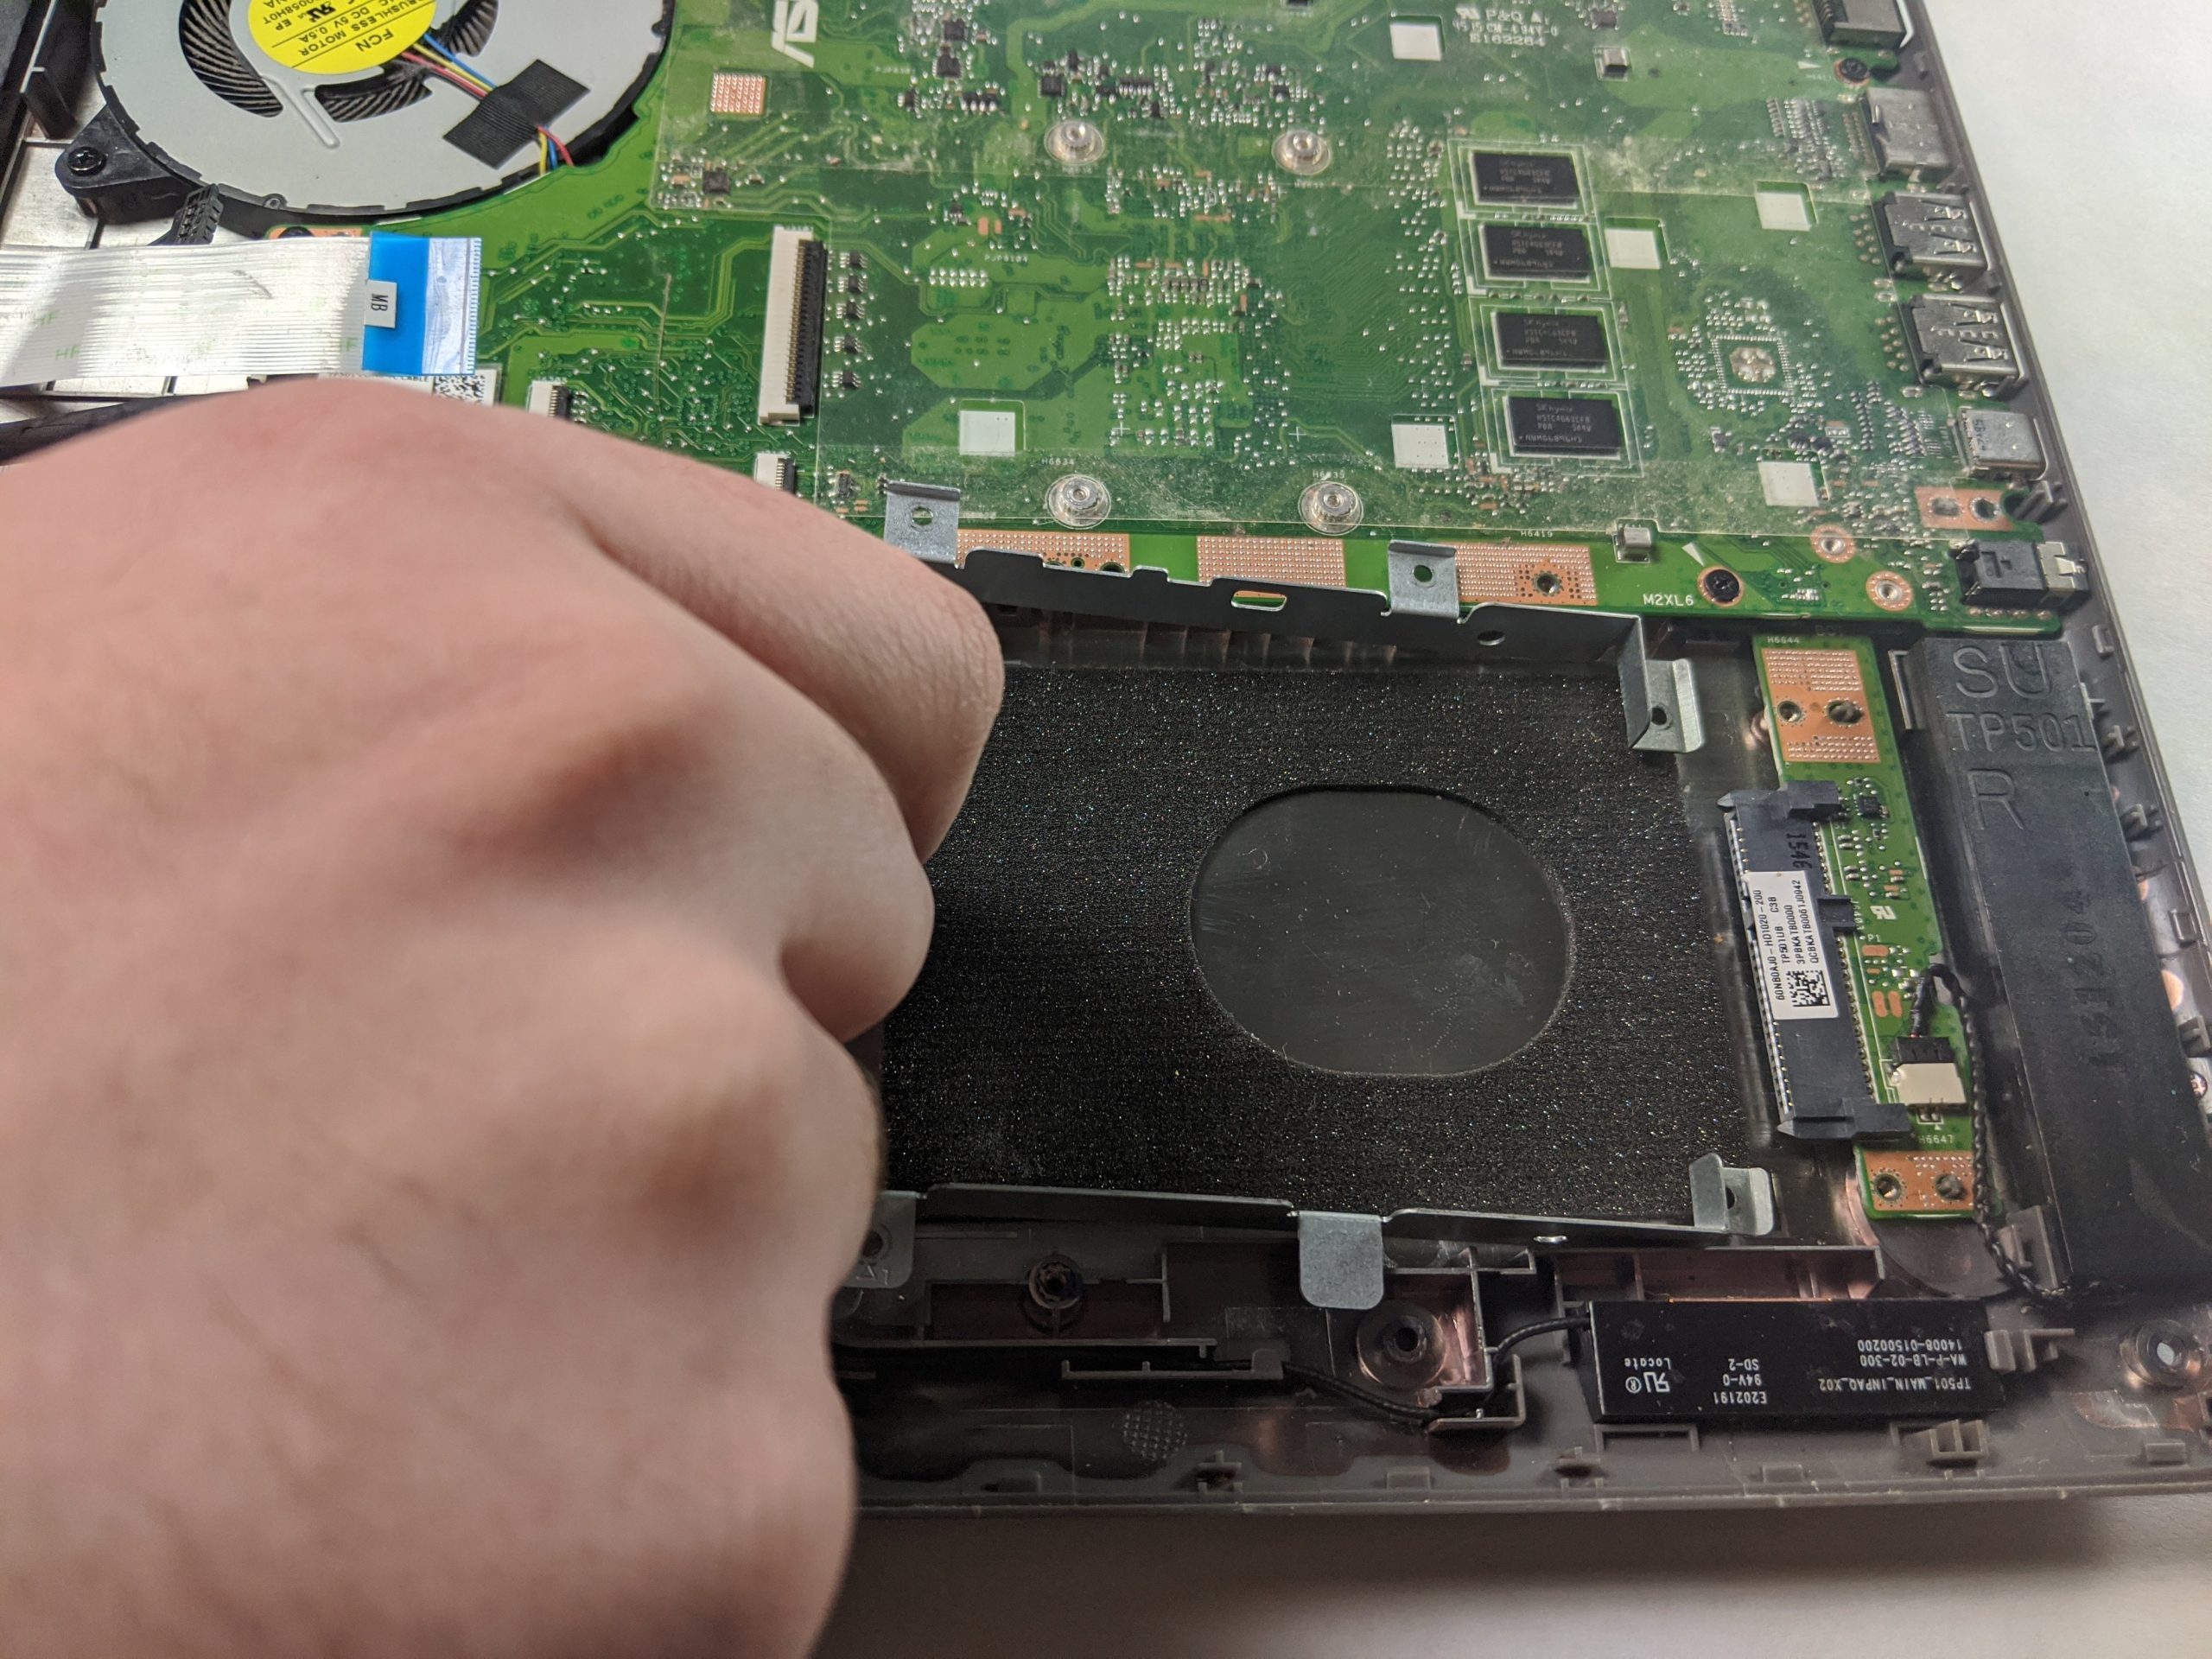
– Grab your #00 Phillips screwdriver and remove that 3/16 inch screw keeping the battery cozy in the chassis.
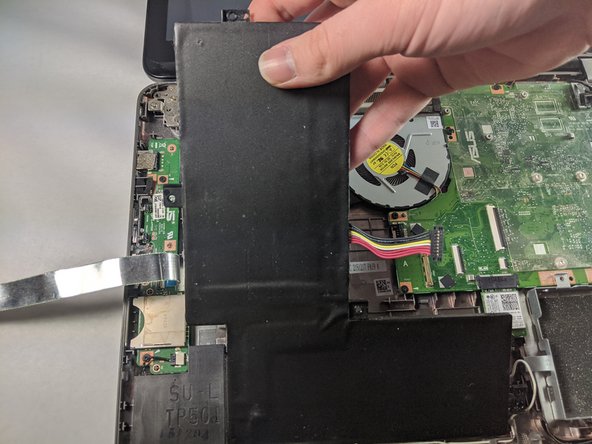
– Gently lift the battery out—no need for muscle, just a little finesse!
Success!