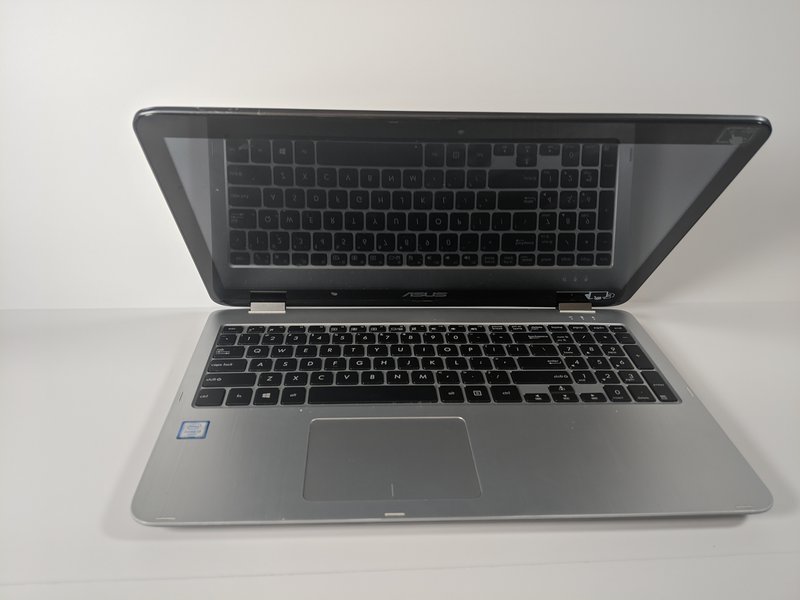
ASUS VivoBook Flip TP501U Hard Drive Replacement
Duration: 45 minutes
Steps: 5 Steps
The hard drive is where your computer keeps all your files, programs, and all that good stuff. If your drive’s performance is dragging, running out of space, or just not as quick as it used to be, it might be time for a change. This guide will show you how to swap out the hard drive in your Asus Vivobook Flip TP501U with ease.
Step 1


– Open your laptop all the way so it lies flat, screen facing down.
– Use a Phillips #00 screwdriver to take out eight 9.6mm screws from the bottom.
– In each corner, remove a 4.8mm Phillips screw.
Step 2

Gently pry the panel away from the chassis, being careful—there are ribbon cables bridging the keyboard and internal parts. Take your time so nothing gets torn.
– Flip the device over so it’s facing up.
– Grab your trusty plastic Opening Pick and gently work it between the keyboard panel and the chassis that you just unscrewed to separate them.
Step 3

– With the keyboard panel lifted up, gently unplug the two ribbon cables from the motherboard by pulling on the blue tabs. No wrestling required—just a smooth unplug.
– Now, lift away the keyboard panel and set it aside. Mission accomplished for this step!
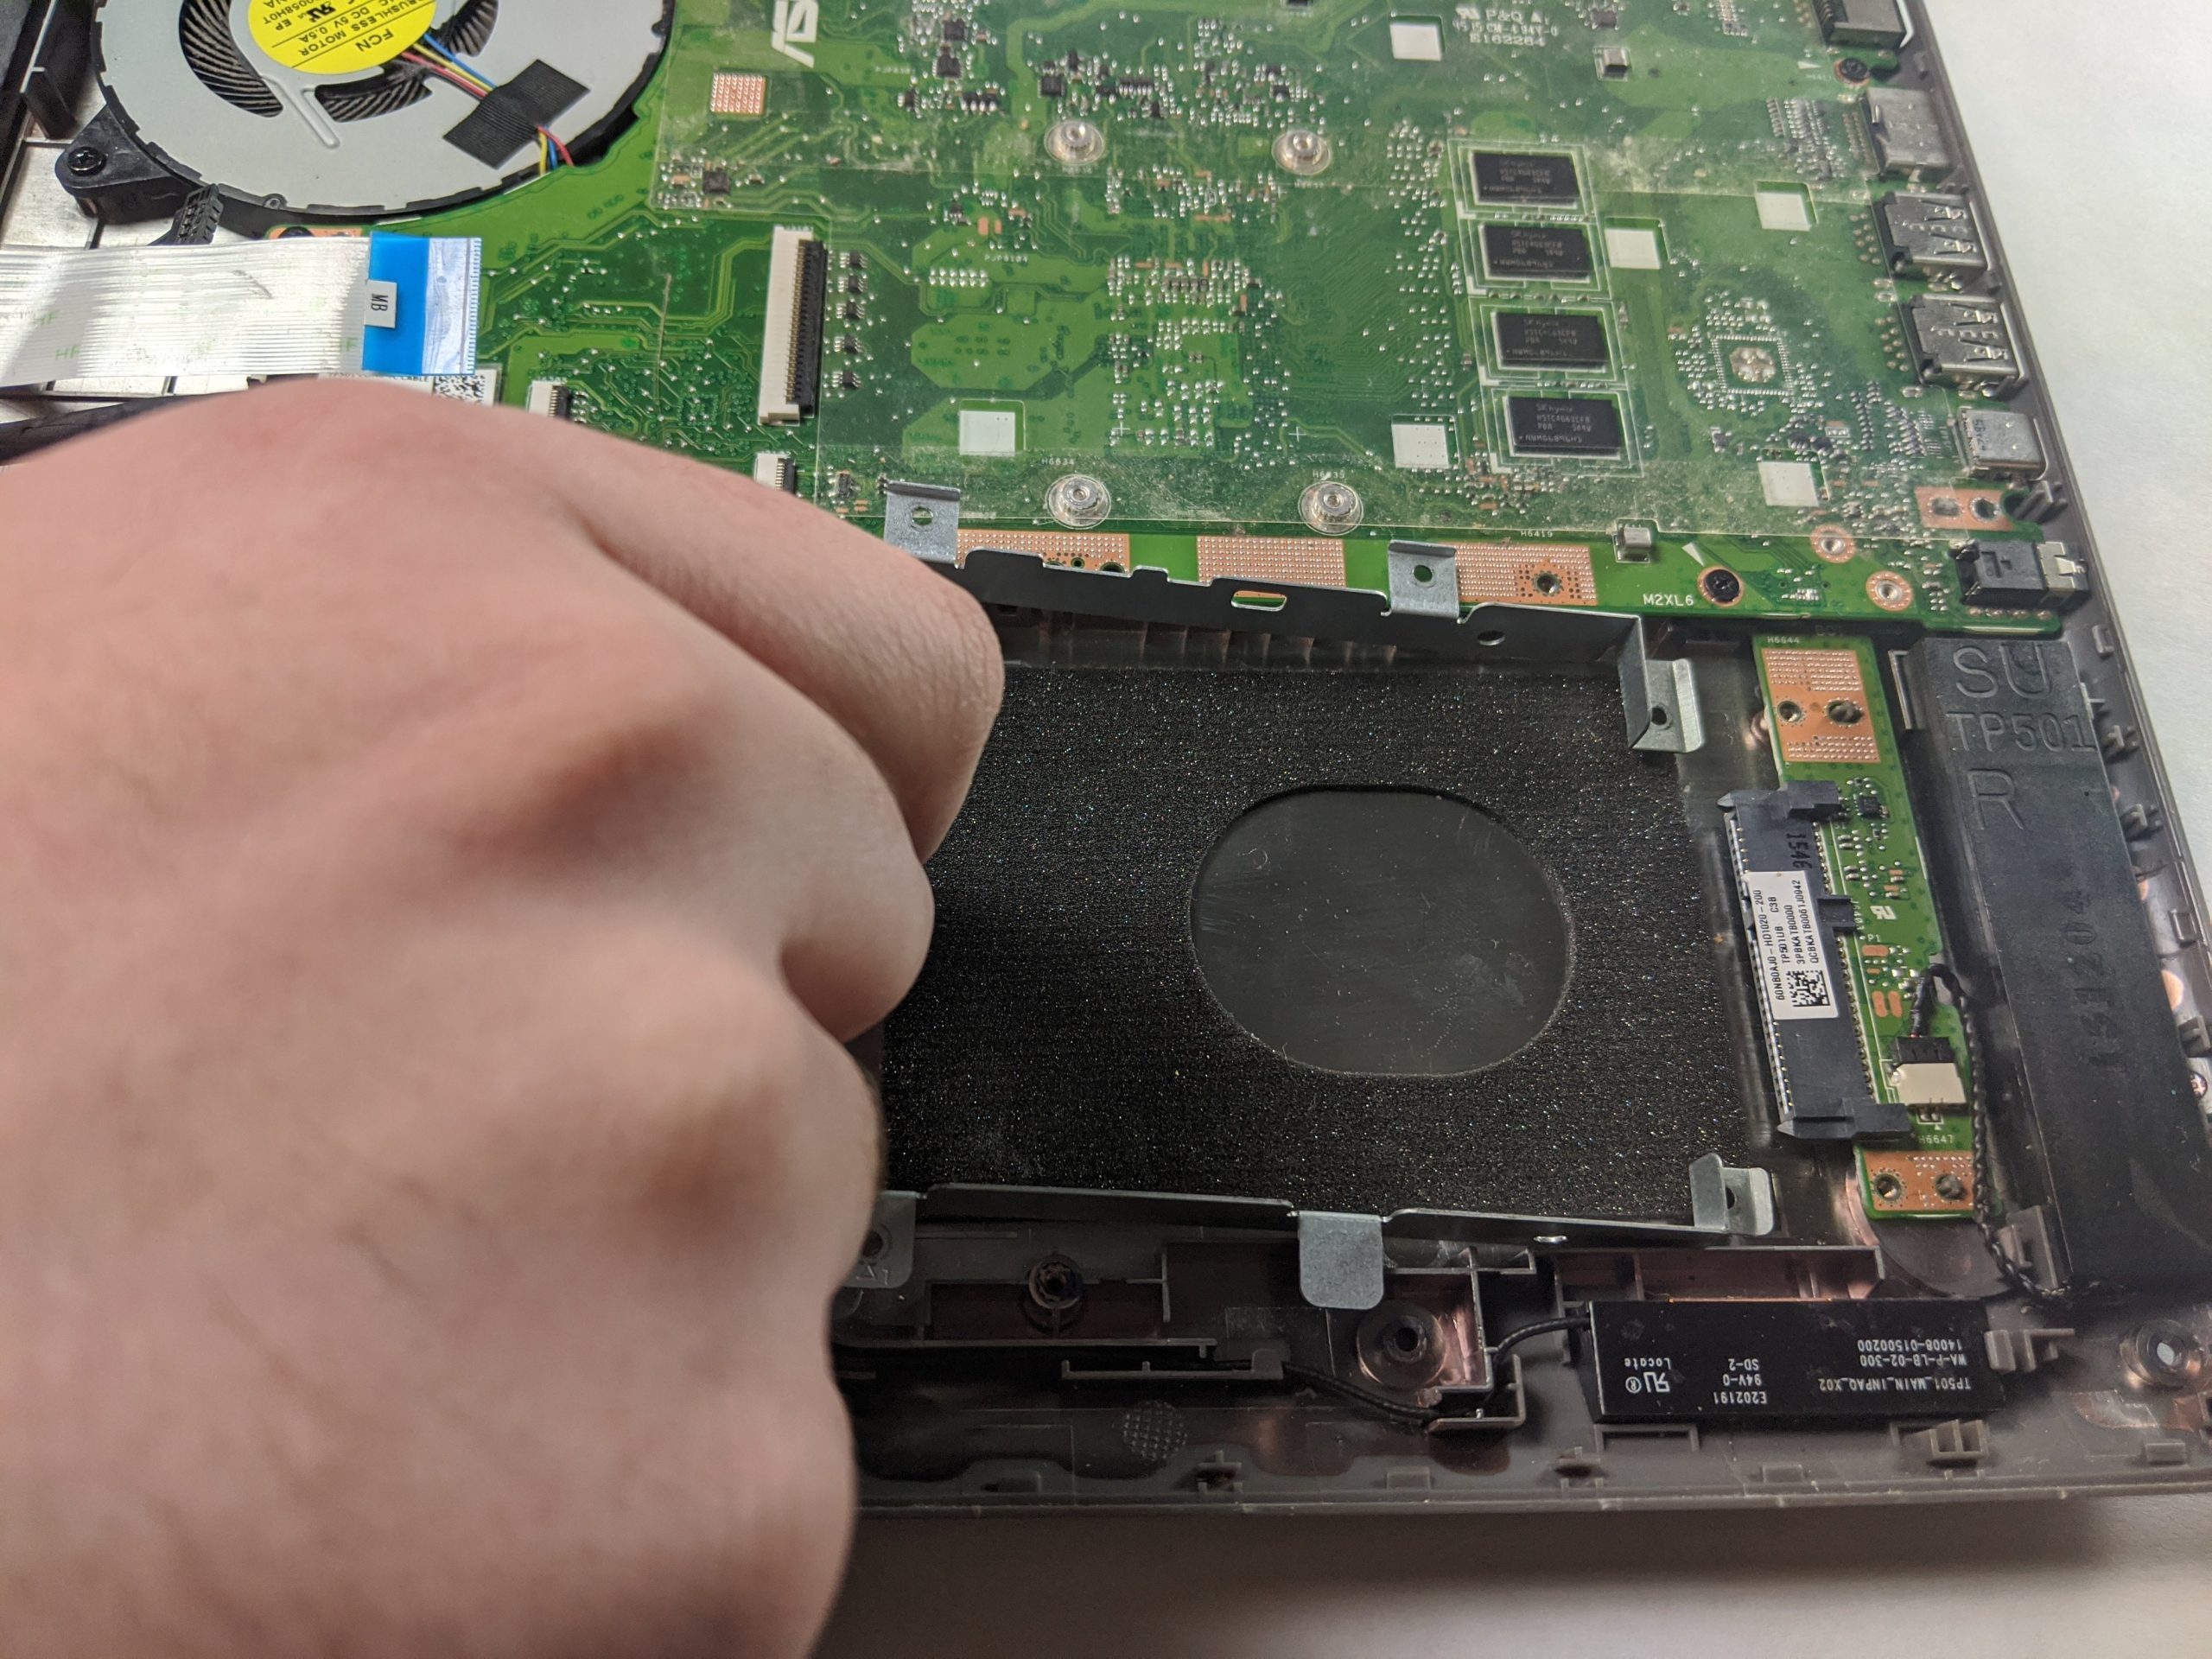
Step 4


– Start by removing the five 4.8mm Phillips #00 screws securing the hard drive mounting bracket. Then, gently slide the bracket toward the battery to disconnect the hard drive from the motherboard. If you need help, you can always schedule a repair.
Step 5

When this guide was put together, the hard drive was taking a little break outside of the device.
– Ready to wrap things up? Just cruise back through the steps in reverse and your device will be back together in no time. If you hit a snag, you can always schedule a repair—we’ve got your back!
–
Success!