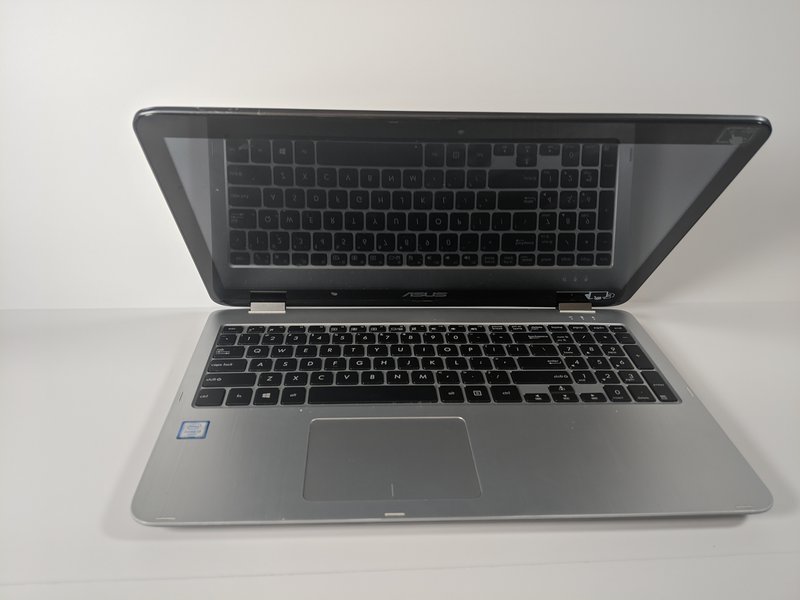
ASUS VivoBook Flip TP501U RAM Replacement
Duration: 45 minutes
Steps: 8 Steps
RAM is like your computer’s quick-access memory bank, holding all the programs and data that need to be accessed fast. When your RAM is underperforming or you want to give your system a boost, swapping it out is a great solution. In this guide, we’ll walk you through how to upgrade or replace the RAM in the expansion slot of your Asus Vivobook Flip TP501U.
Step 1


– Lay the laptop flat on your workspace, screen-side down, like you’re giving it a little nap.
– Unscrew the eight 9.6mm Phillips #00 screws from the bottom panel—think of it as unscrewing the legs of a tiny table.
– Remove the two 4.8mm Phillips screws from the corners of the device—these are like the finishing touches that keep everything in place.
Step 2

Gently wiggle the panel away from the chassis, being super careful because there are ribbon cables connecting the keyboard to the inner workings. You’ve got this!
– Flip your device over so it’s facing up.
– Grab your trusty plastic Opening Pick and gently work it between the keyboard panel and the chassis that you just unscrewed. It’ll come apart, no worries!
Step 3

– Lift up the keyboard panel and gently unplug the two ribbon cables from the motherboard using the blue tabs. Take your time – no need to rush!
– Now, carefully remove the keyboard panel completely. You’re doing great!
Step 4

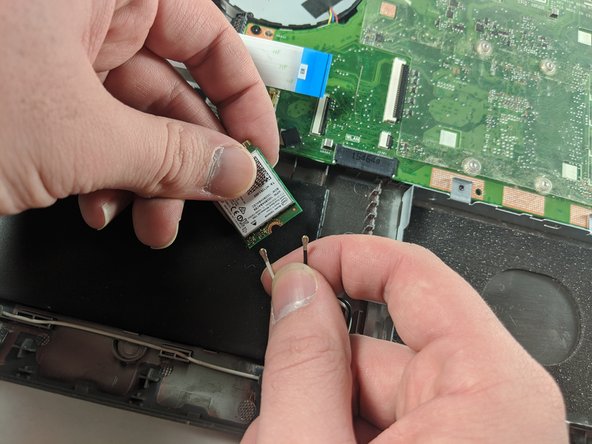
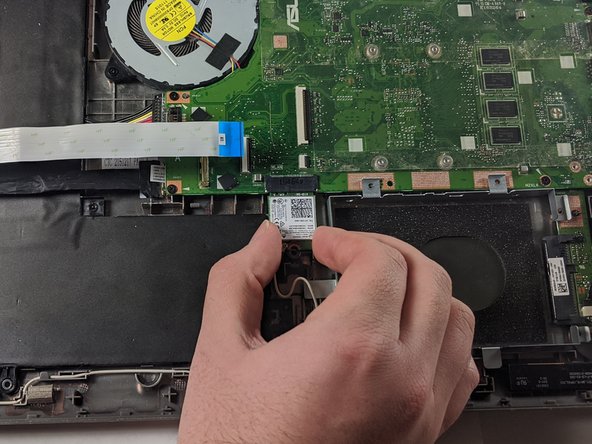
– First, grab your Phillips #00 driver and unscrew the 3.17 mm screw that’s holding the WiFi card in place. Easy, right?
– Next, gently pull down on the card to disconnect it from the motherboard. A little nudge is all it takes.
– Now, unplug the two black and white wires from the bottom of the card. They should just pop right off with a little pull.
Step 5


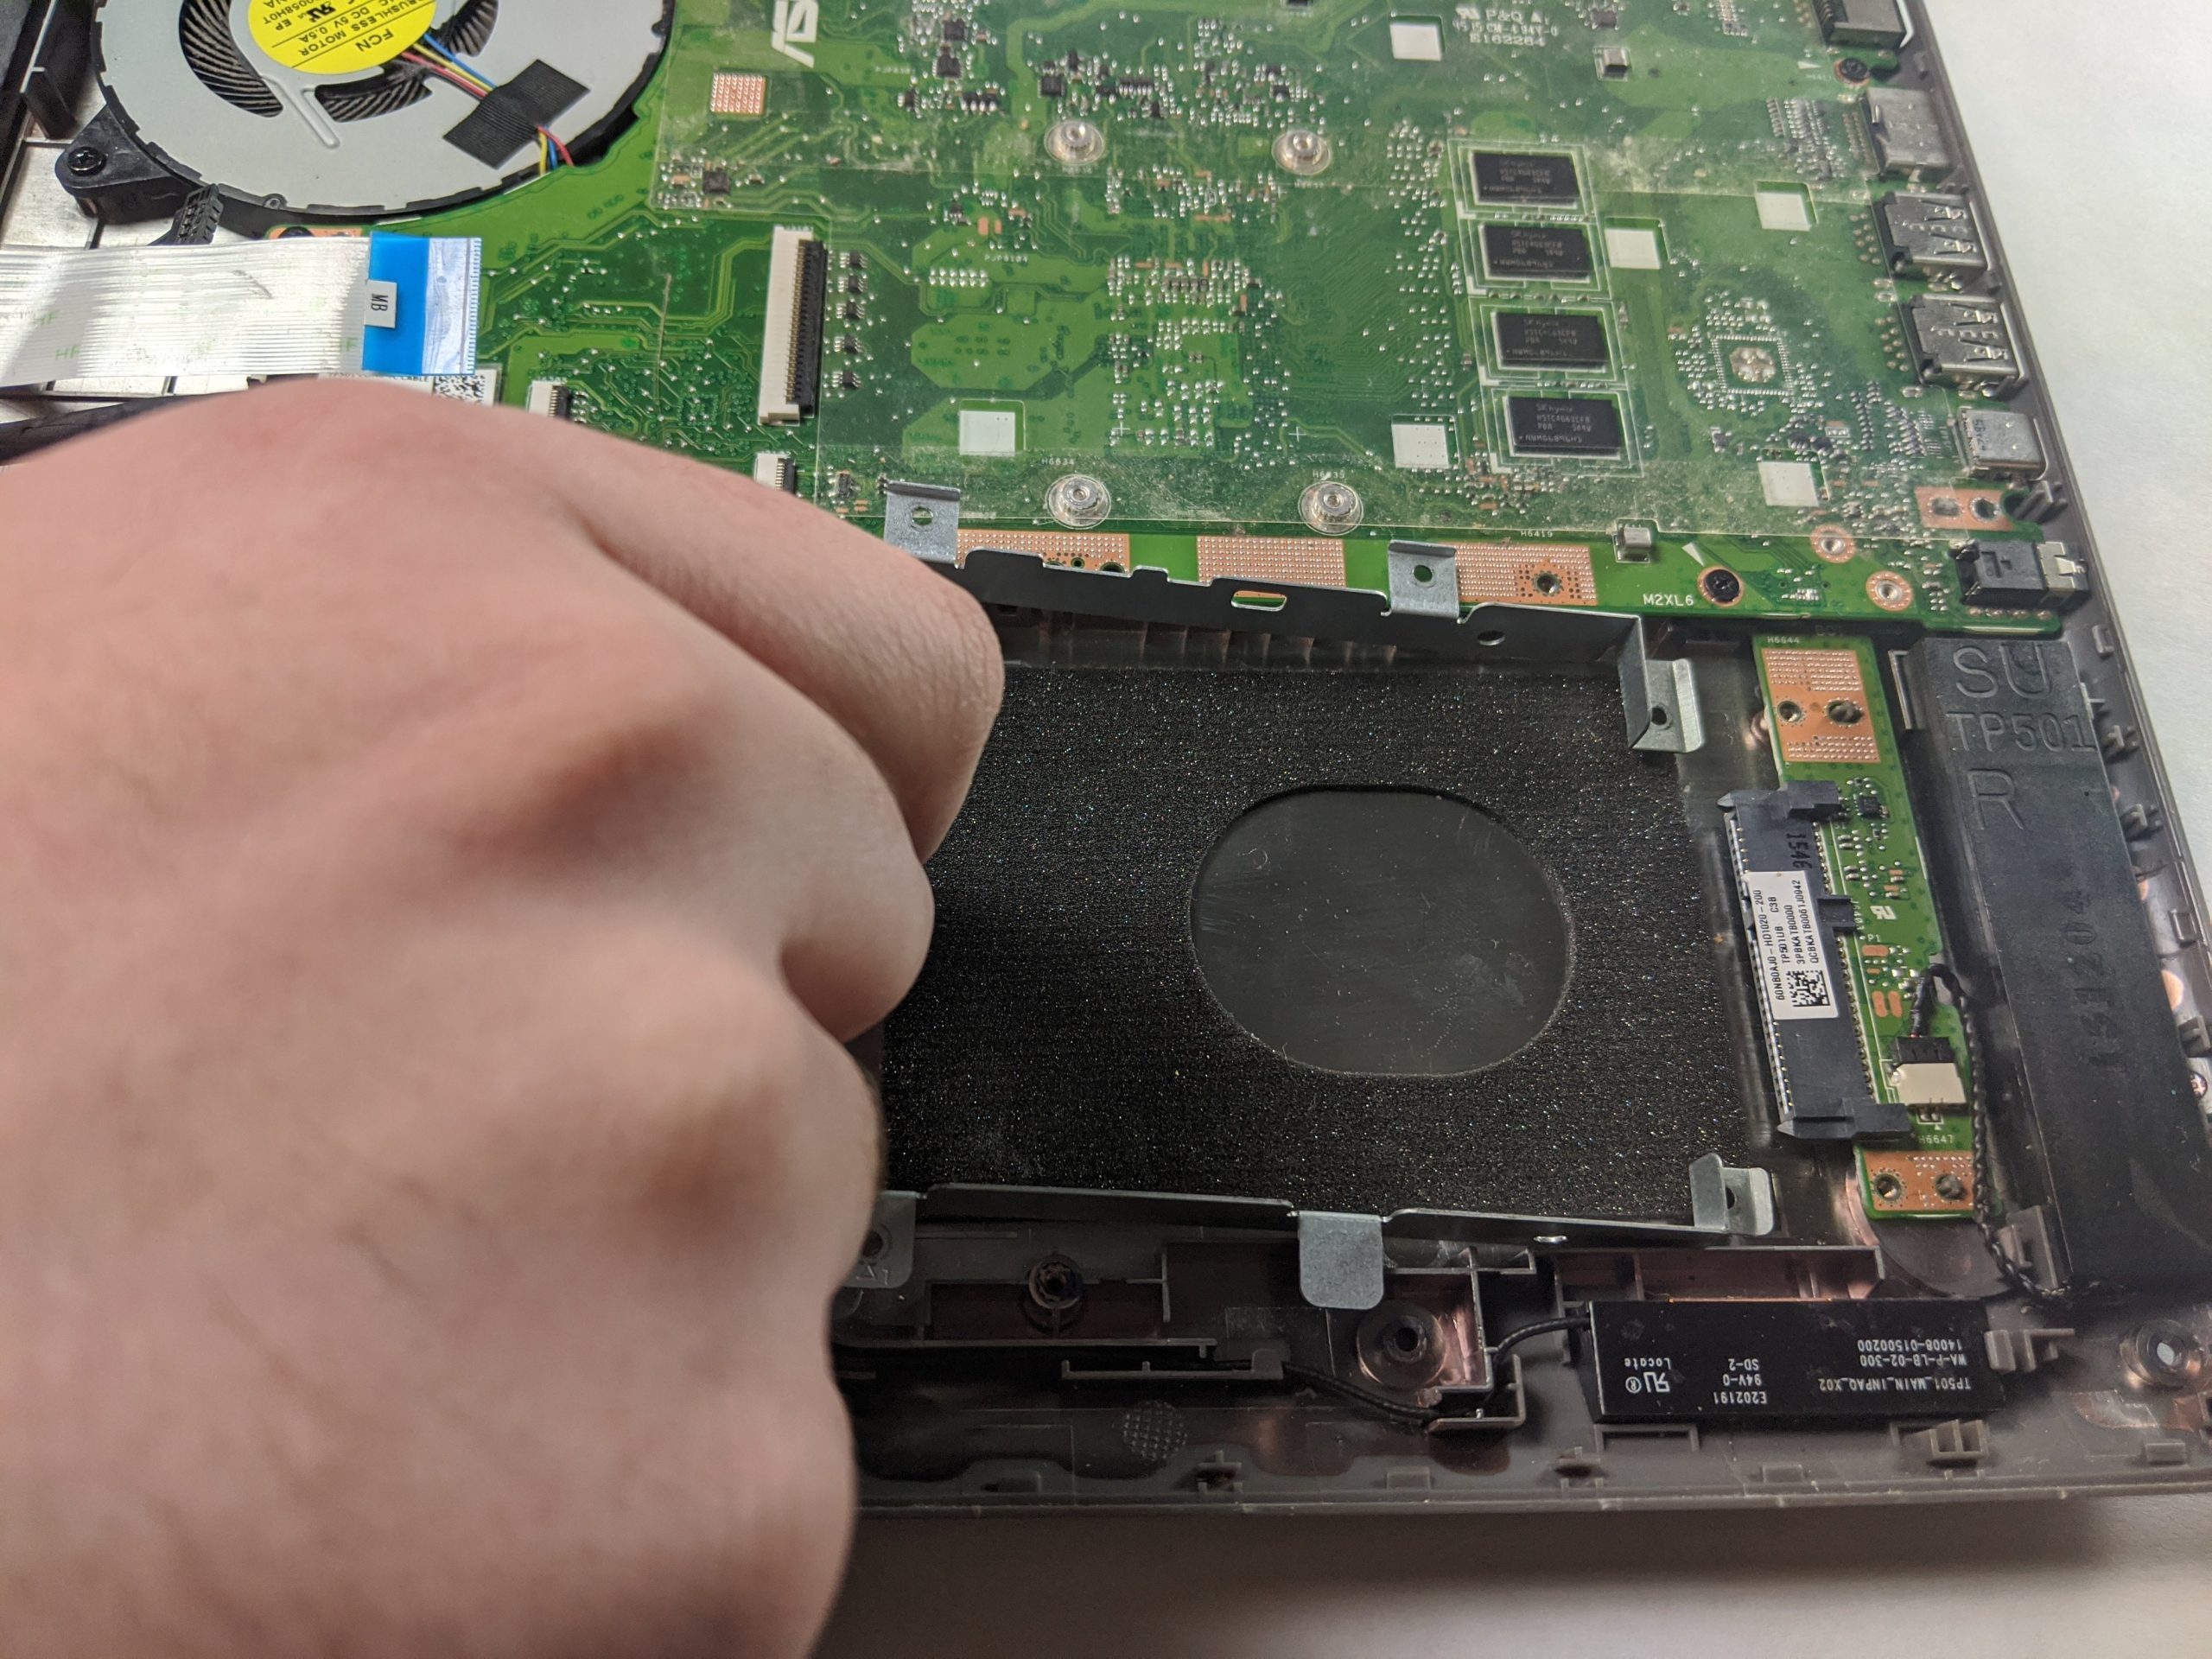
– Grab your trusty screwdriver and unscrew those five 4.8mm Phillips #00 screws that are keeping the hard drive mounting bracket snug as a bug.
– Now, gently slide that mounting bracket toward the battery to free the hard drive from the motherboard’s embrace.
Step 6
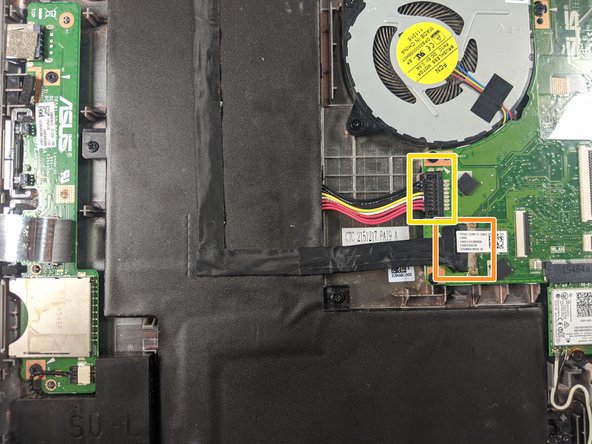


– Gently lift and disconnect the white ribbon cable from its connector. Then, carefully detach the black ribbon cable in the same manner. Next, unplug the battery cable from the motherboard to disconnect the power source. Finally, remove the motherboard power cable to fully free the motherboard. If you need help, you can always schedule a repair.
Step 7


Heads up: there’s still a wire keeping the motherboard connected to the chassis. Don’t unplug it—just gently lift the motherboard out of the case.
– Start by grabbing your Phillips #00 screwdriver and removing those ten 4.8mm screws. Easy peasy!
Step 8

– Put everything back the way you found it by retracing your steps.
– If things get tricky, you can always schedule a repair for a hand from the pros.
Success!