Asus VivoTab RT TF600T Speaker Replacement
Duration: 45 minutes
Steps: 12 Steps
No sound coming out of your device, even after double-checking all the settings? Don’t worry, you’re in the right spot. This guide walks you through swapping out the speaker in your Asus Vivo RT TF600T, step by step—with just the right amount of encouragement.
Step 1


Make sure your tablet is powered down before getting started.
Pop the switch on the left side of the screen, then gently lift the tablet part right off.
– Carefully lift the tablet away from the keyboard attachment. Take your time to keep everything aligned and avoid any damage. If you need help, you can always schedule a repair.
Step 2


Grab your PH000 Phillips screwdriver and take out the two tiny 1.59 mm screws.
– Flip the device over 180°, and carefully unscrew the two 1.59 mm #000 screws located at the bottom. Easy peasy!
Step 3

Grab your trusty plastic opening tool and gently work your way around the edges to pop the screen off the back panel. It’s like giving your device a little spa treatment, but without the face mask!
– Pick up your plastic opening tool and gently slide it into the bottom right corner of the screen. Carefully start to lift and pry open.
– As the screen begins to separate from the device body, work your way around the edges with the tool until the entire screen pops free. Take your time and stay gentle.
Step 4
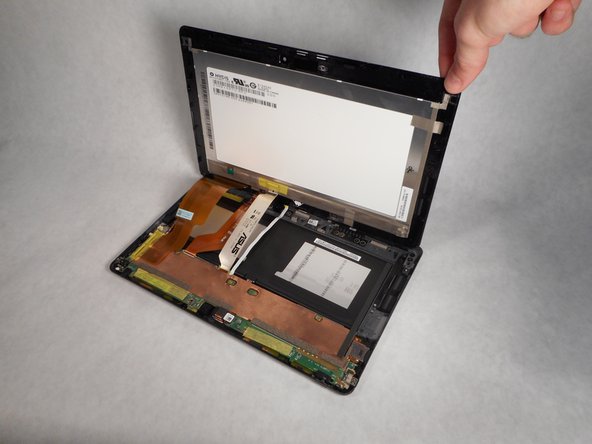

– With the screen fully detached, gently place the back panel down on a flat, smooth surface.
– Lift the screen up to take a peek at the inner workings of the tablet.
Step 5


Heads up! The battery’s still hooked up to the motherboard. To keep things shock-free, flip the switch marked DIP to OFF before you go any further.
– Before you start unplugging the display cables, make sure to flip the DIP switch to the off position. This little switch cuts the power to the system, so you’re safe to proceed.
Step 6
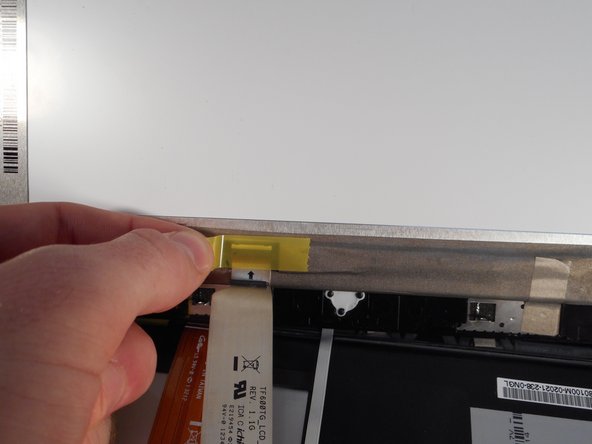

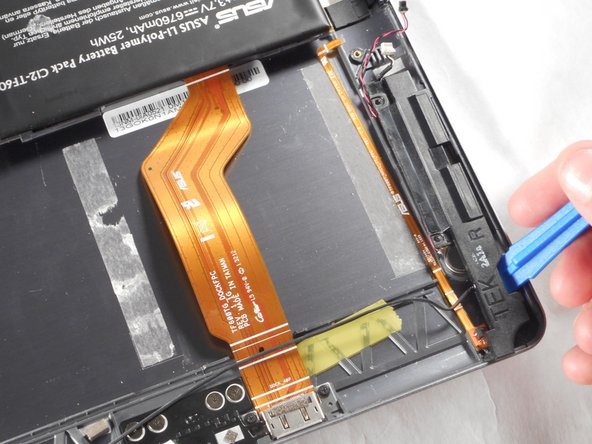
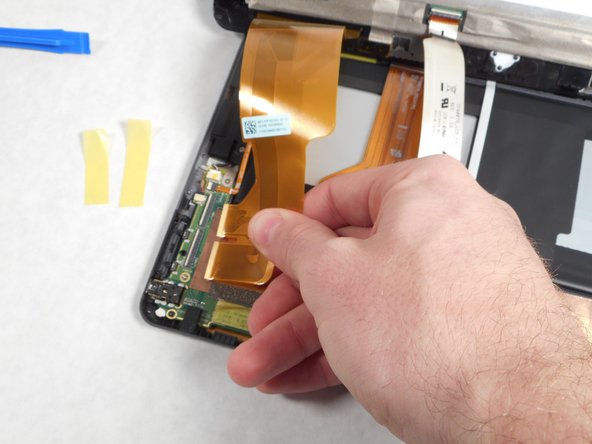
– Peel off the yellow tape that’s holding the cables in place. You’ve got this!
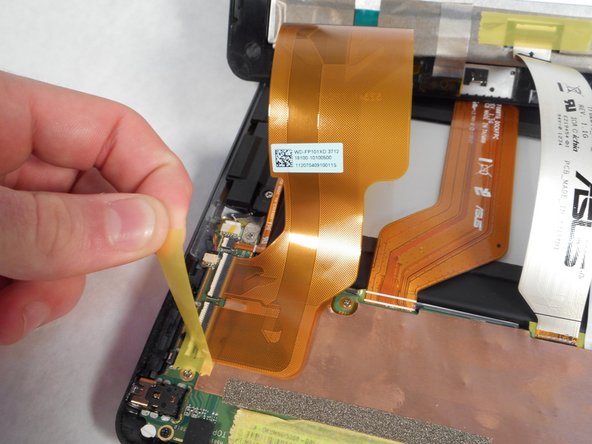
Step 7

Gently press in the levers using the plastic opening tool—like you’re giving your device a pep talk and a little nudge to get moving.
– Peel back the yellow tape, and you’ll reveal a hidden gem: a white strip. This isn’t just any strip, though – it’s a lever ready for action.
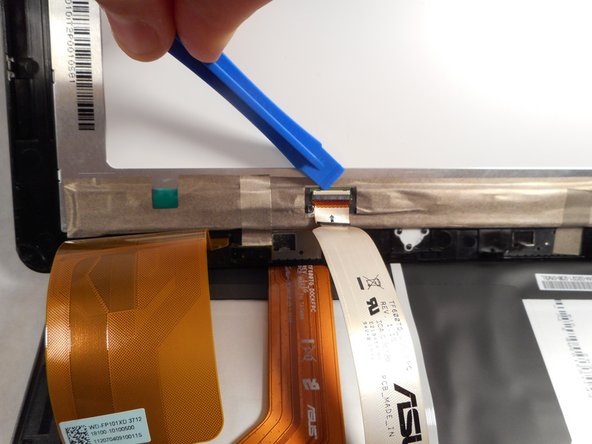
Step 8
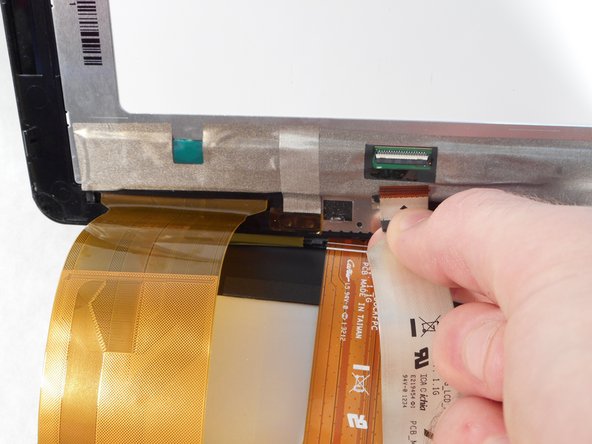
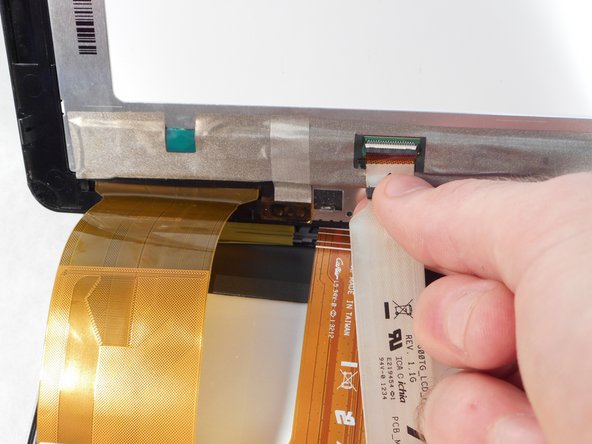
– Now, with all three white levers pushed in, give each display cable a gentle tug until they come loose. Easy does it!
Step 9

– Gently lift the screen upwards to free it from the device. No rush, take it slow!
Step 10

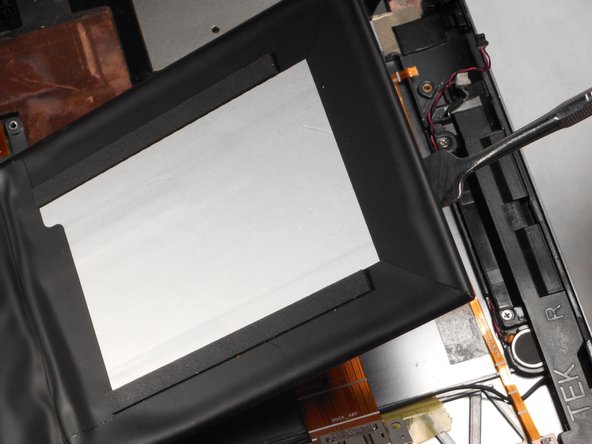
– Give the tablet a gentle spin so the speaker ends up on the right side.
– Grab your trusty nylon or metal spudger and carefully pop the battery away from the back panel.
Tools Used

Step 11
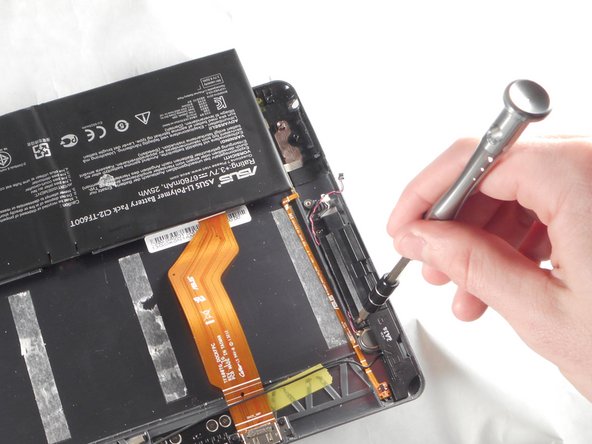

– Grab your Phillips #00 screwdriver and carefully unscrew the two 0.79 mm screws holding the speaker in place. Take your time, no rush!
Step 12


– Carefully pry out the speaker using a plastic opening tool. Keep it gentle to avoid any damage. If you need help, you can always schedule a repair.
Success!