Asus X202E-UH31T Headphone Jack Replacement
Duration: 45 minutes
Steps: 5 Steps
Ready to swap out that headphone jack on your laptop? No worries, we’ve got you covered with this straightforward, no-nonsense guide. Follow these steps, stay patient, and before you know it, your audio will be back in business. And hey, if you hit a snag, you can always schedule a repair with the pros.
Step 1

– Grab your small Phillips screwdriver and take out the nine 1.2mm screws from the bottom of your laptop.
Step 2

– Grab your trusty plastic opening tool and get ready to dive into your laptop! Just slide that tool between the two covers and give it a gentle pry to pop things open. You’re doing great!
Step 3

– First, remove the back of your device to get started with the repair. Next, use a #0 phillips head screwdriver to remove the 7 – 1.2 mm phillips head screws that hold your battery in place.
– After you have removed the screws, use a plastic opening tool to carefully disconnect the battery cable ribbon from the motherboard. If you’re not sure, take a deep breath and remember that you’ve got this – or, if you need help, you can always schedule a repair.
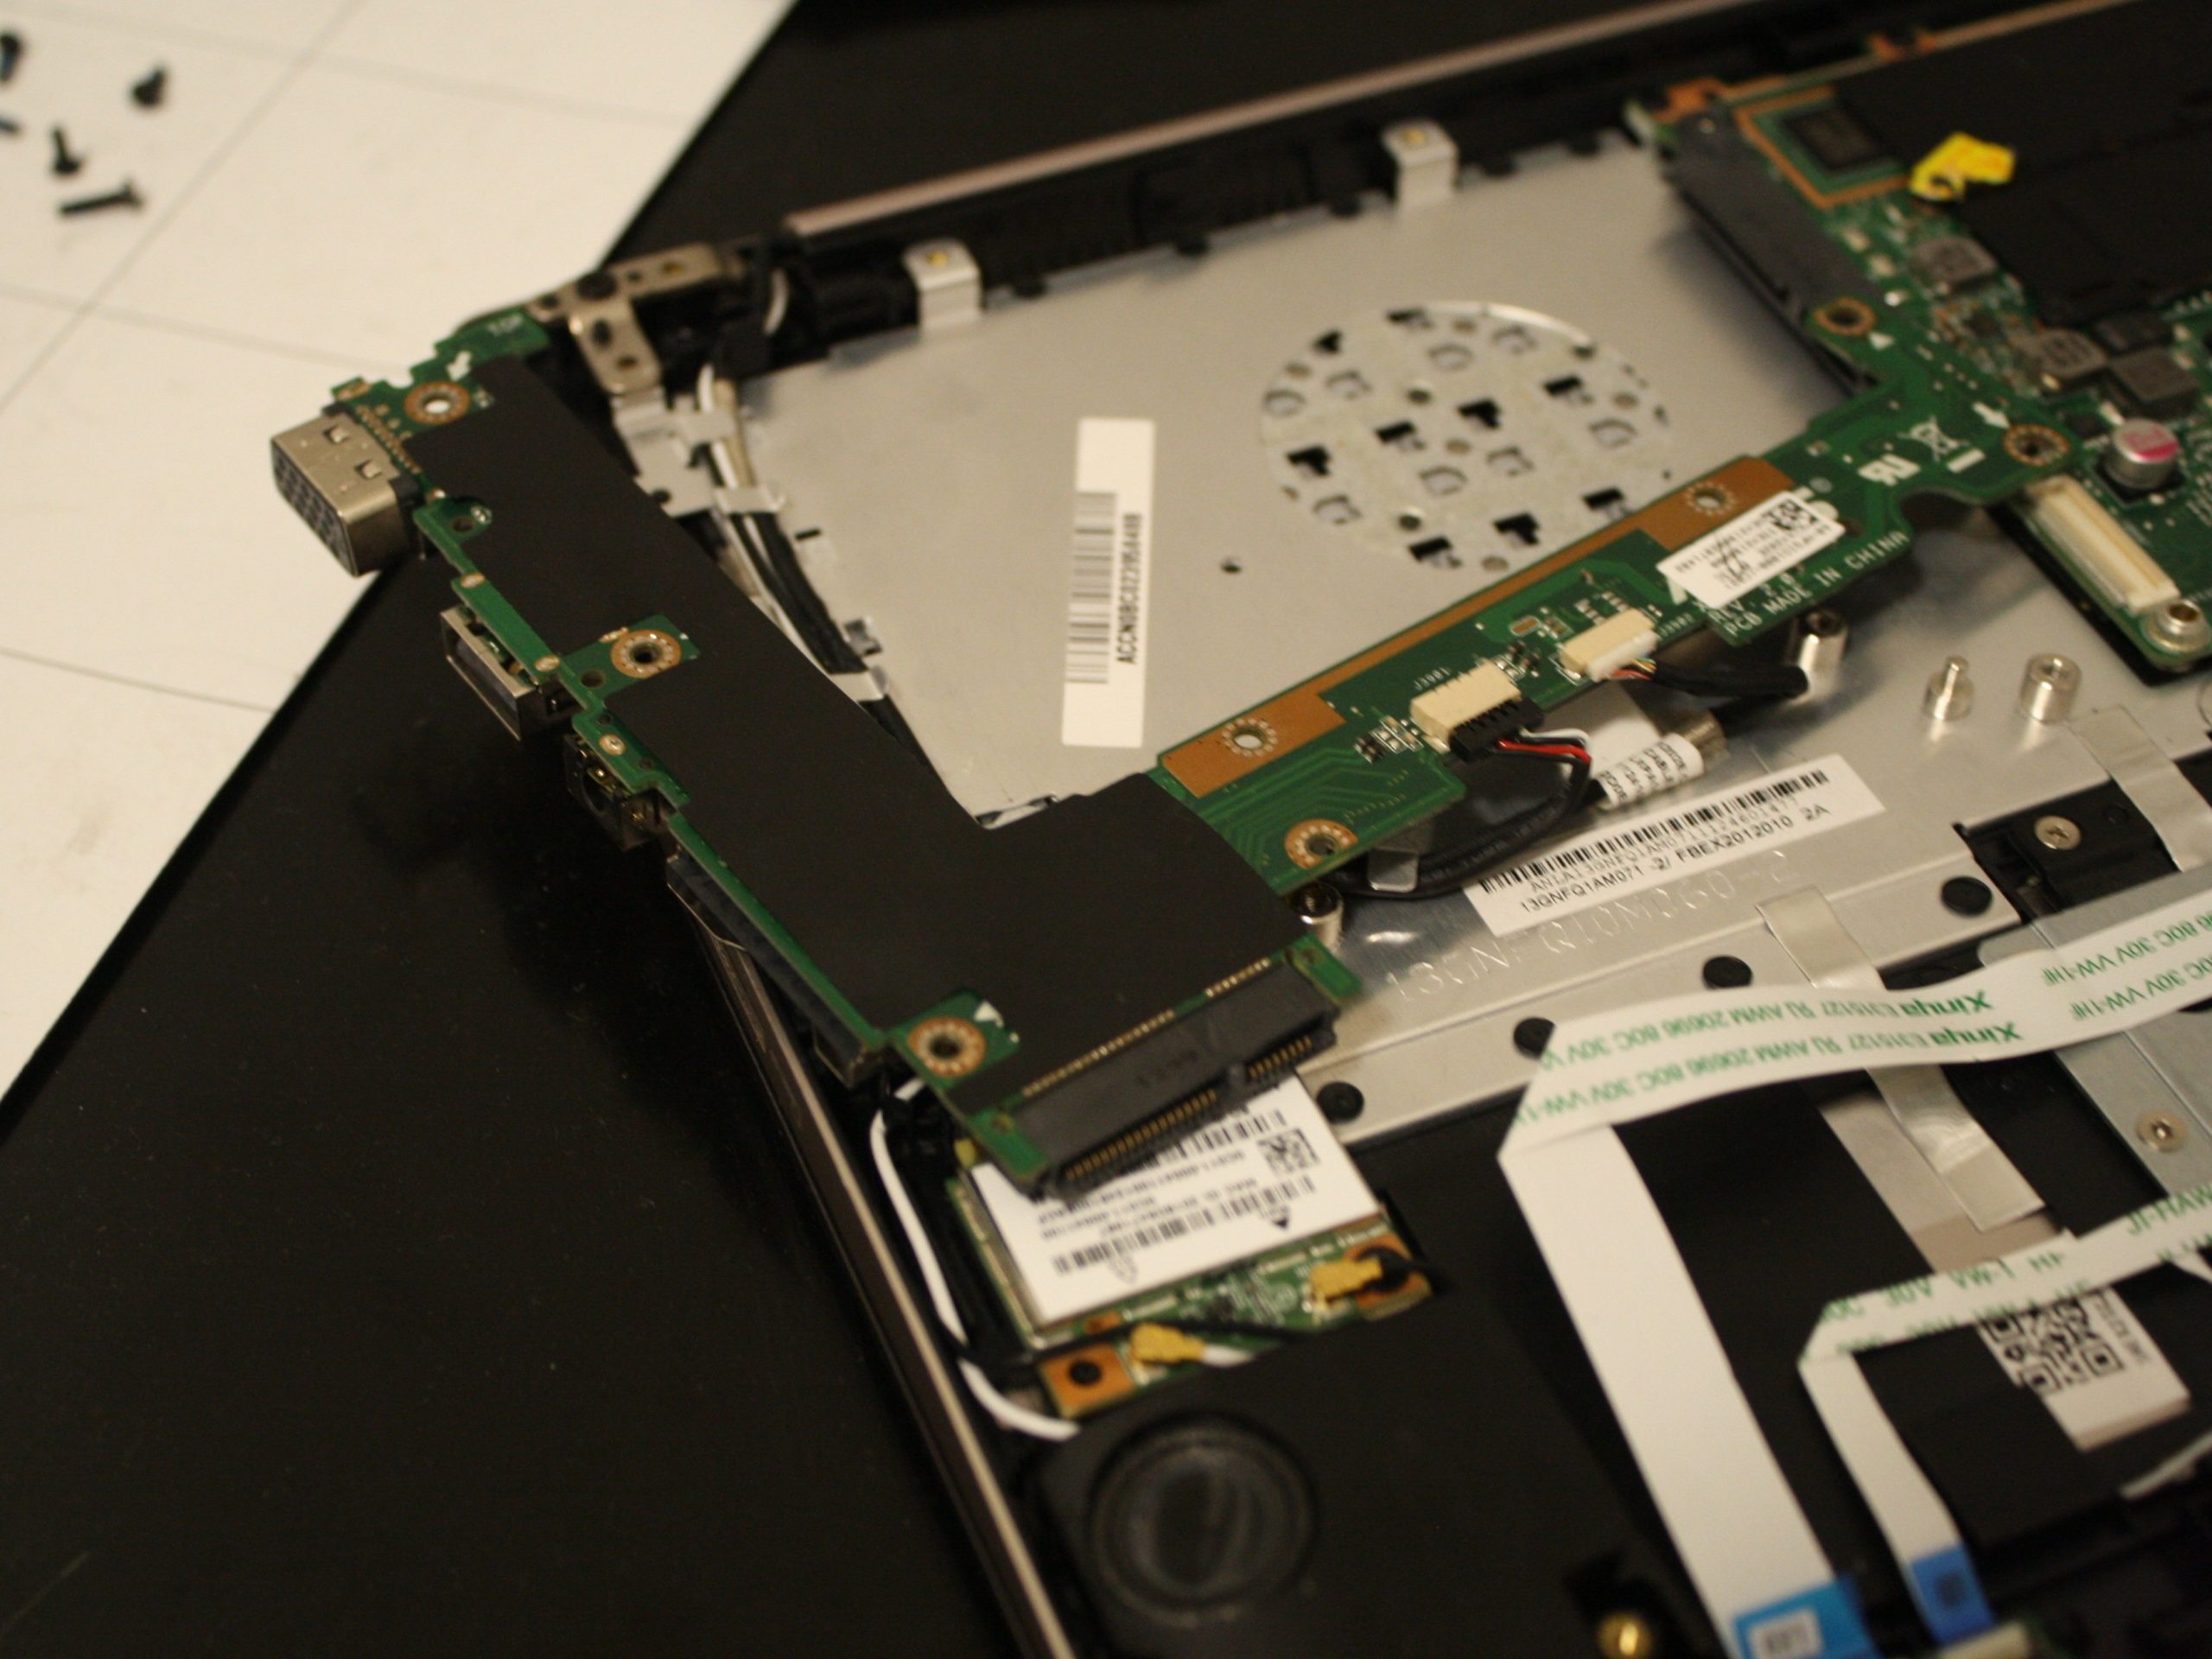
Step 4

– Take out the seven 1.2mm screws that are keeping the secondary motherboard in place. Next up, gently loosen the speaker ribbon—it’s easier than untangling earbuds.
– Carefully pop the secondary motherboard off with your fingers. No tools needed, just a little finesse!
Step 5

– Carefully detach the headphone jack or go ahead and swap out the secondary motherboard chip entirely!
Success!