Asus ZenFone 3 Zoom Screen Replacement Guide: Fix Your Phone at Home with This DIY Tutorial
Duration: 45 minutes
Steps: 17 Steps
Ready to tackle the screen replacement on your Asus ZenFone Zoom 3? Awesome! This guide walks you through the process of safely removing that screen so you can swap it out with a shiny new one. To get started, you’ll need to pop off the back of your phone and carefully strip away the housings, one at a time. Grab your soldering iron—just remember, it can be a bit tricky! So, if you’re not a soldering pro, make sure to take all the right precautions and follow along step by step. And as you work your way around the edges of the phone, be gentle when removing the screen; we wouldn’t want you to accidentally damage it or, yikes, break the casing. If you run into any tough spots, you can always schedule a repair for some extra help. Let’s get started!
Step 1


– Grab the sim card tool from the kit and pop out the sim card tray from your phone. Easy peasy!
Step 2

– Using your trusty T2 screwdriver, take out the three 3.5 mm screws on either side of the charging port at the bottom of your phone. It’s easier than finding the TV remote!
Step 3

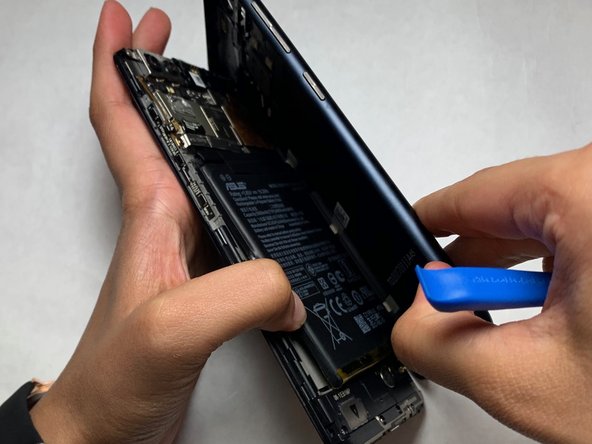
– Grab your trusty opening tool and gently pry apart the screen from the plastic body of the phone. You’ve got this!
Step 4

– Grab your trusty PH #00 bit and let’s tackle those two 3.3 mm screws in the bracket hanging out to the top left of the battery. You’ve got this!
Step 5

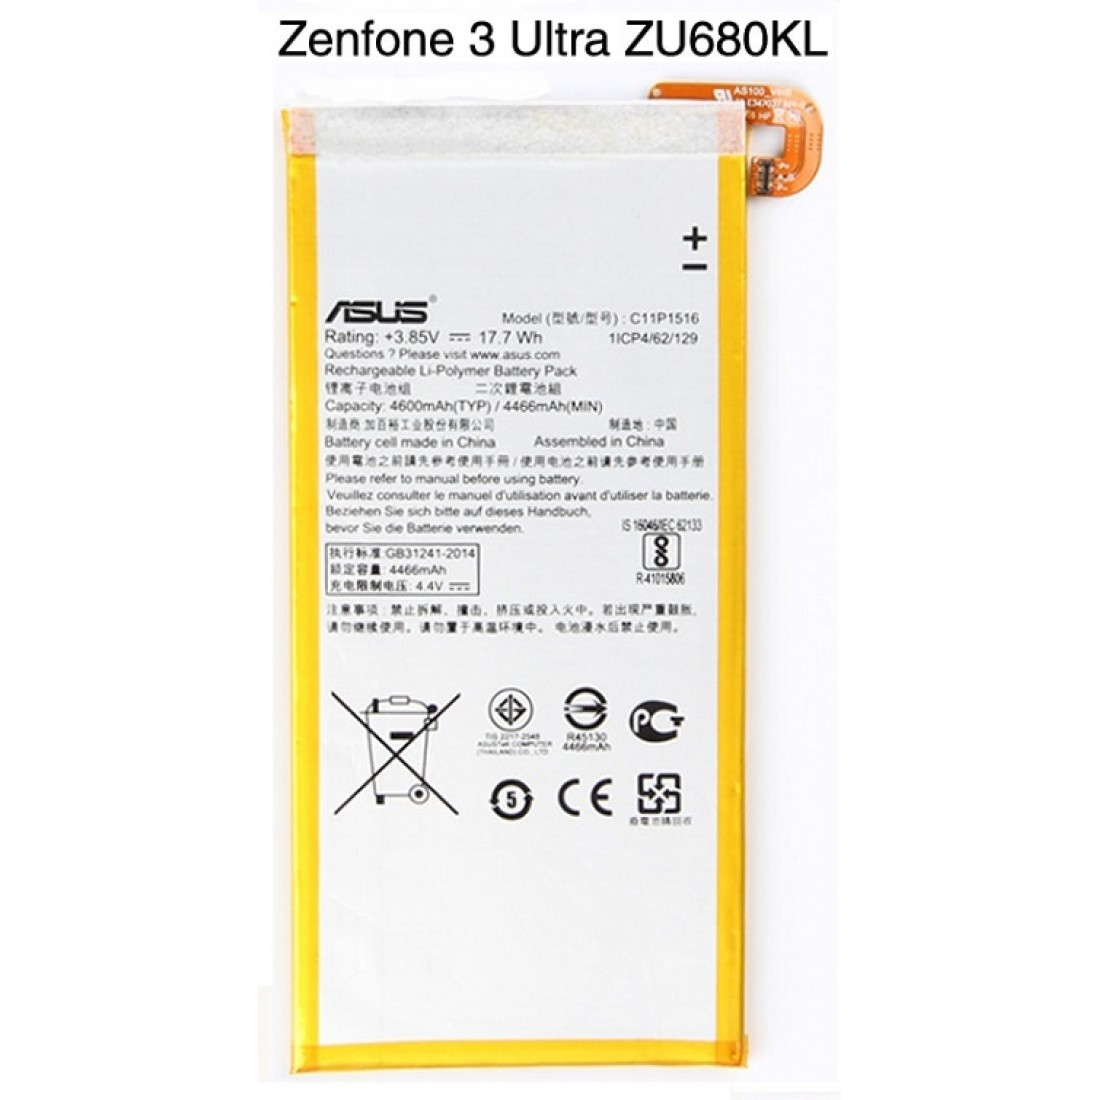
– Once you’ve gracefully taken off the bracket and unscrewed those pesky screws, gently lift the battery from the bottom of your device and set it aside like the pro you are.
Step 6

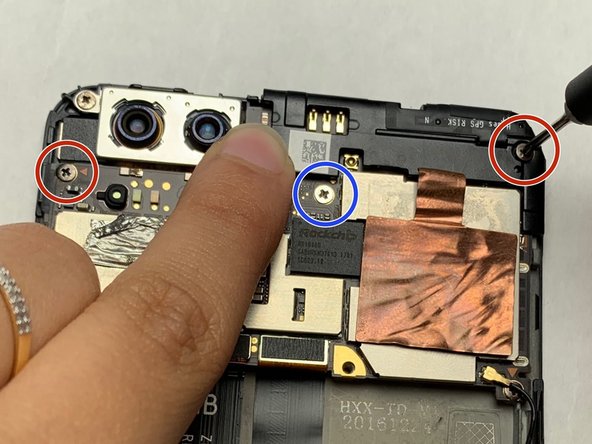
– Grab your PH #00 and unscrew the trio of screws chilling at the top of your phone.
– The screws on the top right and left are 3.25 mm—just a heads up!
– The middle one’s a bit smaller at 2.65 mm, so keep an eye out for that little guy.
Step 7

– Alright, let’s give that speaker wire a little nudge! Time to de-solder the black speaker wire on the left side of your phone. It’s like giving it a little high-five, but with a soldering iron! If you need help, you can always schedule a repair.
Step 8


– Grab your trusty plastic spudger and gently slide the flat-edge side beneath those ribbon cables. Wiggle it a bit and pop them off from the motherboard with ease!
Tools Used

Step 9
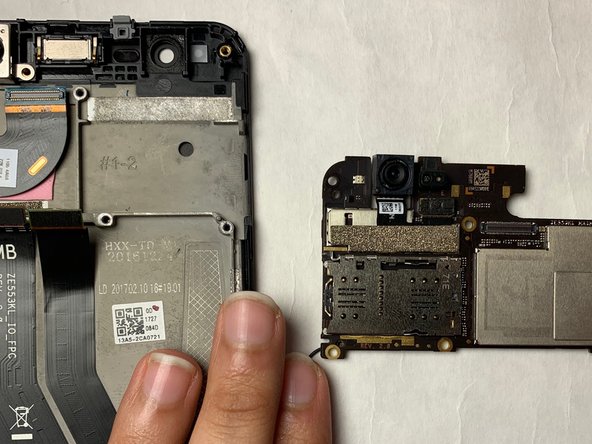

– Gently grasp the edges of the motherboard just above where your battery used to hang out, and with a little finesse, lift it right out. Easy-peasy!
Tools Used

Step 10


– Let’s get that speaker cover off the bottom of the casing! Grab your PH #00 screwdriver and tackle those five 3.25 mm screws. Once they’re out, the cover will come right off, and you’ll be one step closer to your repair adventure!
Step 11

– Carefully detach the ribbon cable from the speaker housing using the flat edge of your trusty plastic spudger. You’ve got this!
Tools Used
Step 12

– Once you’ve got it all opened up, gently take out the speaker and set it aside like the superstar it is.


Step 16
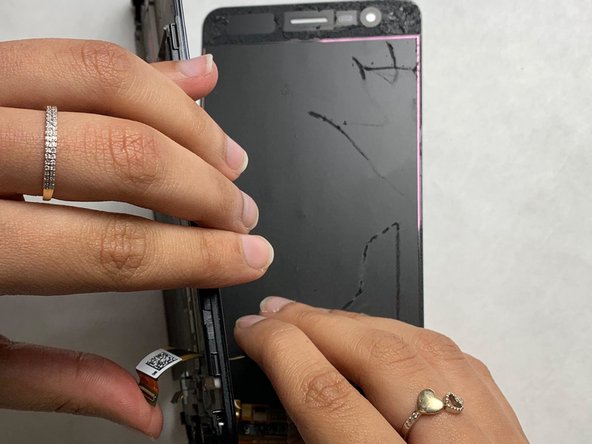

– Gently detach the screen by pulling the handy ribbon cable through the opening that’s waiting for it. You’ve got this!
Step 17

– What you’ll end up with is a screen that’s completely free and clear of any attachments to the phone’s body. Nice and tidy!
Success!