Asus ZenFone 5 Front Camera Replacement Guide | DIY Tutorial
Duration: 45 minutes
Steps: 8 Steps
The front camera hangs out at the top of your screen, keeping an eye on the world. Sometimes it might experience a bit of internal drama that leads to a need for replacement, like a cable that has decided to take a break. Common issues with that peppy front-facing camera can include a mysterious black screen or those pesky blurry photos that just won’t quit. If you need help, you can always schedule a repair.
Step 1
Heads up! Once your iOpener’s nice and toasty, grab it by the sides – you don’t want any accidental burns, right?
– Pop that iOpener in the microwave for just 30 seconds to give it a warm-up party!
Step 2
– Let’s get this party started! Grab that iOpener and place it on one side of your phone. Give it a good 10-15 minutes to heat things up.
– Now, reheat the iOpener and move it to the other side of your phone. We’re ready to go!
Step 3
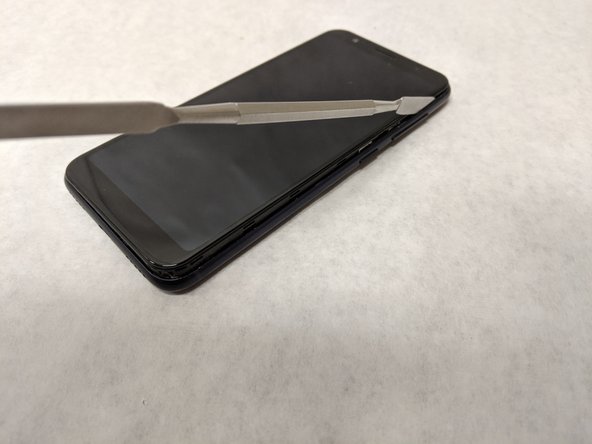
Using metal tools like the ones in the photos can be a bit risky since the battery is hanging out along the edges and there’s a chance of a puncture. It’s best to go for an ESD safe tool instead!
Getting your phone apart can be a bit of a workout! There are 6 tabs on each side that may need a little extra oomph to separate. Just take your time, and remember, if you run into trouble, you can always schedule a repair.
– Carefully glide the jimmy tool around the edges of your phone to loosen up that sticky adhesive.
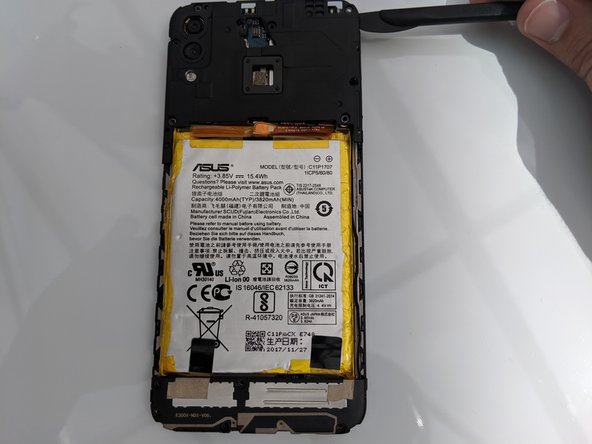
– Grab your opening picks and trusty opening tool to gently lift off the back cover.
– Keep repeating the warm-up and prying dance until the back cover is ready to come off completely.
Tools Used
Step 5
– Unplug the press fit connector near the top-right corner of the battery to pop the battery loose from the motherboard.
Step 6
– Alright, let’s get those screws out! Use the same screwdriver to remove the five Phillips #00 3.96mm screws along the bottom plate.
– Now, use the spudger to carefully pry off the bottom plate. It’s like giving your device a gentle hug, but with a tool!
Tools Used
Step 8
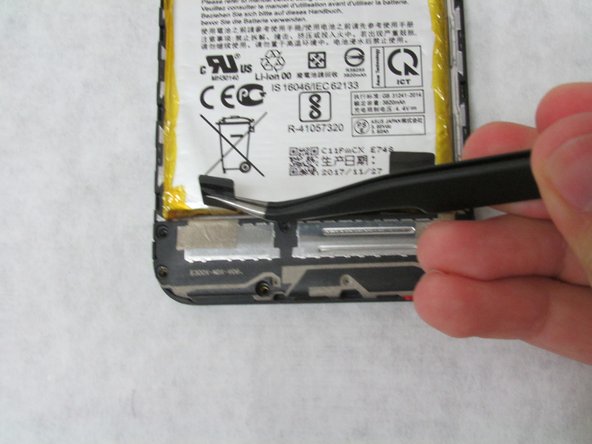
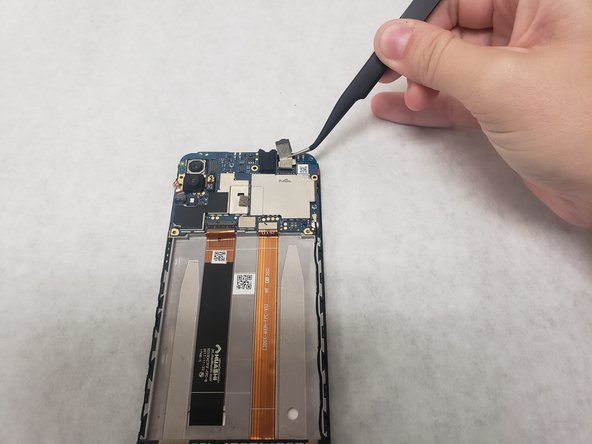
– Carefully peel back the shiny silver tape located to the right of the audio jack, just enough so it’s off the silver plate.
– Grab your tweezers and gently disconnect the press fit connector hiding beneath the tape, right above that shiny silver plate.
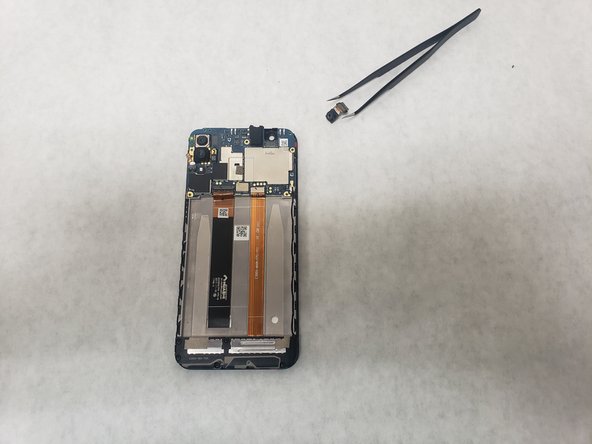
– Now, gently lift upwards until the camera and connector are free and clear!
Success!


