ASUS ZenPad S 8.0 Battery Replacement
Duration: 45 minutes
Steps: 4 Steps
Is your battery playing hard to get? No worries! This guide will help you swap it out like a pro. Before diving in, let’s cover a couple of smart moves. First up, ground yourself to keep those delicate internal parts safe from static surprises. Then, get your organization game on—label and sort those tiny screws and bits so they don’t go on a wandering adventure. Ready to get your device back in action? Let’s do this!
Step 1


If you’ve got a MicroSD card hanging out in your device, make sure to pop it out before diving into disassembly. Keeping it inside could spell trouble for the card, the rear cover, or the card slot itself. Let’s keep things safe and sound!
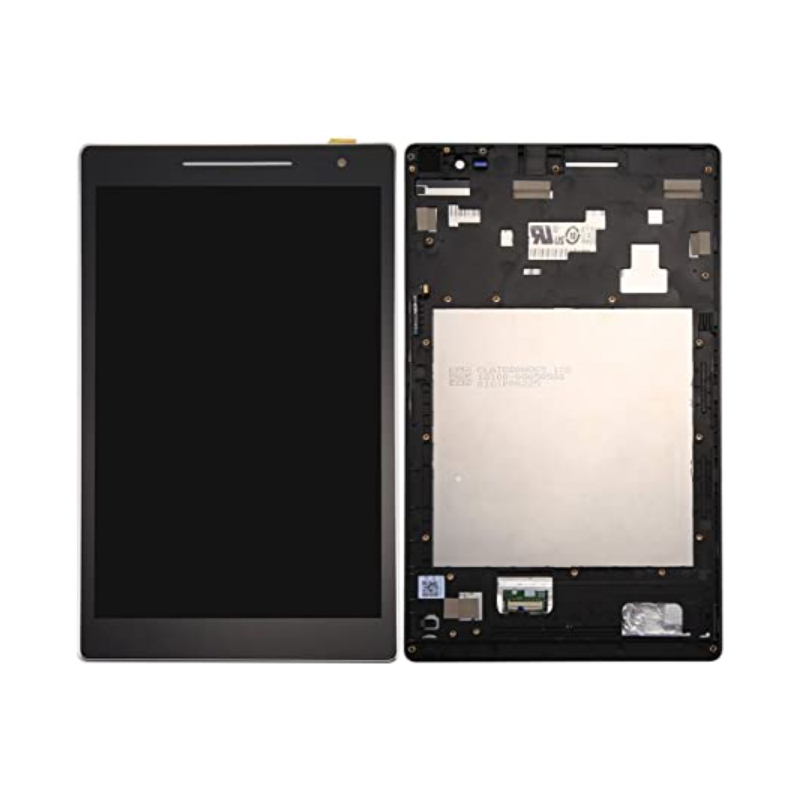
– Grab your trusty plastic tool and gently slide it between the shiny silver bezel and the back case. You’re doing great!
– Carefully work your way around the device with the tool to free that back case. Almost there!
Step 2


Keep those ribbon cables smooth and stress-free—they’re delicate and deserve some TLC!
– Gently lift the white retaining flap on the ZIF connectors to release the ribbon cables, then smoothly pull the ribbon cable away. You’re doing great!
Step 3


– Let’s get started by carefully removing the battery connector. Use 2 plastic pry tools to gently pry it up and away from the device. Take your time and be patient, you got this!
Step 4


– Unscrew the 9 Philips screws (1.5mm #00) and set them aside. They’re tiny, so keep track of them!
– Carefully lift the battery out of its cozy little home in the device.
– Grab an opening pick (or something similar) to gently work around the edges of the battery, loosening the adhesive at both the top and bottom.
Success!