ASUS ZenPad S 8.0 Daughter Board Replacement
Duration: 45 minutes
Steps: 10 Steps
Here’s the scoop on swapping out the daughter board (also called the secondary board). Step one: yank that battery out completely to avoid accidental short-circuits—those aren’t fun for anyone. Next, ground yourself like a pro to dodge any unintentional frying of precious internal parts. Oh, and stay organized! Keep track of those sneaky screws and make sure to label them so you’re not scratching your head later.
Step 1


Before diving into disassembly, make sure to take out that MicroSD card if it’s hanging around. Forgetting to do so might just lead to some unexpected damage to the MicroSD card, the rear cover, or the slot where it fits. So, give it a little love and remove it first!
– Grab that trusty plastic tool and gently wedge it between the shiny silver bezel and the back case.
– Now, glide that tool around the device to help release the back case like a pro!
Step 2


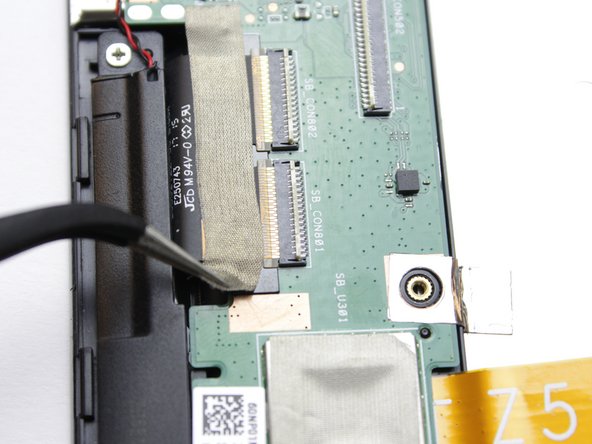
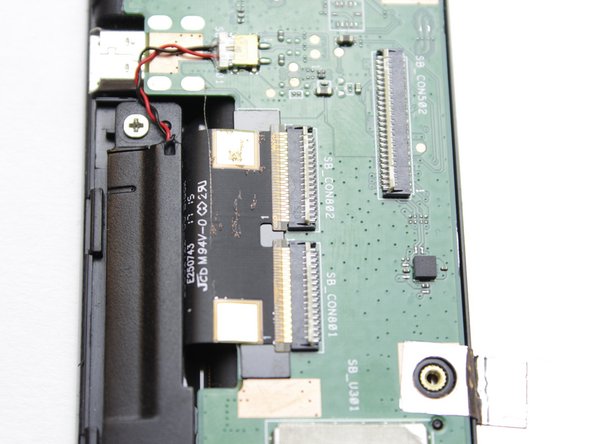
Be gentle with those ribbon cables; they’re like delicate spaghetti and can snap if you bend them too much!
– Gently pop open the white locking flap on those ZIF connectors and slide the ribbon cables out like a pro.
Step 3


– Gently lift the battery connector away from the device using two plastic pry tools—think of it as carefully unhooking a tiny puzzle piece. No yanking, no forcing—just a smooth, satisfying pop.
Step 4


– Unscrew all 9 of those pesky 1.5mm #00 Philips screws. You’ve got this!
– Carefully lift the battery out of your device like it’s a precious gem.
– Grab an opening pick or a similar tool and gently pry apart the adhesive at the top and bottom of the battery. Just take it slow and steady!
Step 5


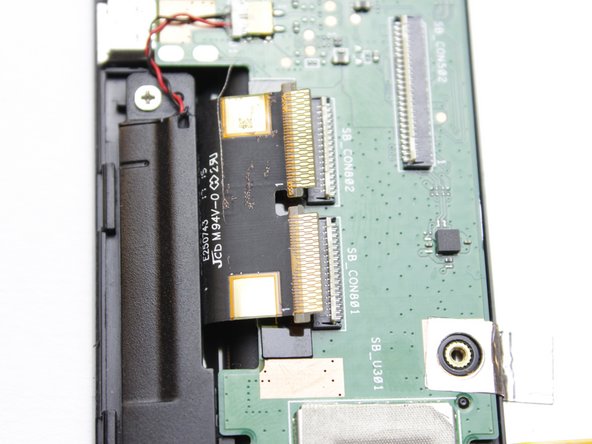
– To detach the ribbon cables, gently lift the white retaining flap on the ZIF Connectors using a plastic pry tool. You’ve got this!
Step 6

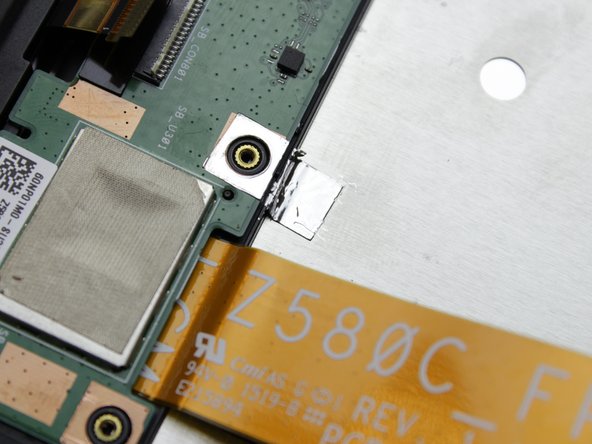
– Carefully use your trusty tweezers to gently coax the tape off the ribbon cable
Step 7

– Grab your trusty tweezers and carefully ease the ribbon cable out from its connector—no yanking, no wrestling, just a smooth, controlled pull.
Step 8


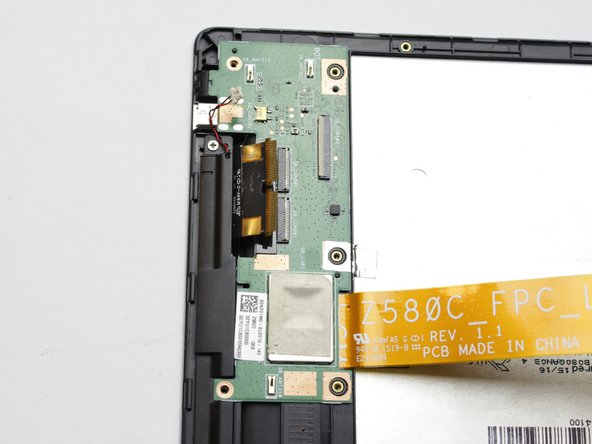
– With a gentle touch, use the tweezers to carefully lift the connector out of the yellow slot. You’ve got this!
Step 9

– Carefully cut through the warranty tape that’s holding the daughter board to the metal plate under the battery. This will help you gain access to the components you need to repair.
Step 10


– Grab your trusty #00 Phillips head screwdriver and unscrew the last 1.5mm screws holding the daughter board in place.
– Once those screws are free, gently lift the daughter board out of the device. You’re almost there!
Success!