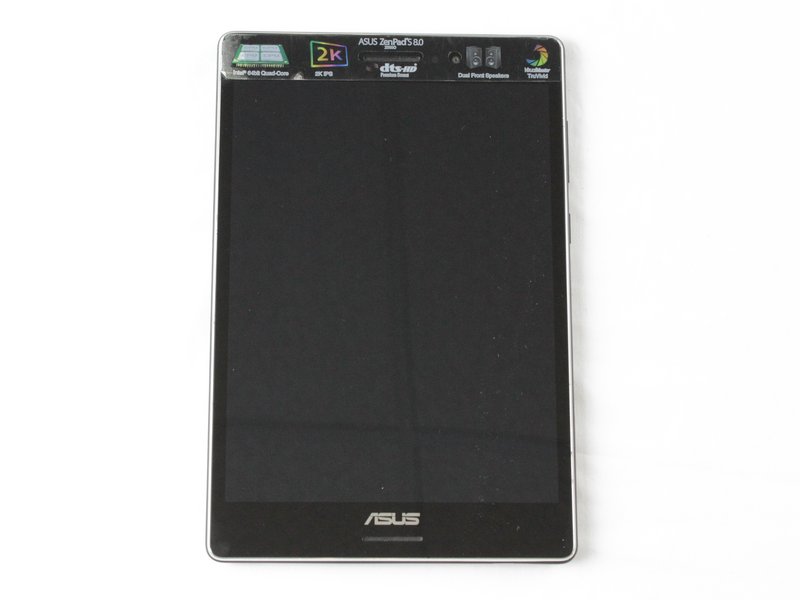
ASUS ZenPad S 8.0 Front Facing Camera Replacement
Duration: 45 minutes
Steps: 6 Steps
Is your front-facing camera on strike? No worries, this guide has got you covered! We’ll walk you through taking apart your device and swapping out that stubborn camera. Just a quick heads-up—be sure to disconnect the battery completely before diving in, as a little short circuit never makes anyone happy. Oh, and grounding yourself is a smart move to protect those delicate internal parts from any unwanted surprises. Also, keep those screws organized and label them to avoid a scavenger hunt later on. If you’re feeling stuck, don’t hesitate to schedule a repair and let us help out!
Step 1


Before diving into disassembly, make sure to take out that MicroSD card if it’s hanging around. Forgetting to do so might just lead to some unexpected damage to the MicroSD card, the rear cover, or the slot where it fits. So, give it a little love and remove it first!
– Grab your trusty plastic tool and gently slide it between the shiny silver bezel and the back case. You’re doing great!
– Carefully work your way around the device with the tool to free that back case. Almost there!
Step 2


Be gentle with those ribbon cables—treat them like the delicate little flowers they are, or you might end up with a broken one!
– Gently lift the white retaining flap on the ZIF connectors to free those ribbon cables, then smoothly slide them out like you’re showing off a cool trick. Easy peasy!
Step 3


– Time to disconnect the battery! Use 2 plastic pry tools to carefully pry the battery connector away from the device. Think of it like a gentle tug-of-war – you’re helping the connector come loose, but don’t force it.
Step 4


– Take out all 9 of those tiny 1.5mm #00 Philips screws—yep, every single one!
– Carefully lift the battery up and out—think of it like removing a delicate treasure.
– Use an opening pick or a similar tool to gently free the adhesive holding the battery in place, both at the top and bottom—patience is key!
Step 5


– Grab your trusty plastic opening tool and gently lift the black retaining flap on the ZIF Connector. You’re doing great—keep it steady!
Step 6

If you’ve flipped the latch for the ribbon cable, it should slide out with ease—no wrestling required!
– You made it! To get your device back in working order, just reverse the steps you followed to get here. If you need help or want a pro to double-check your work, you can always schedule a repair
–
Tools Used

Success!