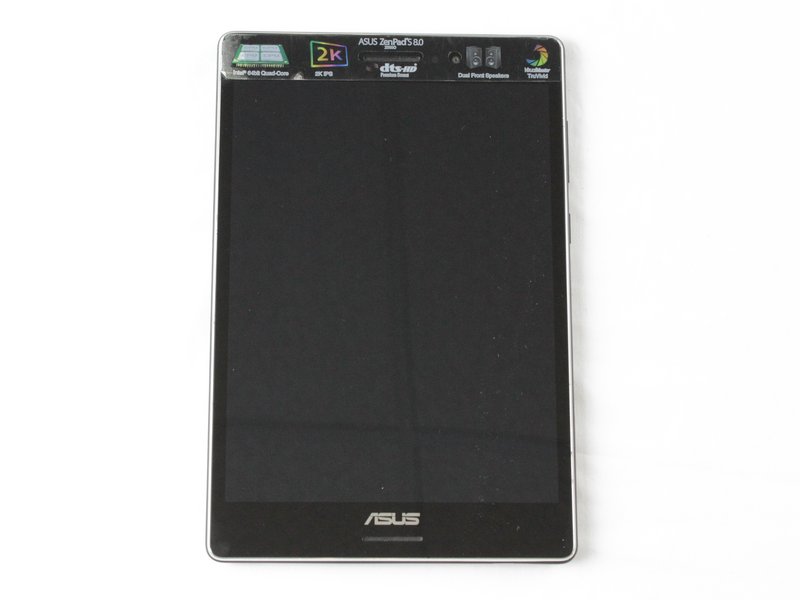
ASUS ZenPad S 8.0 Motherboard Replacement
Duration: 45 minutes
Steps: 11 Steps
After you’ve gracefully nudged the battery out, it’s time to say goodbye to the motherboard! Just ensure that battery is totally out of the picture before diving deeper, you wouldn’t want surprise circuitry shorts ruining your day. And hey, a little tip—make sure to ground yourself to protect those delicate internal components from any zap attacks! Oh, and keep your screws organized; a labeled system is your best friend in this adventure!
Step 1


Before diving into disassembly, make sure to take out that MicroSD card if it’s hanging around. Forgetting to do so might just lead to some unexpected damage to the MicroSD card, the rear cover, or the slot where it fits. So, give it a little love and remove it first!
– Grab a trusty plastic tool and gently pop it between the shiny bezel and the back case. Think of it as persuading them to part ways.
– Slide the tool all the way around the device like you’re tracing a funky groove, and watch the back case come loose!
Step 2


Be gentle with those ribbon cables – they’re super fragile and can break if you bend or kink them the wrong way!
– Gently pop up the white flap on the ZIF connectors to release those ribbon cables, then smoothly slide them out. You’re doing great!
Step 3


– Carefully pop the battery connector loose by gently prying it upward—think of it like giving your device a tiny high-five! Use two plastic pry tools to keep it smooth and damage-free.
Step 4


– First, let’s get started by removing all 9 of those tiny 1.5mm #00 Philips screws – it’s time to set that battery free!
– Gently coax the battery out of the device, taking care not to damage any of the surrounding components.
– Use an opening pick or a similar tool to carefully separate the adhesive on the bottom and top of the battery – this is where the magic happens!
Step 5


– Grab a plastic opening tool and gently flip up the black retaining flap on the ZIF connector—time to give it a little nudge of encouragement!
Step 6

Once you’ve flipped that latch for the ribbon cable, it should slide out without much fuss. You’re doing great!
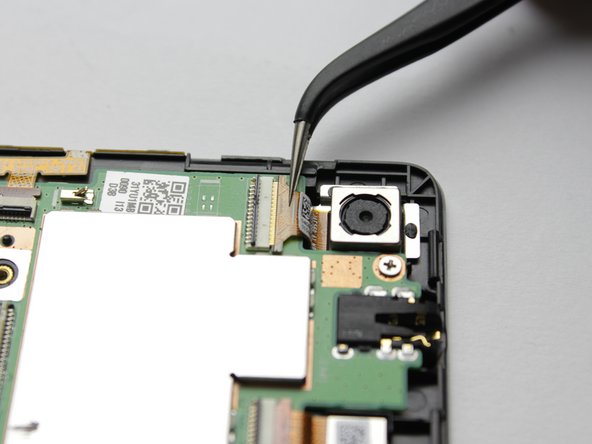
– Grab a pair of tweezers and gently coax the camera out of its cozy spot.
Tools Used

Step 7

Taking out the ribbon cable? Easy peasy! Just follow the same steps you used for the front-facing camera, and you’ll be golden.
– Grab your trusty plastic prying tool and gently lift that little retention flap on the ZIF Connectors securing the ribbon cables to the motherboard. Go on, you’ve got this!
Step 8


– With a steady hand, carefully lift the connector out of its cozy yellow slot using your tweezers.
– Gently peel back the tape, giving it the freedom it deserves until it’s fully liberated from the motherboard.
Tools Used
Step 9


– Snip the warranty tape that’s holding the motherboard to the metal plate beneath the battery. You’ve got this!
Step 10

– Grab that trusty #00 Phillips head screwdriver and take out those remaining 1.5mm screws holding down the motherboard—you’re doing great!
Step 11

– Now, just work your way back through the steps, putting everything back together in reverse. Piece by piece, your device will be as good as new!
– If you run into any tricky parts, don’t hesitate to schedule a repair – we’re here to help!
Success!