ASUS ZenPad S 8.0 Speakers Replacement
Duration: 45 minutes
Steps: 19 Steps
Now that you’ve removed the Secondary Board, you should see the speaker exposed and ready to go. It’s time to take it out. Just a heads up, make sure to ground yourself to avoid any damage to those internal components. And don’t forget to keep track of those screws – label them so you can keep everything organized.
Step 1


Before diving into disassembly, make sure to take out that MicroSD card if it’s hanging around. Forgetting to do so might just lead to some unexpected damage to the MicroSD card, the rear cover, or the slot where it fits. So, give it a little love and remove it first!
– Grab your trusty plastic tool and gently slip it between the shiny silver bezel and the back case. Go on, you got this!
– Now, work that tool all around the device like you’re dancing at a party to release the back case. Keep it smooth!
Step 2


Handle those ribbon cables gently—no twisting or crimping, they’re more fragile than they look!
– Pop out those ribbon cables by flipping up the white retaining flap on the ZIF connectors—it’s like a little door hinge! Then, gently slide the ribbon cable out. You’ve got this!
Step 3


– Gently pop the battery connector off the device using two plastic pry tools—kind of like coaxing it up for a dance, but with way less effort.
Step 4


– Unscrew all 9 of those pesky 1.5mm #00 Philips screws.
– Carefully lift the battery out of its cozy little home.
– Grab an opening pick or something similar to gently pry apart the adhesive holding the battery in place at both the bottom and top.
Step 5


– Grab your trusty plastic opening tool and gently lift that black retaining flap on the ZIF Connector. You’ve got this!
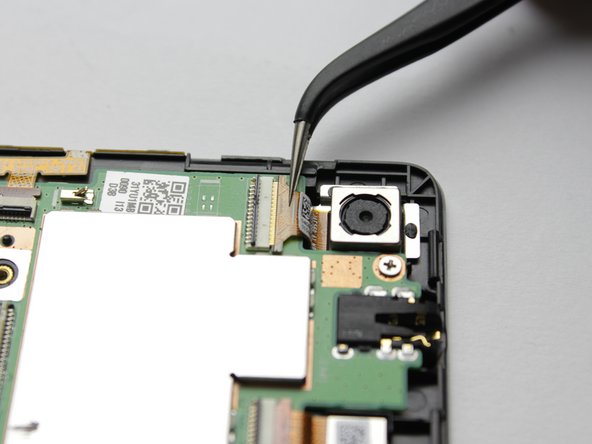
Step 6

If you’ve popped open the latch for the ribbon cable, it should slide right out without any trouble. Easy peasy!
– Grab a pair of tweezers and gently coax the camera out of its cozy spot.
Tools Used

Step 7

Removing the ribbon cable is a breeze – just follow the same steps you used to take out the front-facing camera.
– Grab that trusty plastic prying tool and gently flip up the tiny retaining flap on those ZIF Connectors to free the ribbon cables from the motherboard. Easy does it!
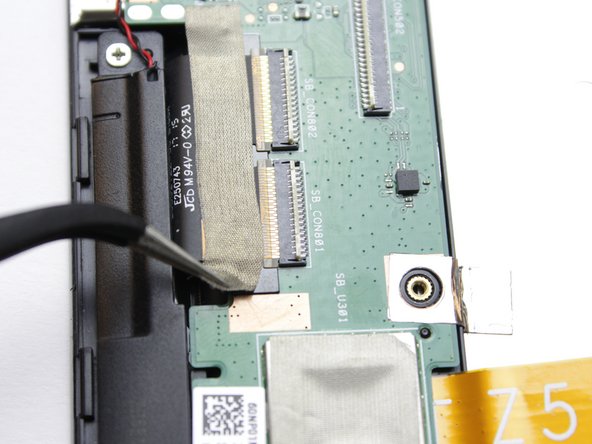
Step 8


– Grab those trusty tweezers and carefully lift the connector out of the yellow slot—slow and steady wins the race!
– Gently peel up the tape, taking care not to rush the process. Keep at it until it’s completely freed from the motherboard. No sudden moves!
Tools Used
Step 9


– Snip away the warranty tape that’s holding the motherboard snug against the metal plate beneath the battery. Time to set it free!
Step 10

– Grab your #00 Phillips head screwdriver and let’s tackle those pesky 1.5mm screws holding on the motherboard. You’ve got this!
Step 11

– Carefully pry the motherboard out of your device – it’s like freeing a trapped superhero, ready to save the day
Step 12


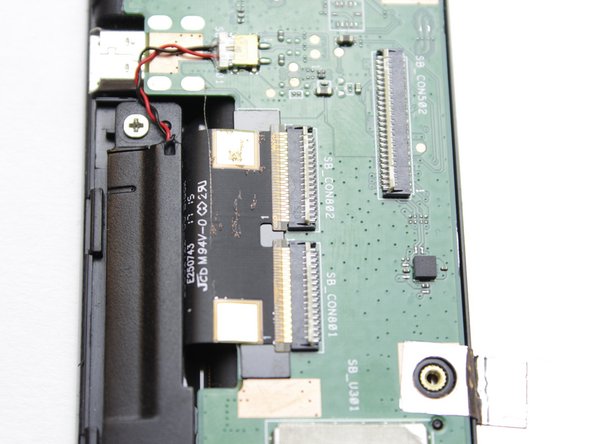
– Gently give a little tug to the white retaining flap on the ZIF Connectors using a plastic pry tool. It’s like giving your device a little stretch before you dive in!
Step 13

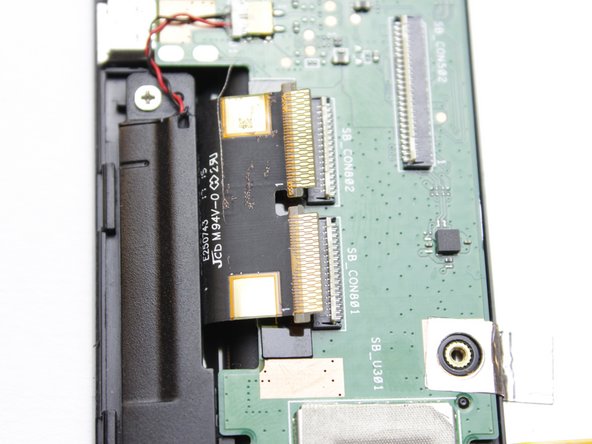
– Grab those tweezers and gently peel back the tape covering the ribbon cable—like you’re unwrapping a delicate little present!
Tools Used
Step 14

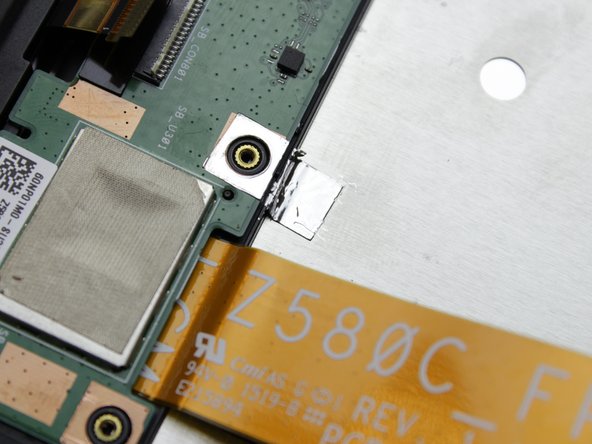
– Grab your tweezers and gently ease the ribbon cable out of the connector. Take your time and be careful—it’ll come out smoothly!
Tools Used
Step 15


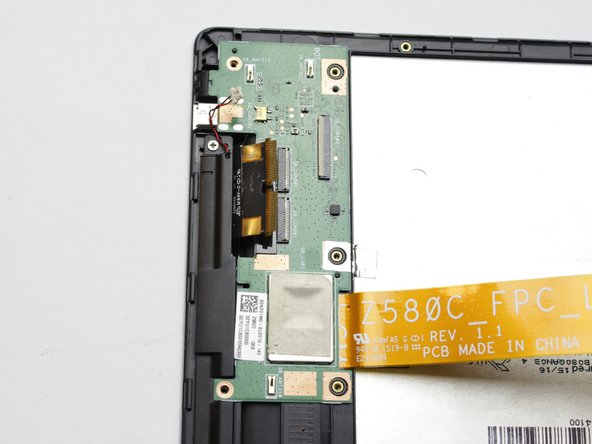
– With a gentle touch, use the tweezers to carefully lift the connector out of the yellow slot. You’ve got this!
Tools Used
Step 16

– Snip through the warranty tape connecting the daughter board to the metal plate nestled under the battery—easy does it, you’re one step closer to a successful repair!
Step 17


– Grab your trusty #00 Phillips head screwdriver and loosen up the remaining 1.5mm screws holding the daughter board—you’re almost there!
– Carefully and confidently lift the daughter board out of the device like a pro. You’ve got this!
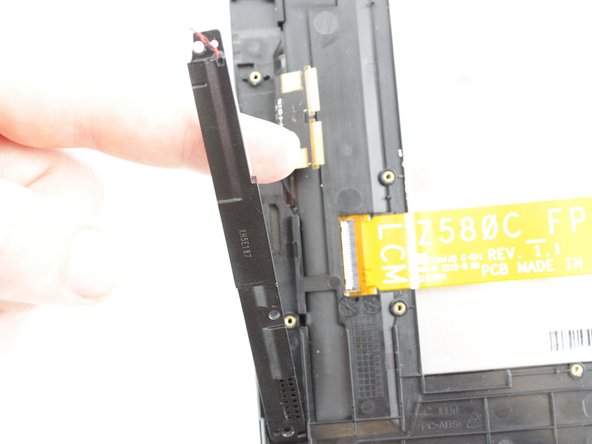
Step 18

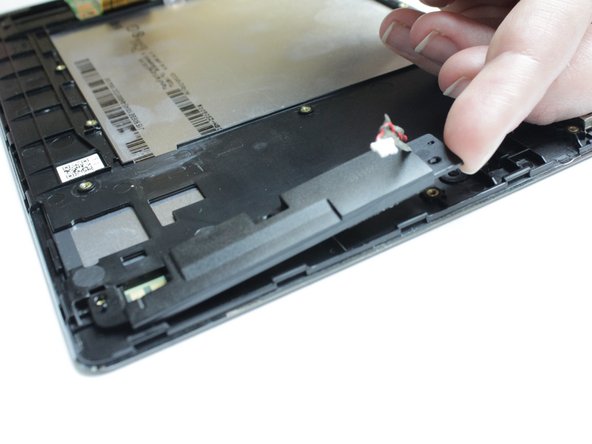
– Carefully lift the speaker upwards to detach it from the device.
Step 19
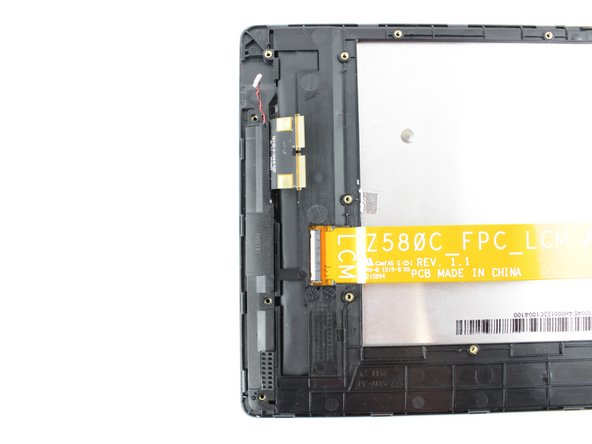

– Grab your trusty #00 Phillips head screwdriver and unscrew those 1.5mm screws like a pro!
– Gently lift the second speaker out of its cozy spot in the device. You got this!
Success!