ASUS ZenWatch Motherboard Replacement
Duration: 45 minutes
Steps: 9 Steps
A fun and straightforward guide to help you tackle the removal and replacement of a wonky motherboard. Dive in and let's get that device back in action! If you need help, you can always schedule a repair.
Step 1


- Check out the strap for a nifty little knob. Just slide that knob towards the other side of the strap and voila! The tension on the spring bar will release, making it super easy to pull the strap out.
Step 2


Keep all your parts organized and in one spot with the magnetic pad! It's a total game changer.
- Grab your T5 Torx driver and tackle those four screws holding the case in place. You've got this!
- Once those screws are gone, just give the case a gentle nudge, and it should pop right off without any fuss.
Step 3


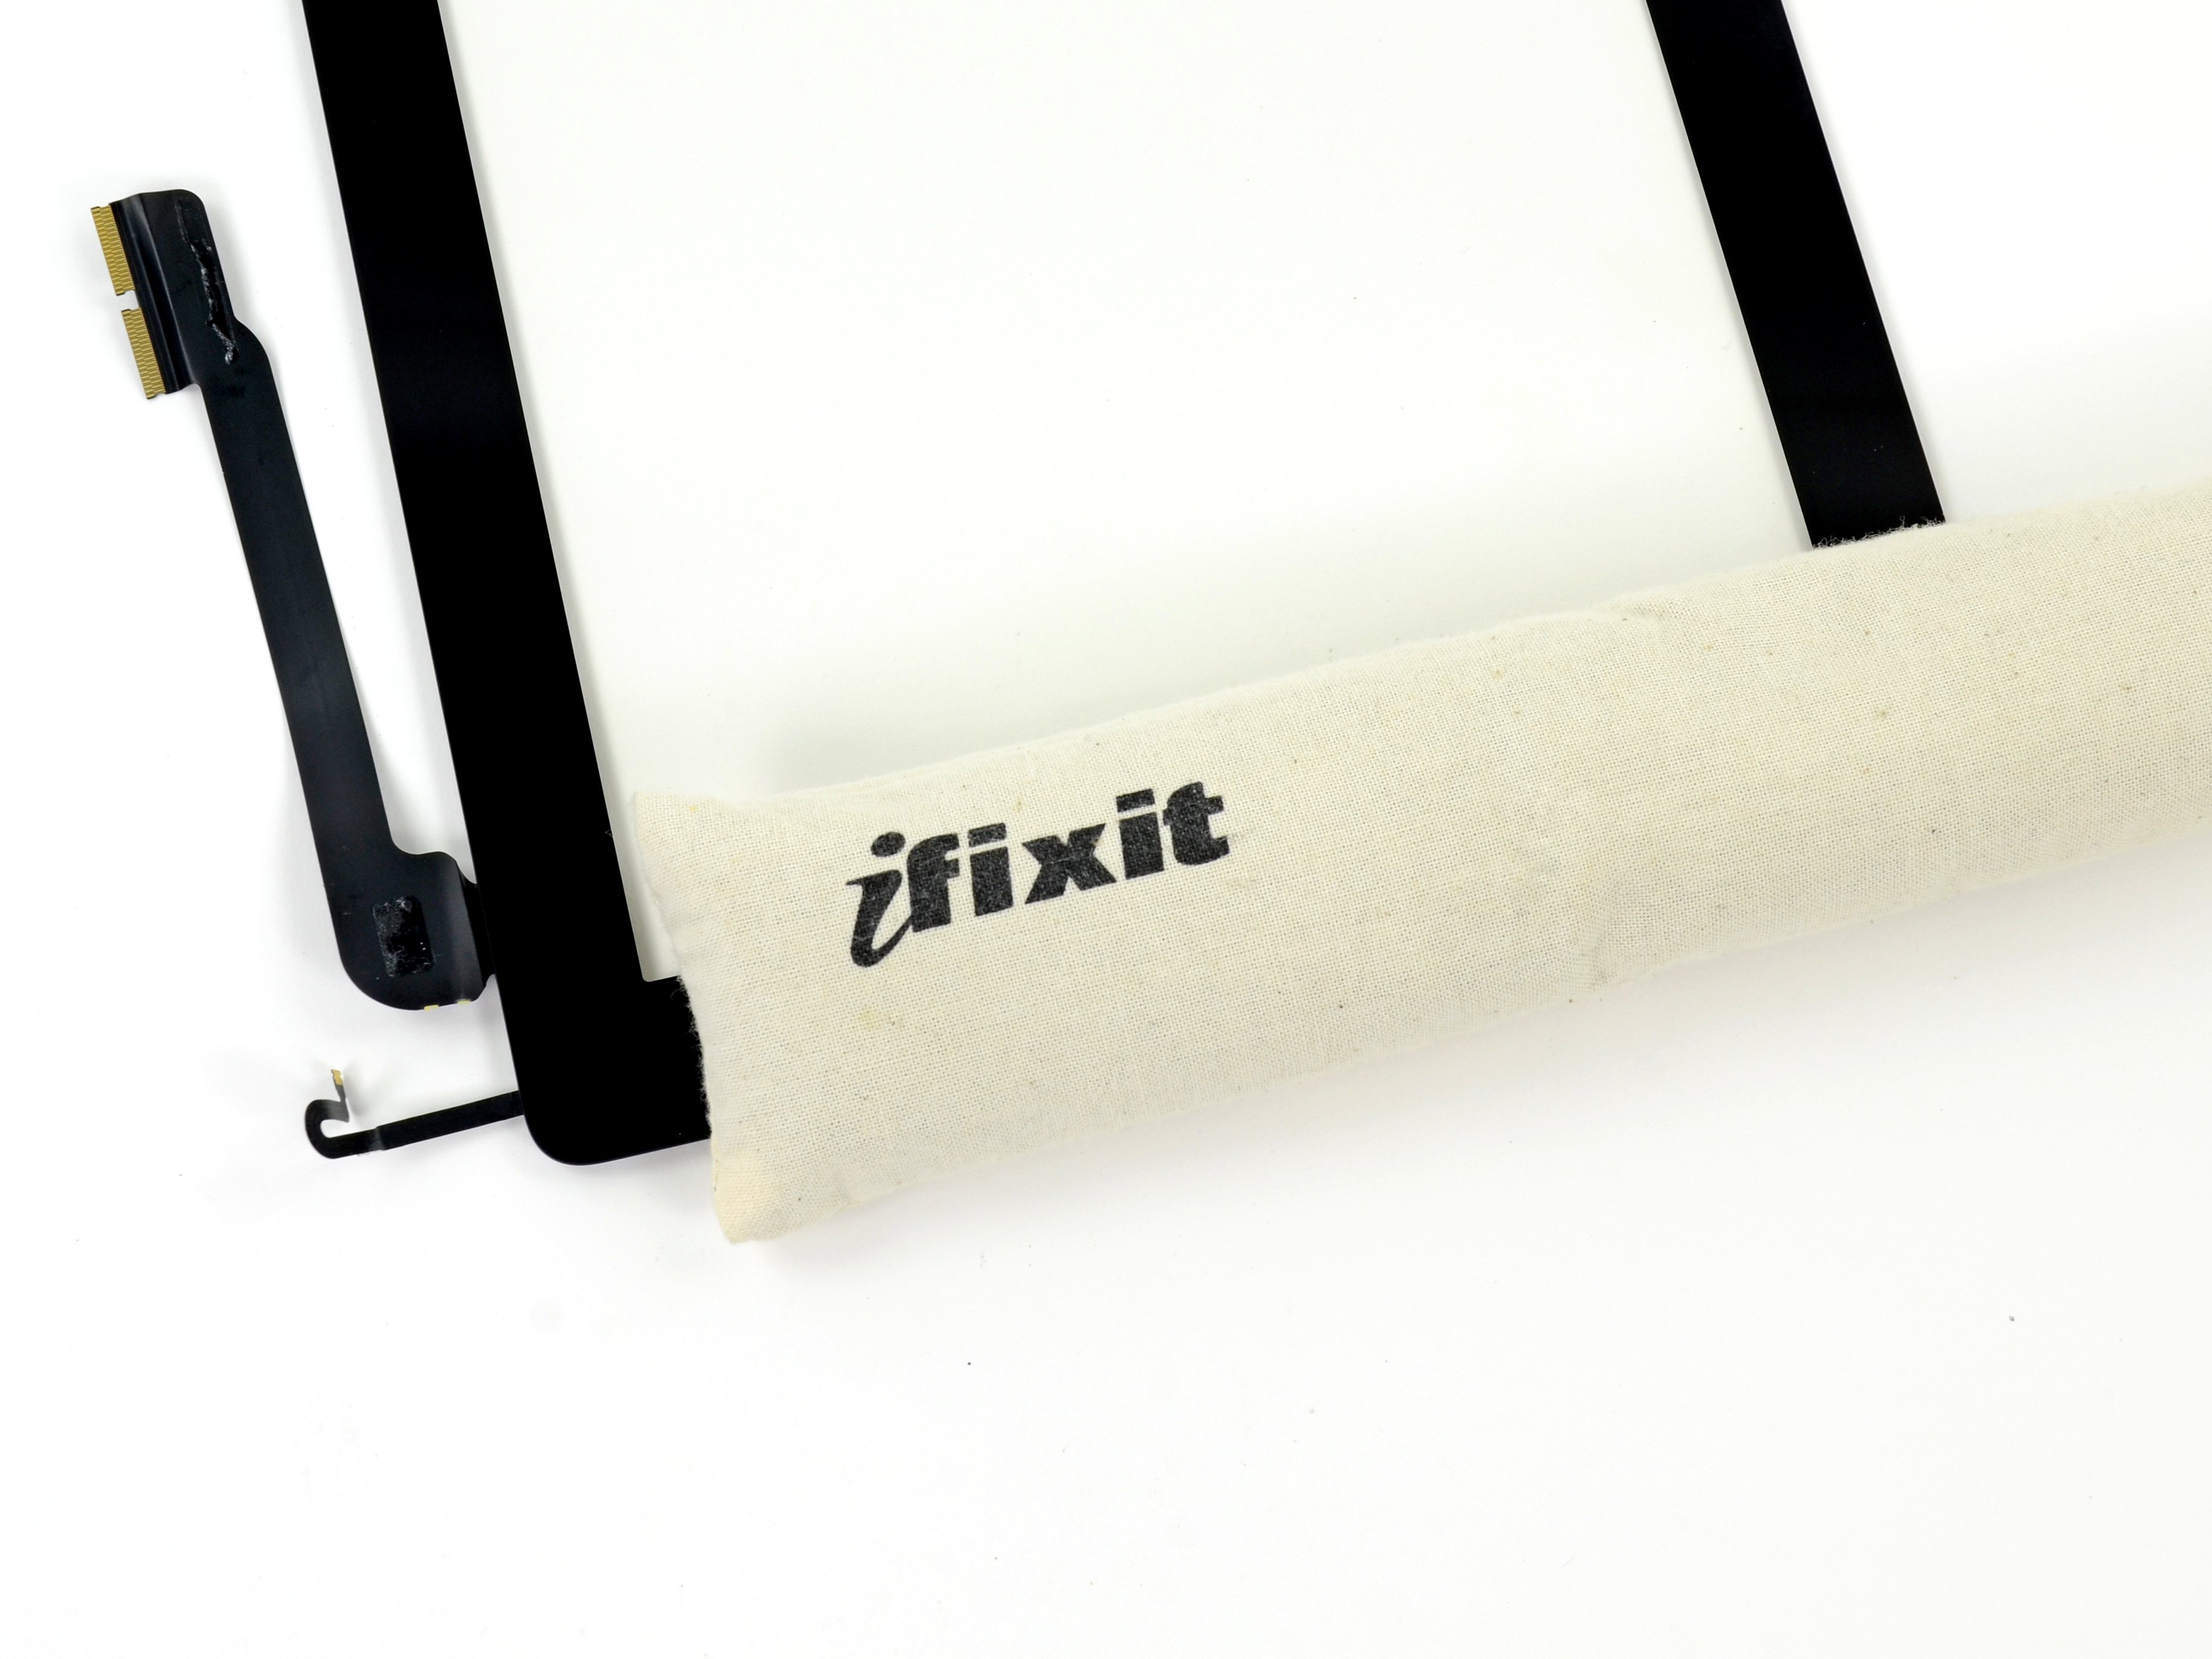
Be gentle when removing the fabric, too much force can damage the contact with the metal tweezers, and we want to make this repair a success!
- Grab your trusty tweezers and delicately peel away the fabric that’s keeping the battery connection cozy.
- Next, take the heavy-duty spudger and gently nudge that contact towards the top of the case like you're giving it a little boost.
Tools Used

Step 4


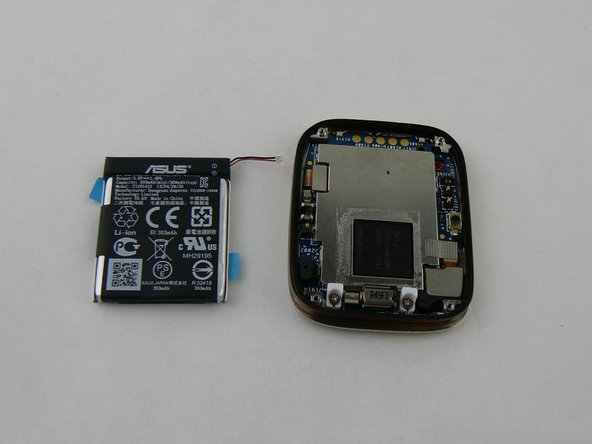
- Carefully nudge the battery upwards with your trusty plastic pry tools.
Step 5

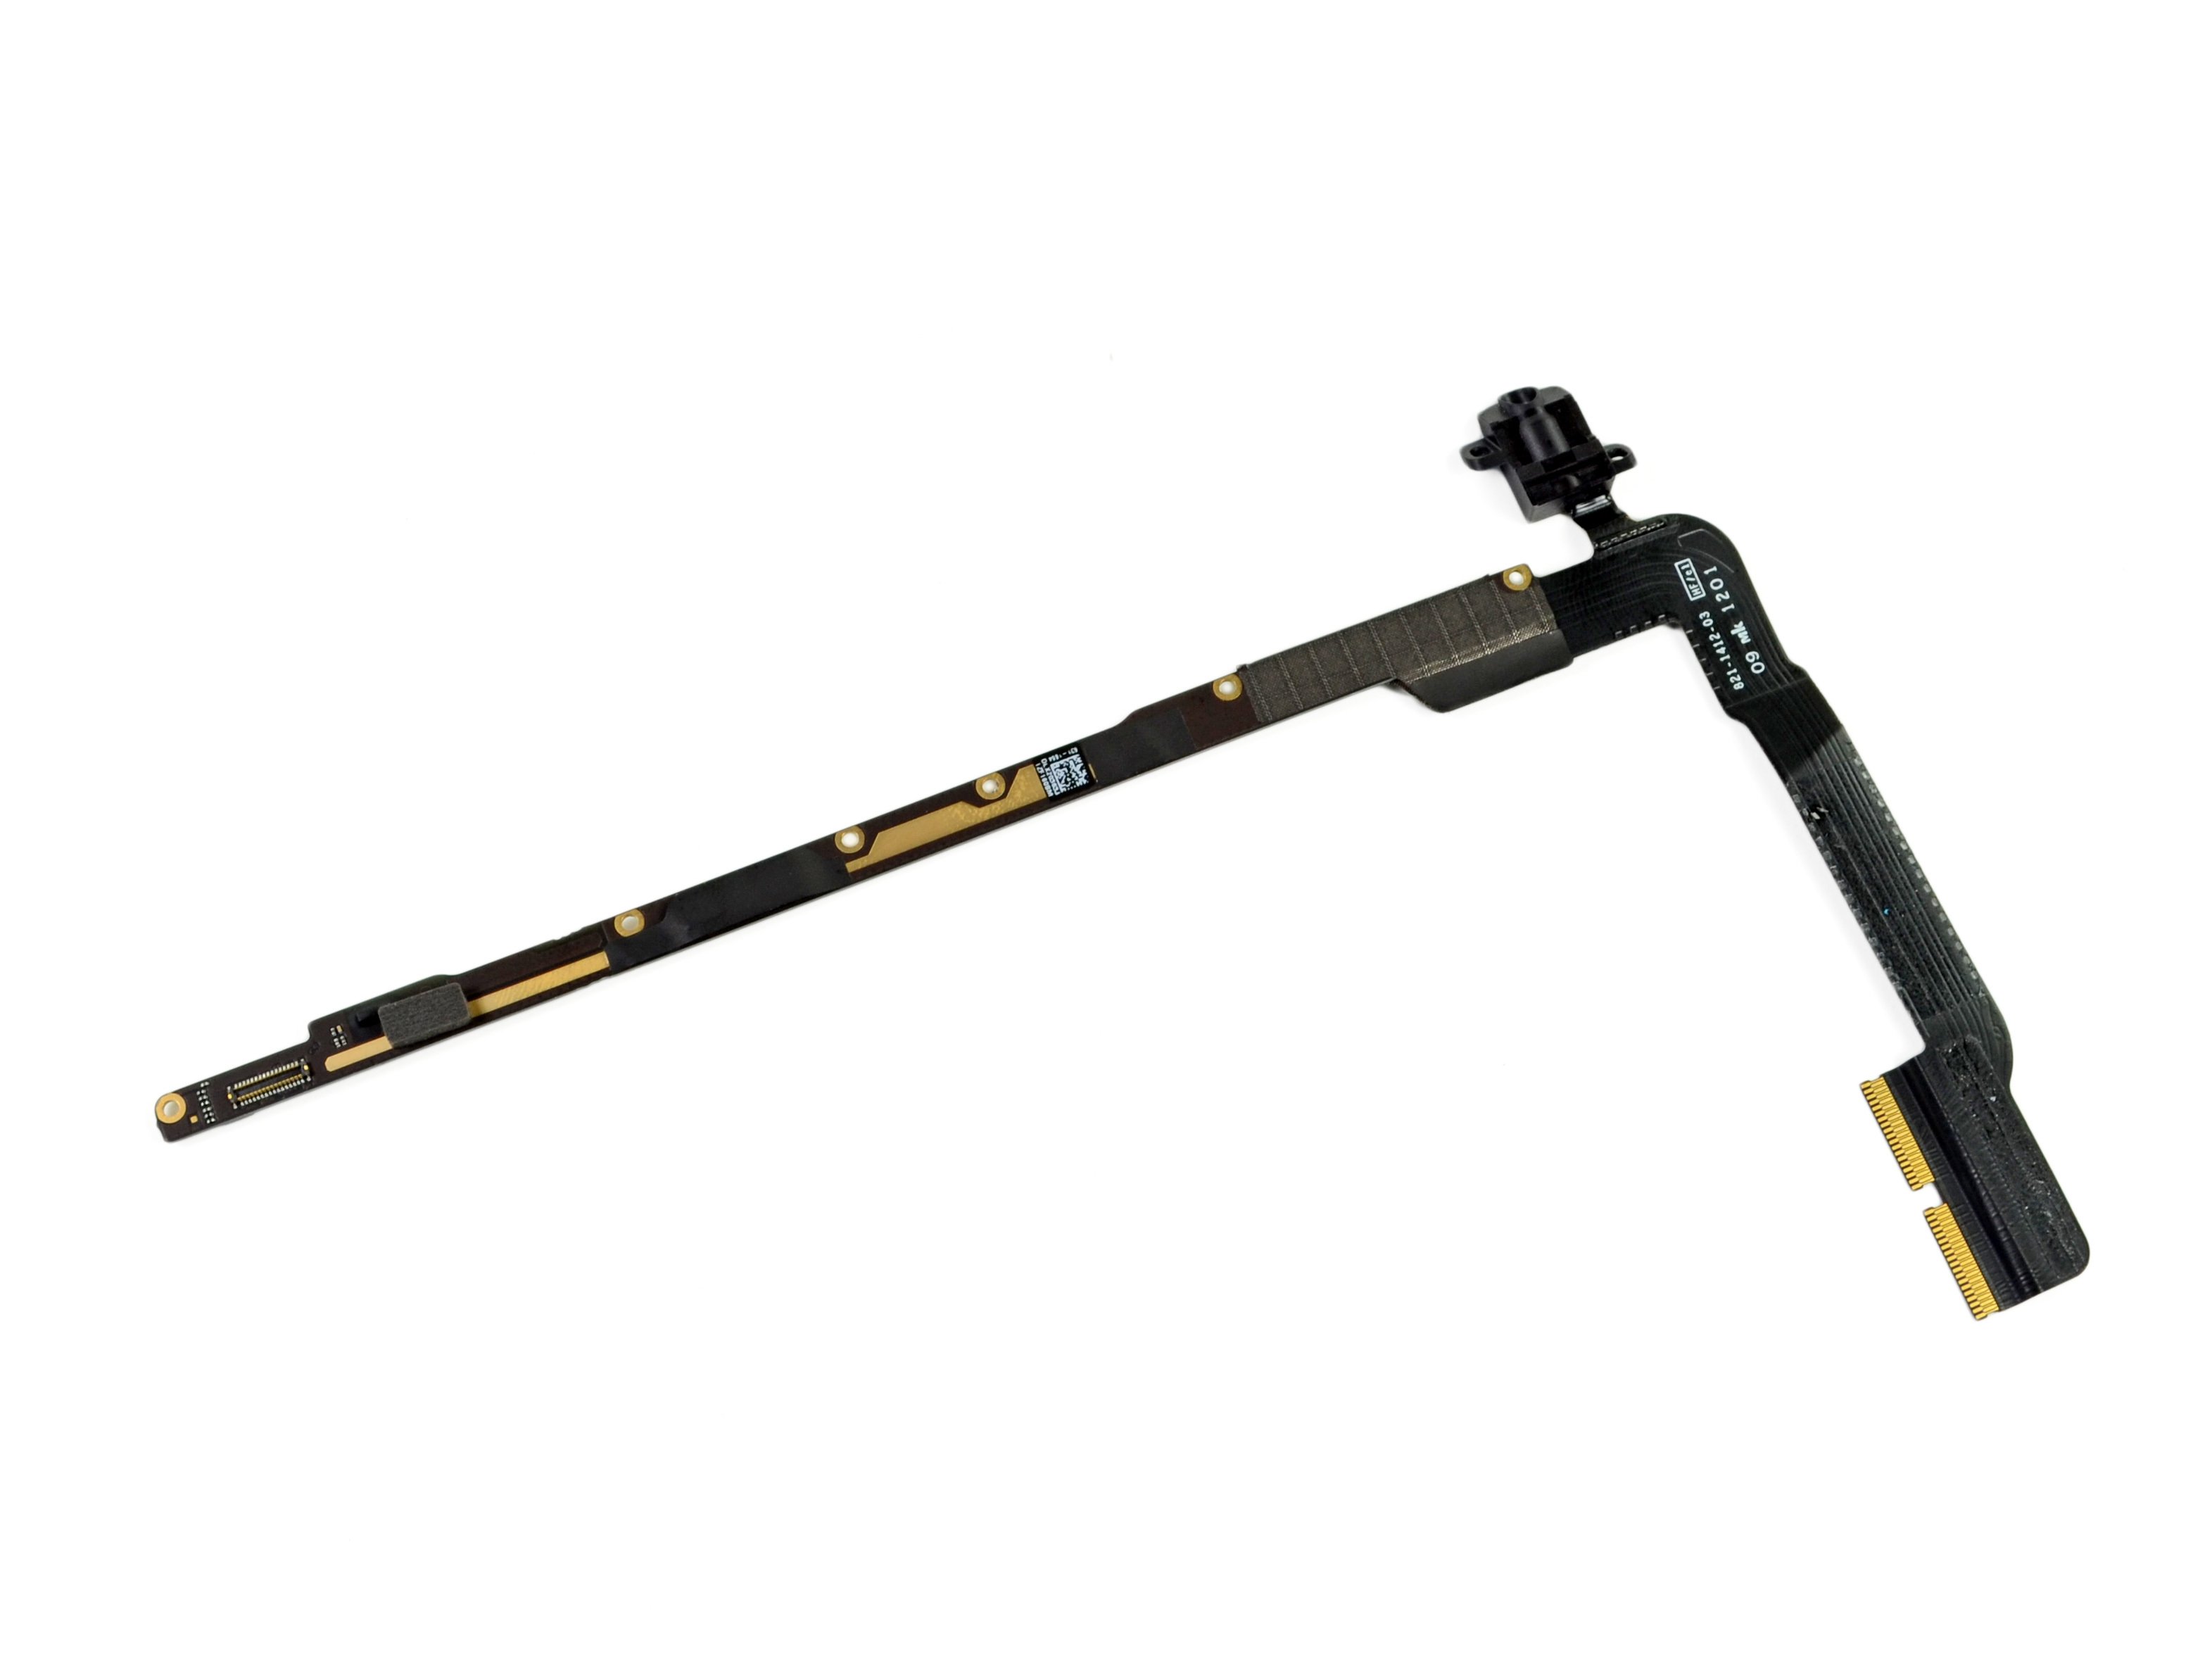
There are two connection ports on the single ribbon. Handle with care—don't yank too hard or you might tear that ribbon apart!
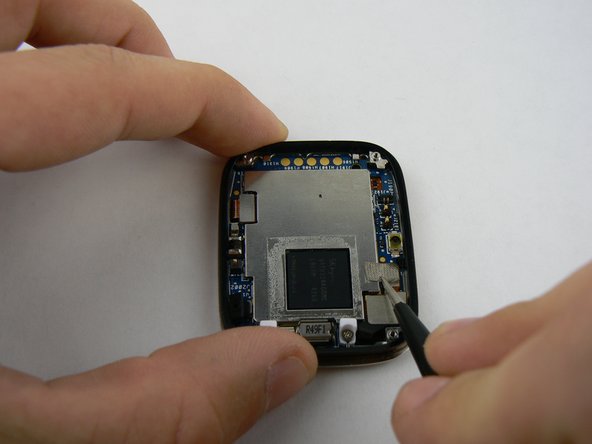
- Grab those metal tweezers and carefully peel back the fabric covering the connection on the bottom right. You've got this!
- Next up, take your sturdy plastic spudger and gently pry upwards on the connection ribbon. Easy-peasy!
Tools Used
Step 6
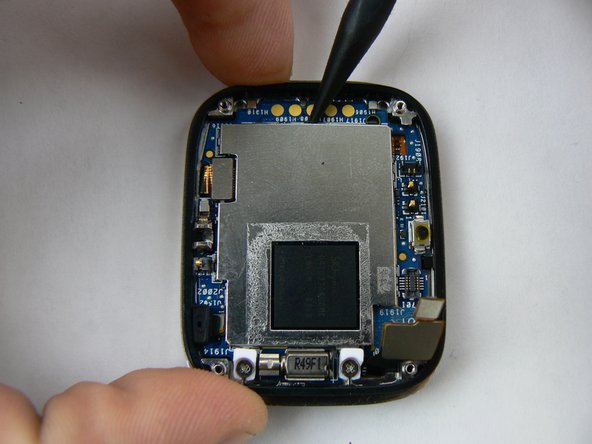

Look for those little notches on the plate; they're your best friends for easily lifting it up from both sides!
Don't forget there's a small strip of adhesive on the back of the plate too, giving it a little extra hold.
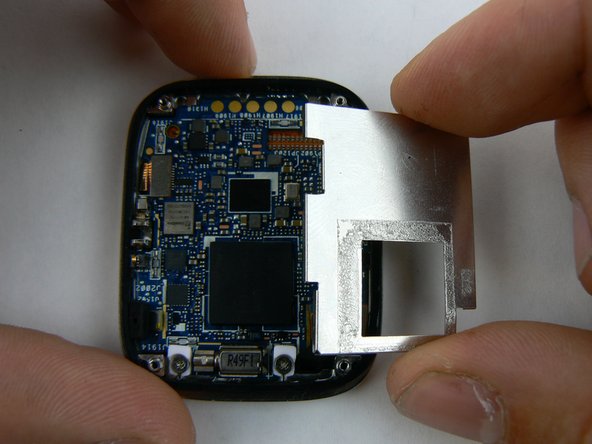
- Time to say goodbye to the protective plate—it's ready to come off safely!
- Grab your trusty heavy-duty spudger and gently pry up on the metal plate, moving in a counter-clockwise direction.
- Now, carefully lift away the loosened plate and set it aside for now.
Step 7

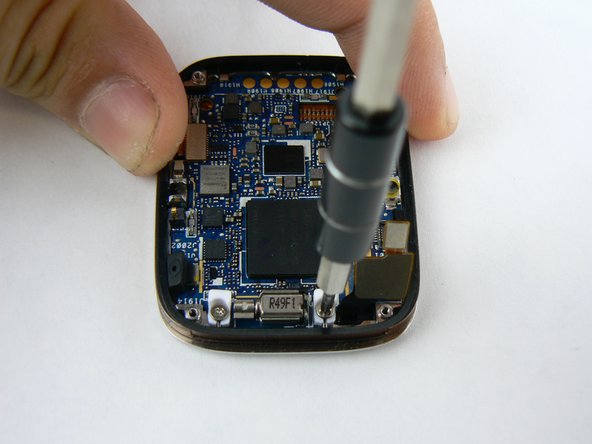
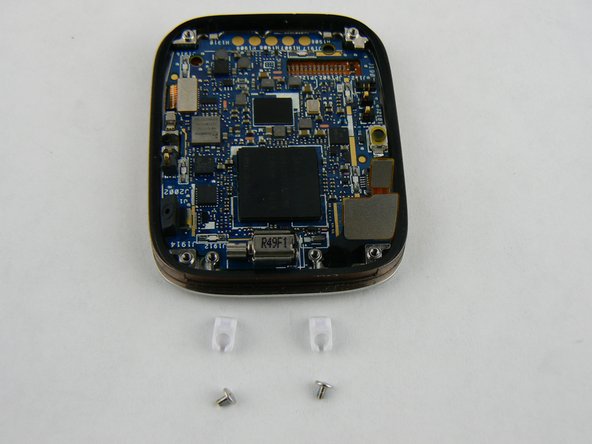
- Grab your trusty 000 Philips screwdriver and gently remove that screw along with the plastic retainer clips. You've got this!
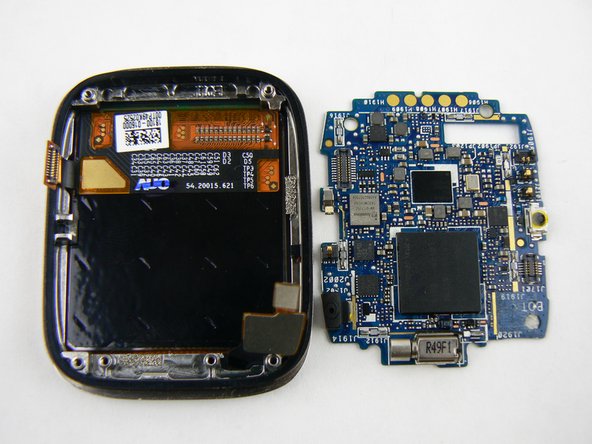
Step 8
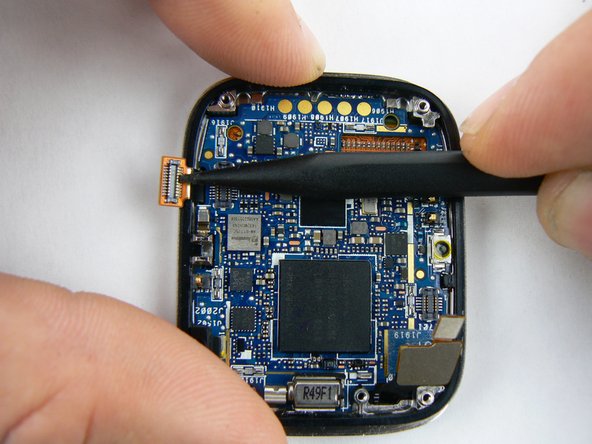

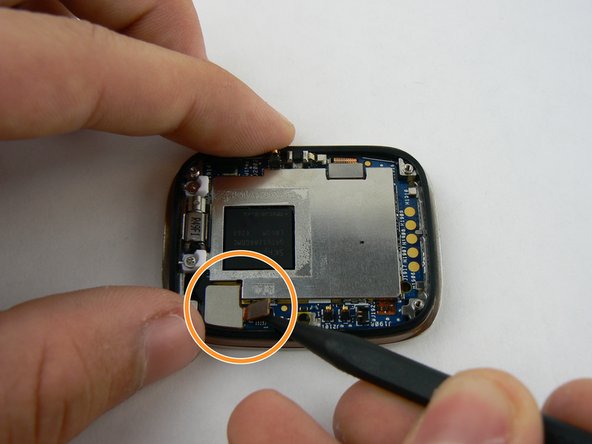
- Using a sturdy spudger, gently lift the final connection ribbon found in the left corner. You're almost there!
Step 9

- Alright, it's time to put your device back together! Just retrace your steps and follow these instructions in reverse. You've got this!
- If you need help, you can always schedule a repair.