Duration: 45 minutes
Steps: 7 Steps
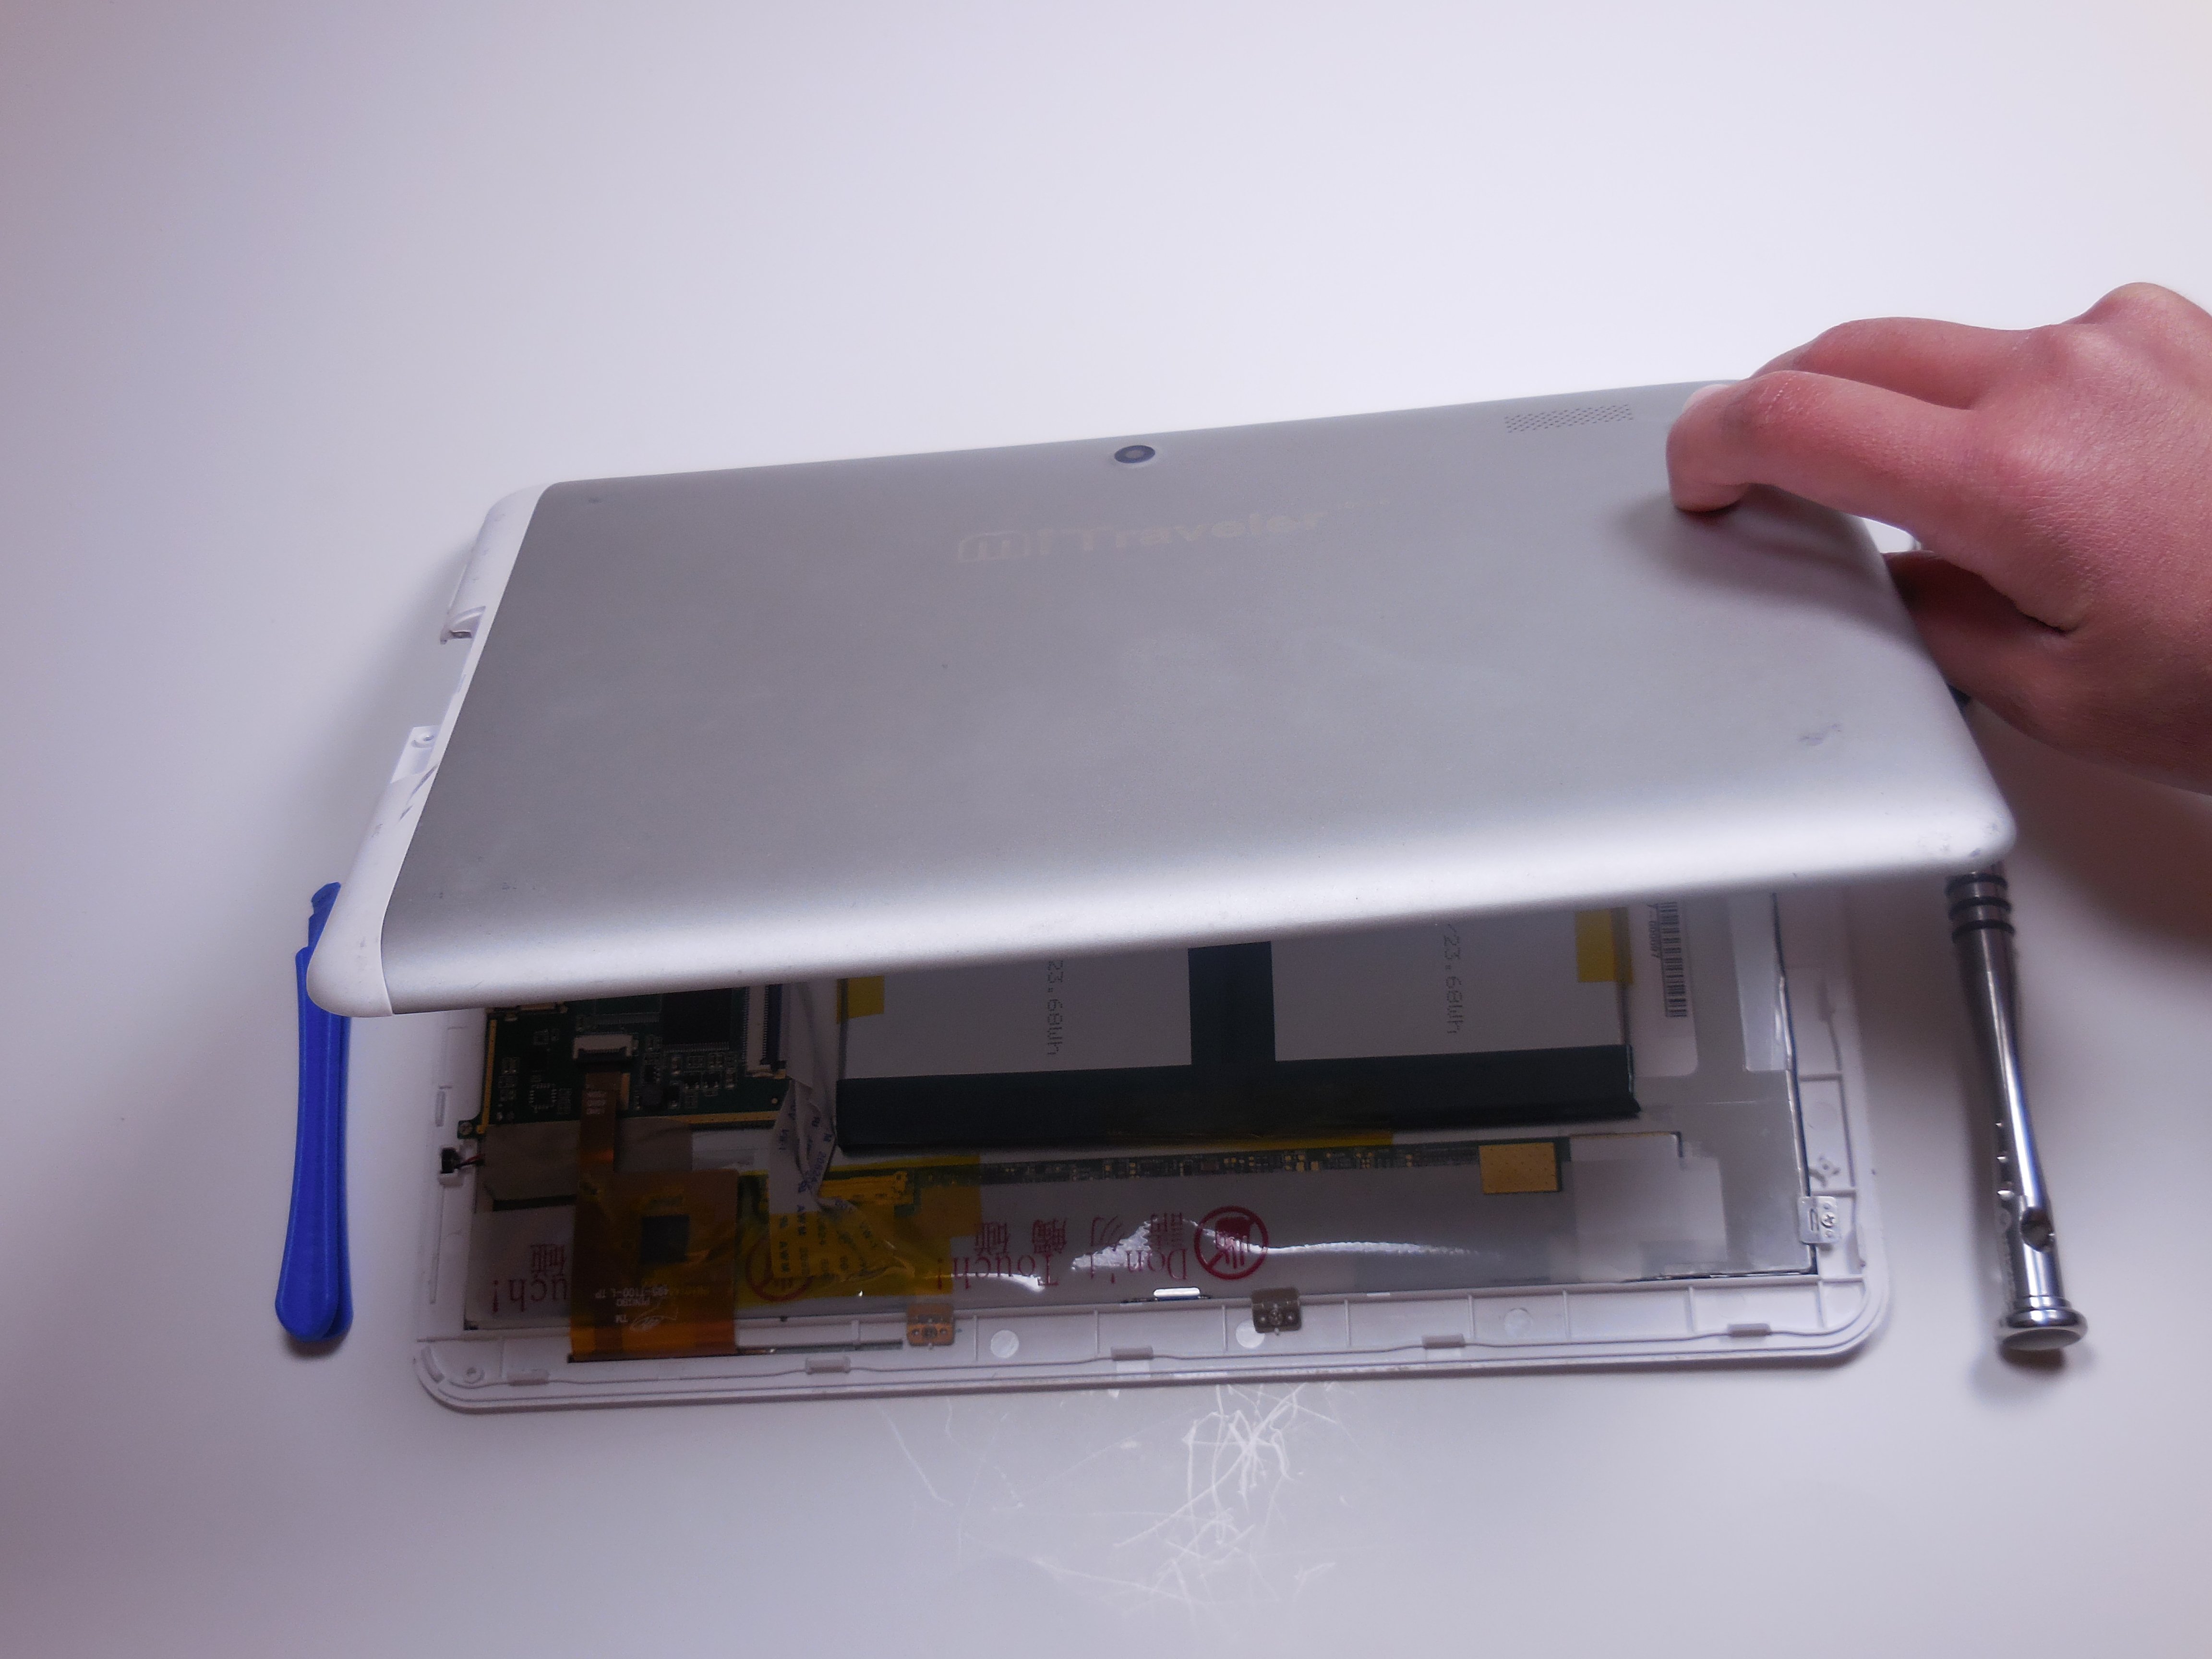
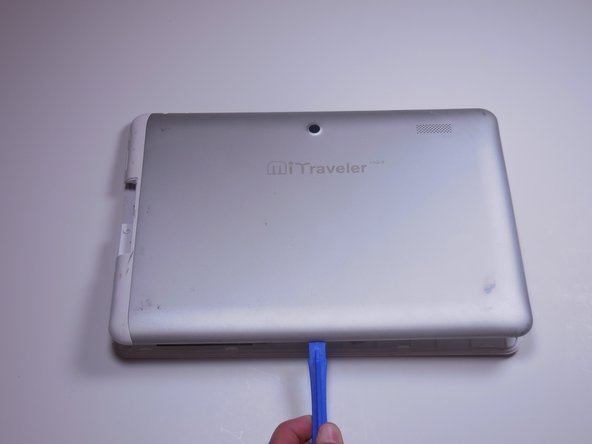
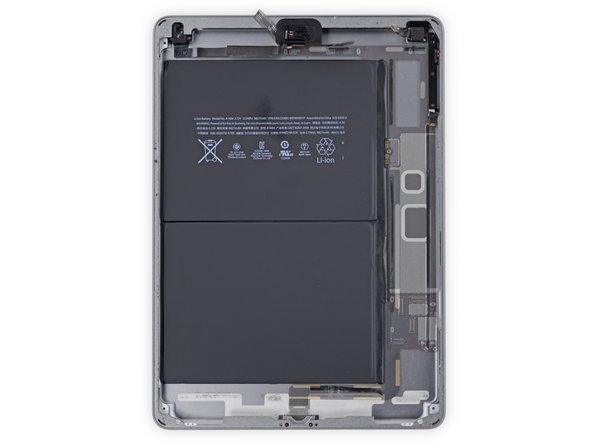
Step 1


– Take off the back cover.
– Slide your fingernail or a flat tool gently under the edge of the cover’s seal. Begin at the top right corner, just above the front-facing camera—this spot is your device’s ‘weak point’.
– Once you pop open the first clip, carefully run your tool around the edge of the cover until it comes free. You’ll hear the clips snapping open as you go.
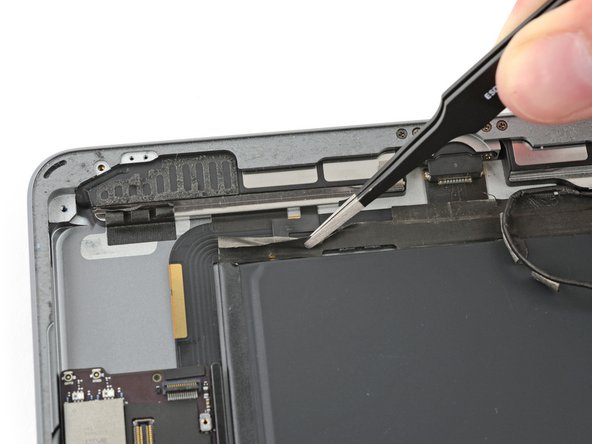
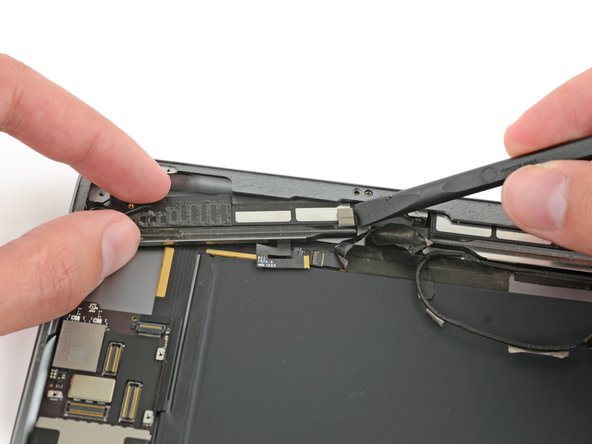
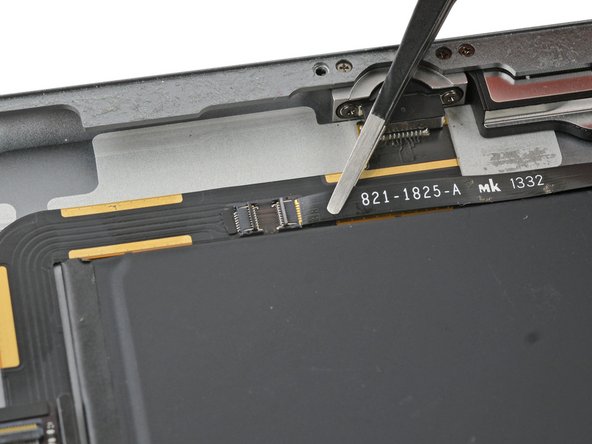
Step 2


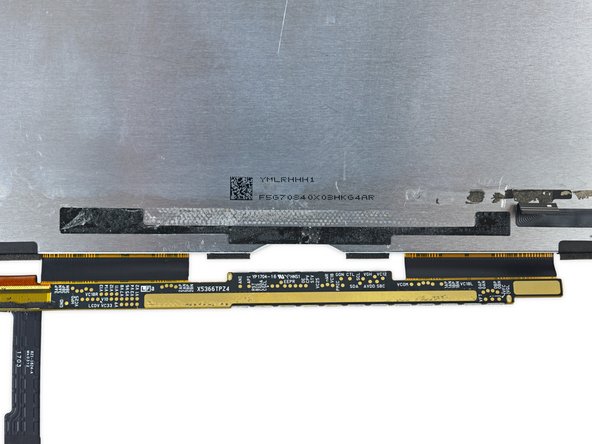
– Peel off any black tape from the device carefully.
– Hold on to that tape, you’ll want to stick it back on once you’re all done.
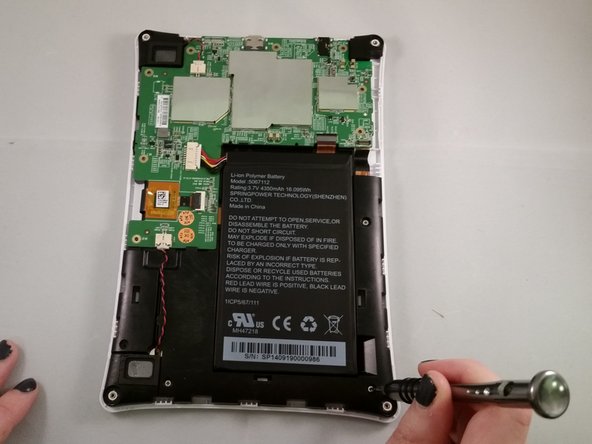
Step 3


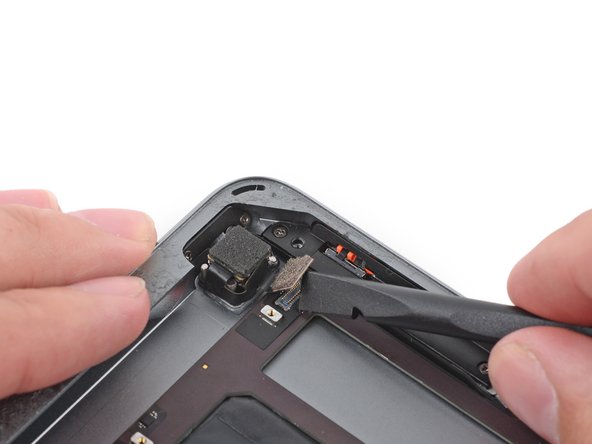
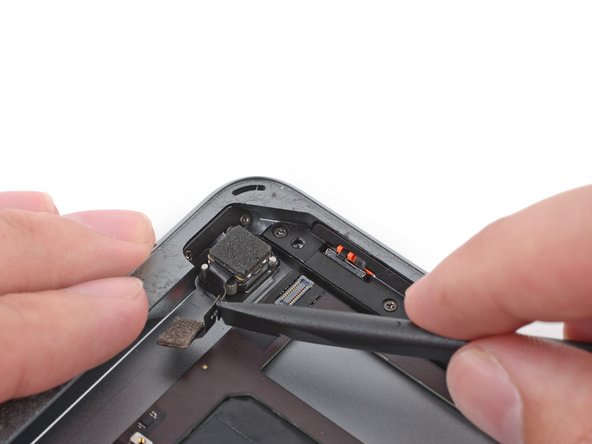
Right in the center of your device, you’ll spot the battery looking like a sleek black rectangle. It’s hooked up with two wiring harnesses — one hanging out just above it and another chilling to the right.
– Carefully unplug the battery wires to disconnect the power.
Step 4


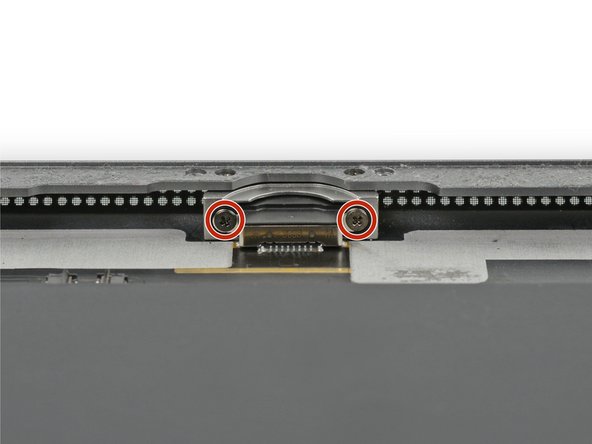
– Remove the screws holding the battery in place and set them aside safely.
– There are 5 screws securing the battery — keep track of all of them!
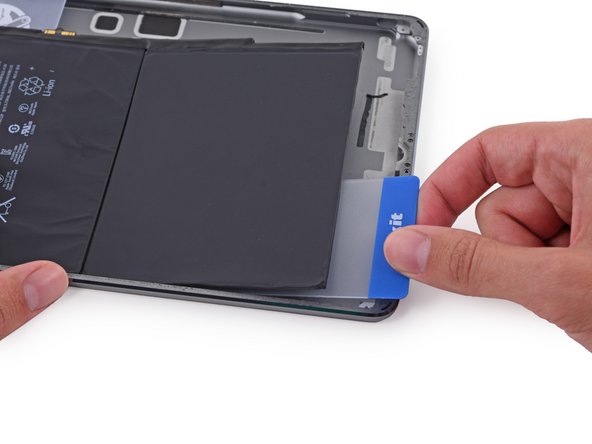
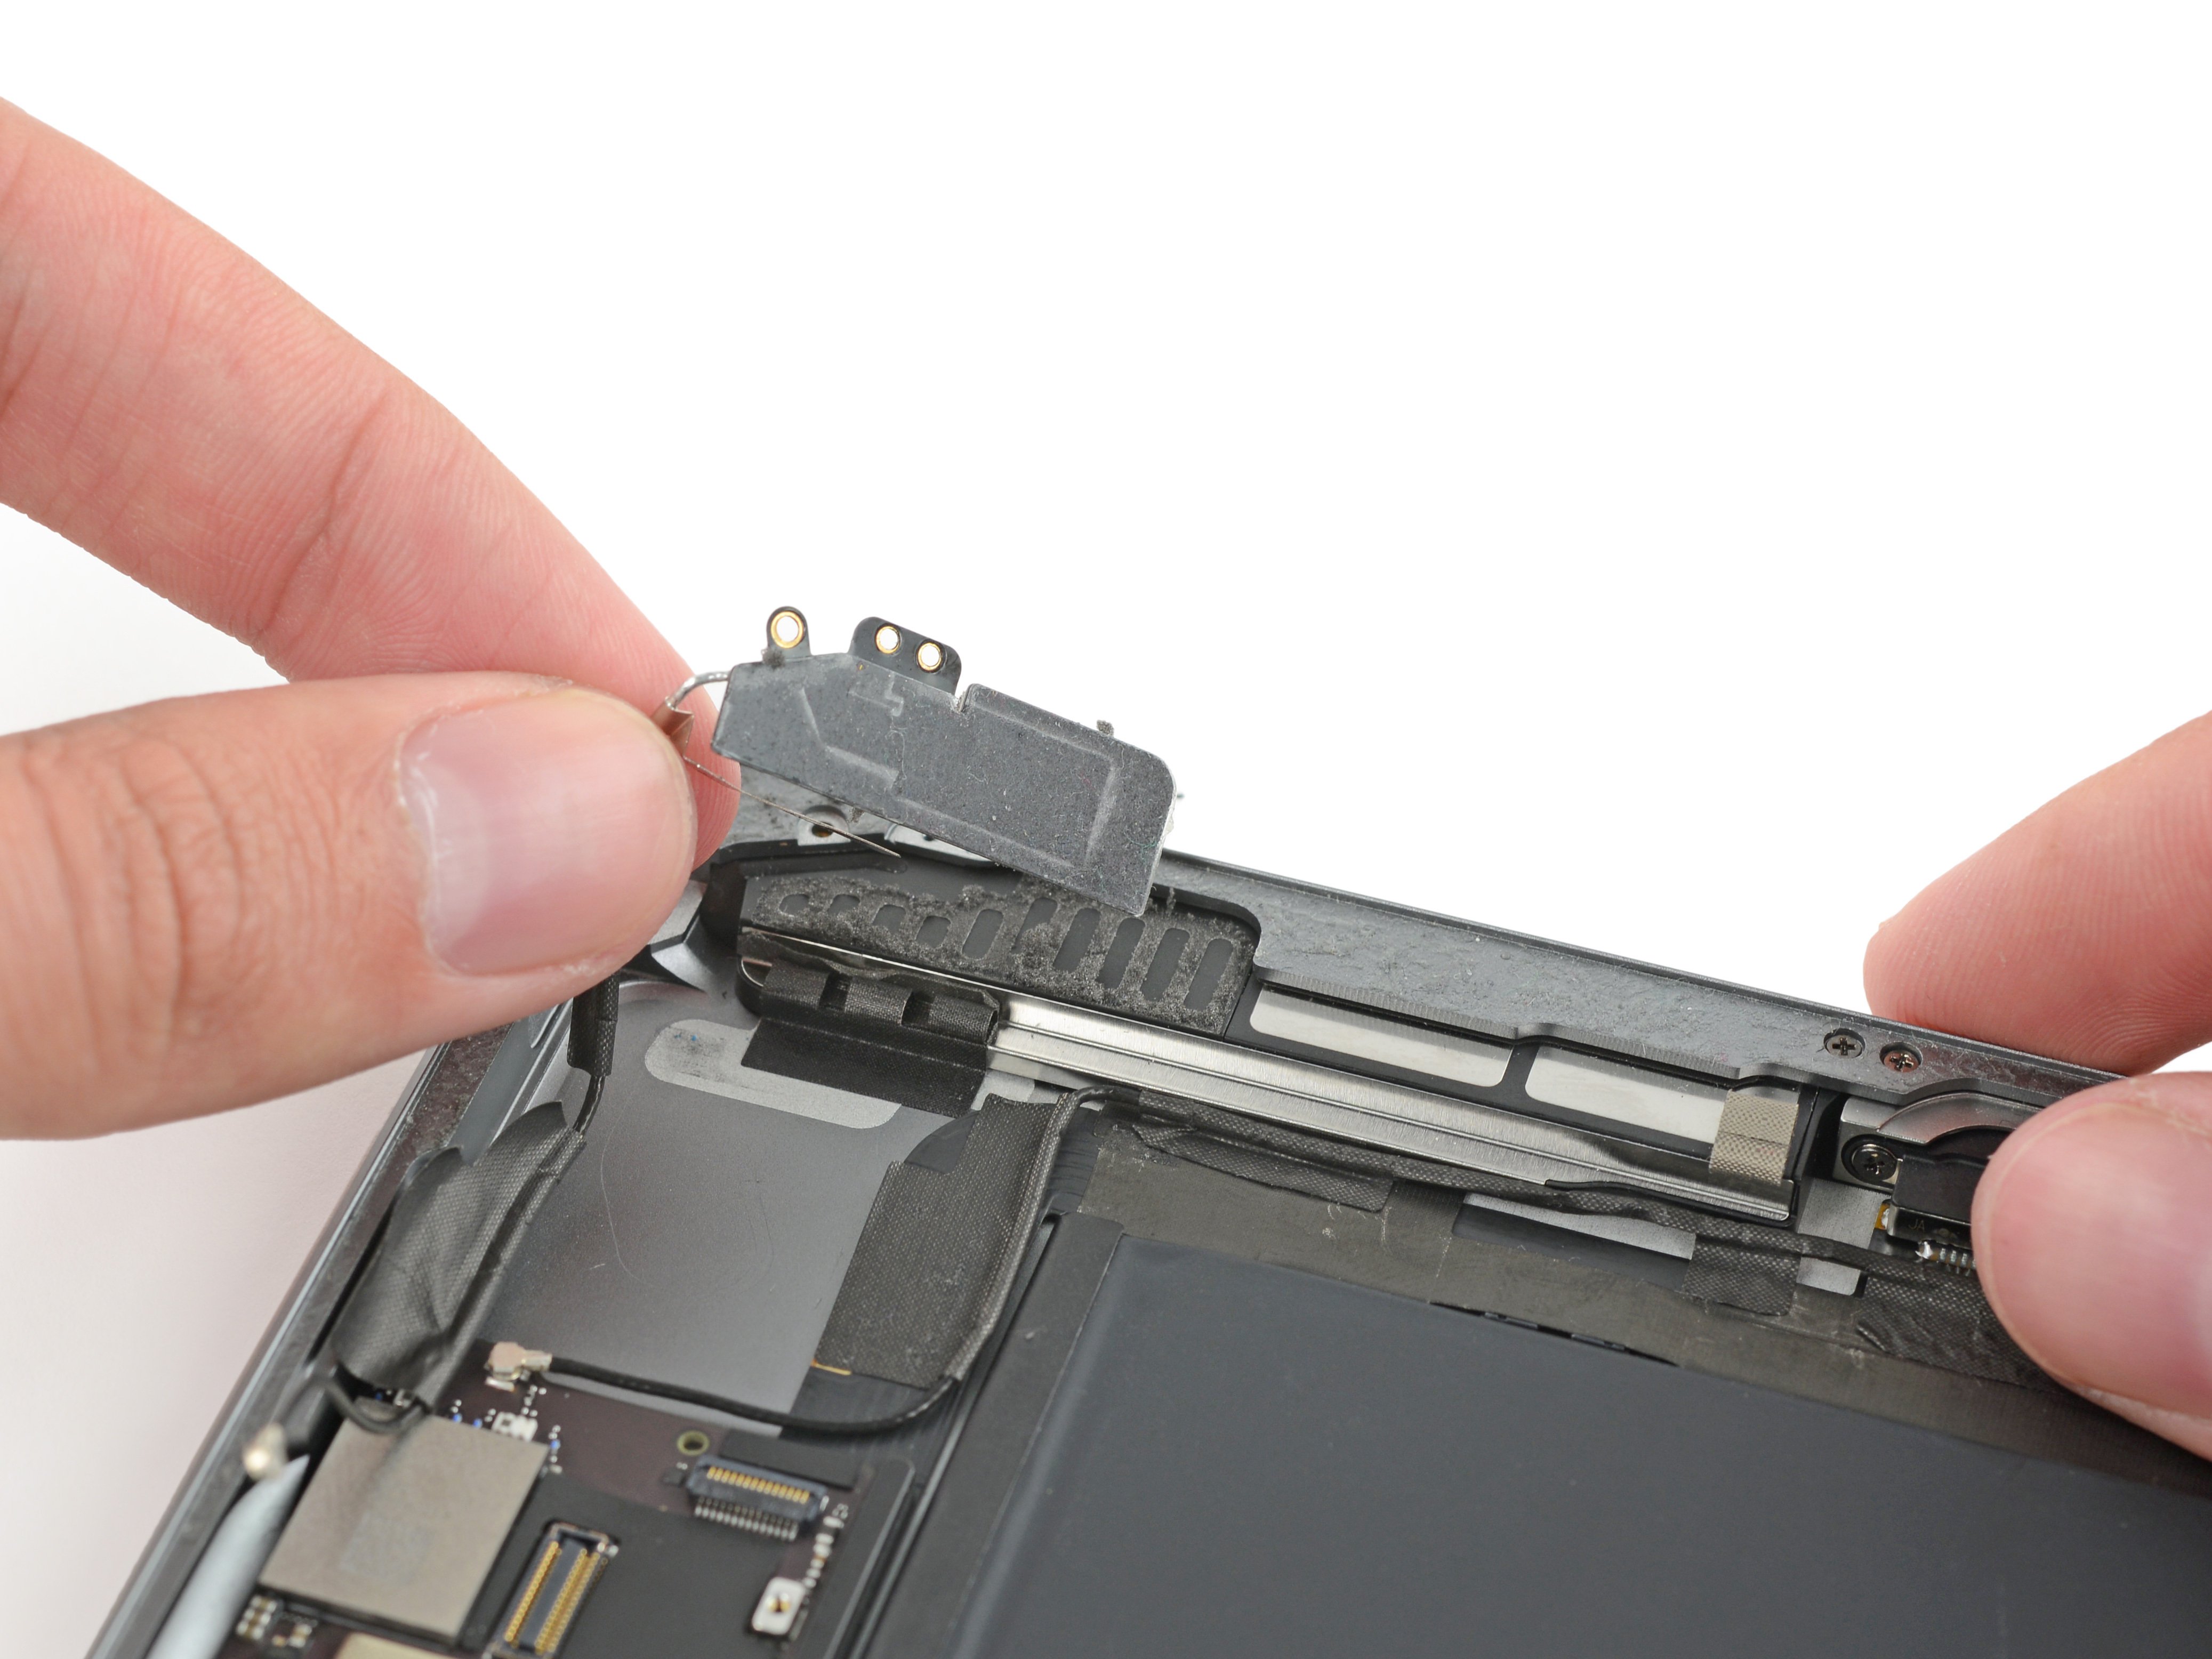
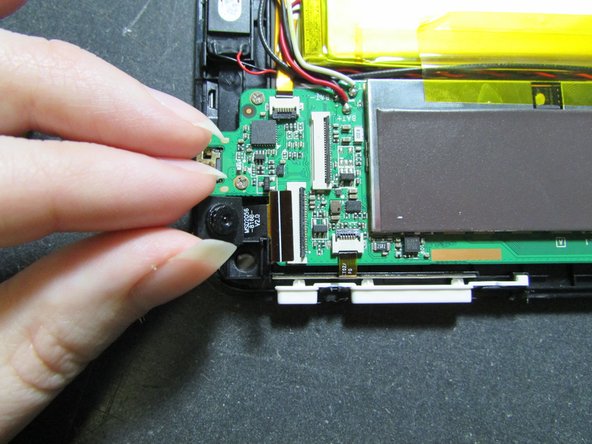
Step 5


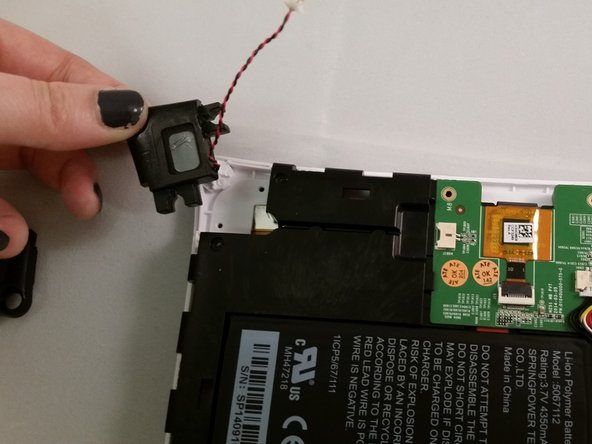
There’s a single clip holding the battery in place. You’ll find it at the bottom right corner of the battery, just above the right speaker. Heads up: the speakers and wires aren’t attached to the battery, so they might come loose—handle with care!
– Gently push the clip back and then lift the battery out like a pro.
Step 6

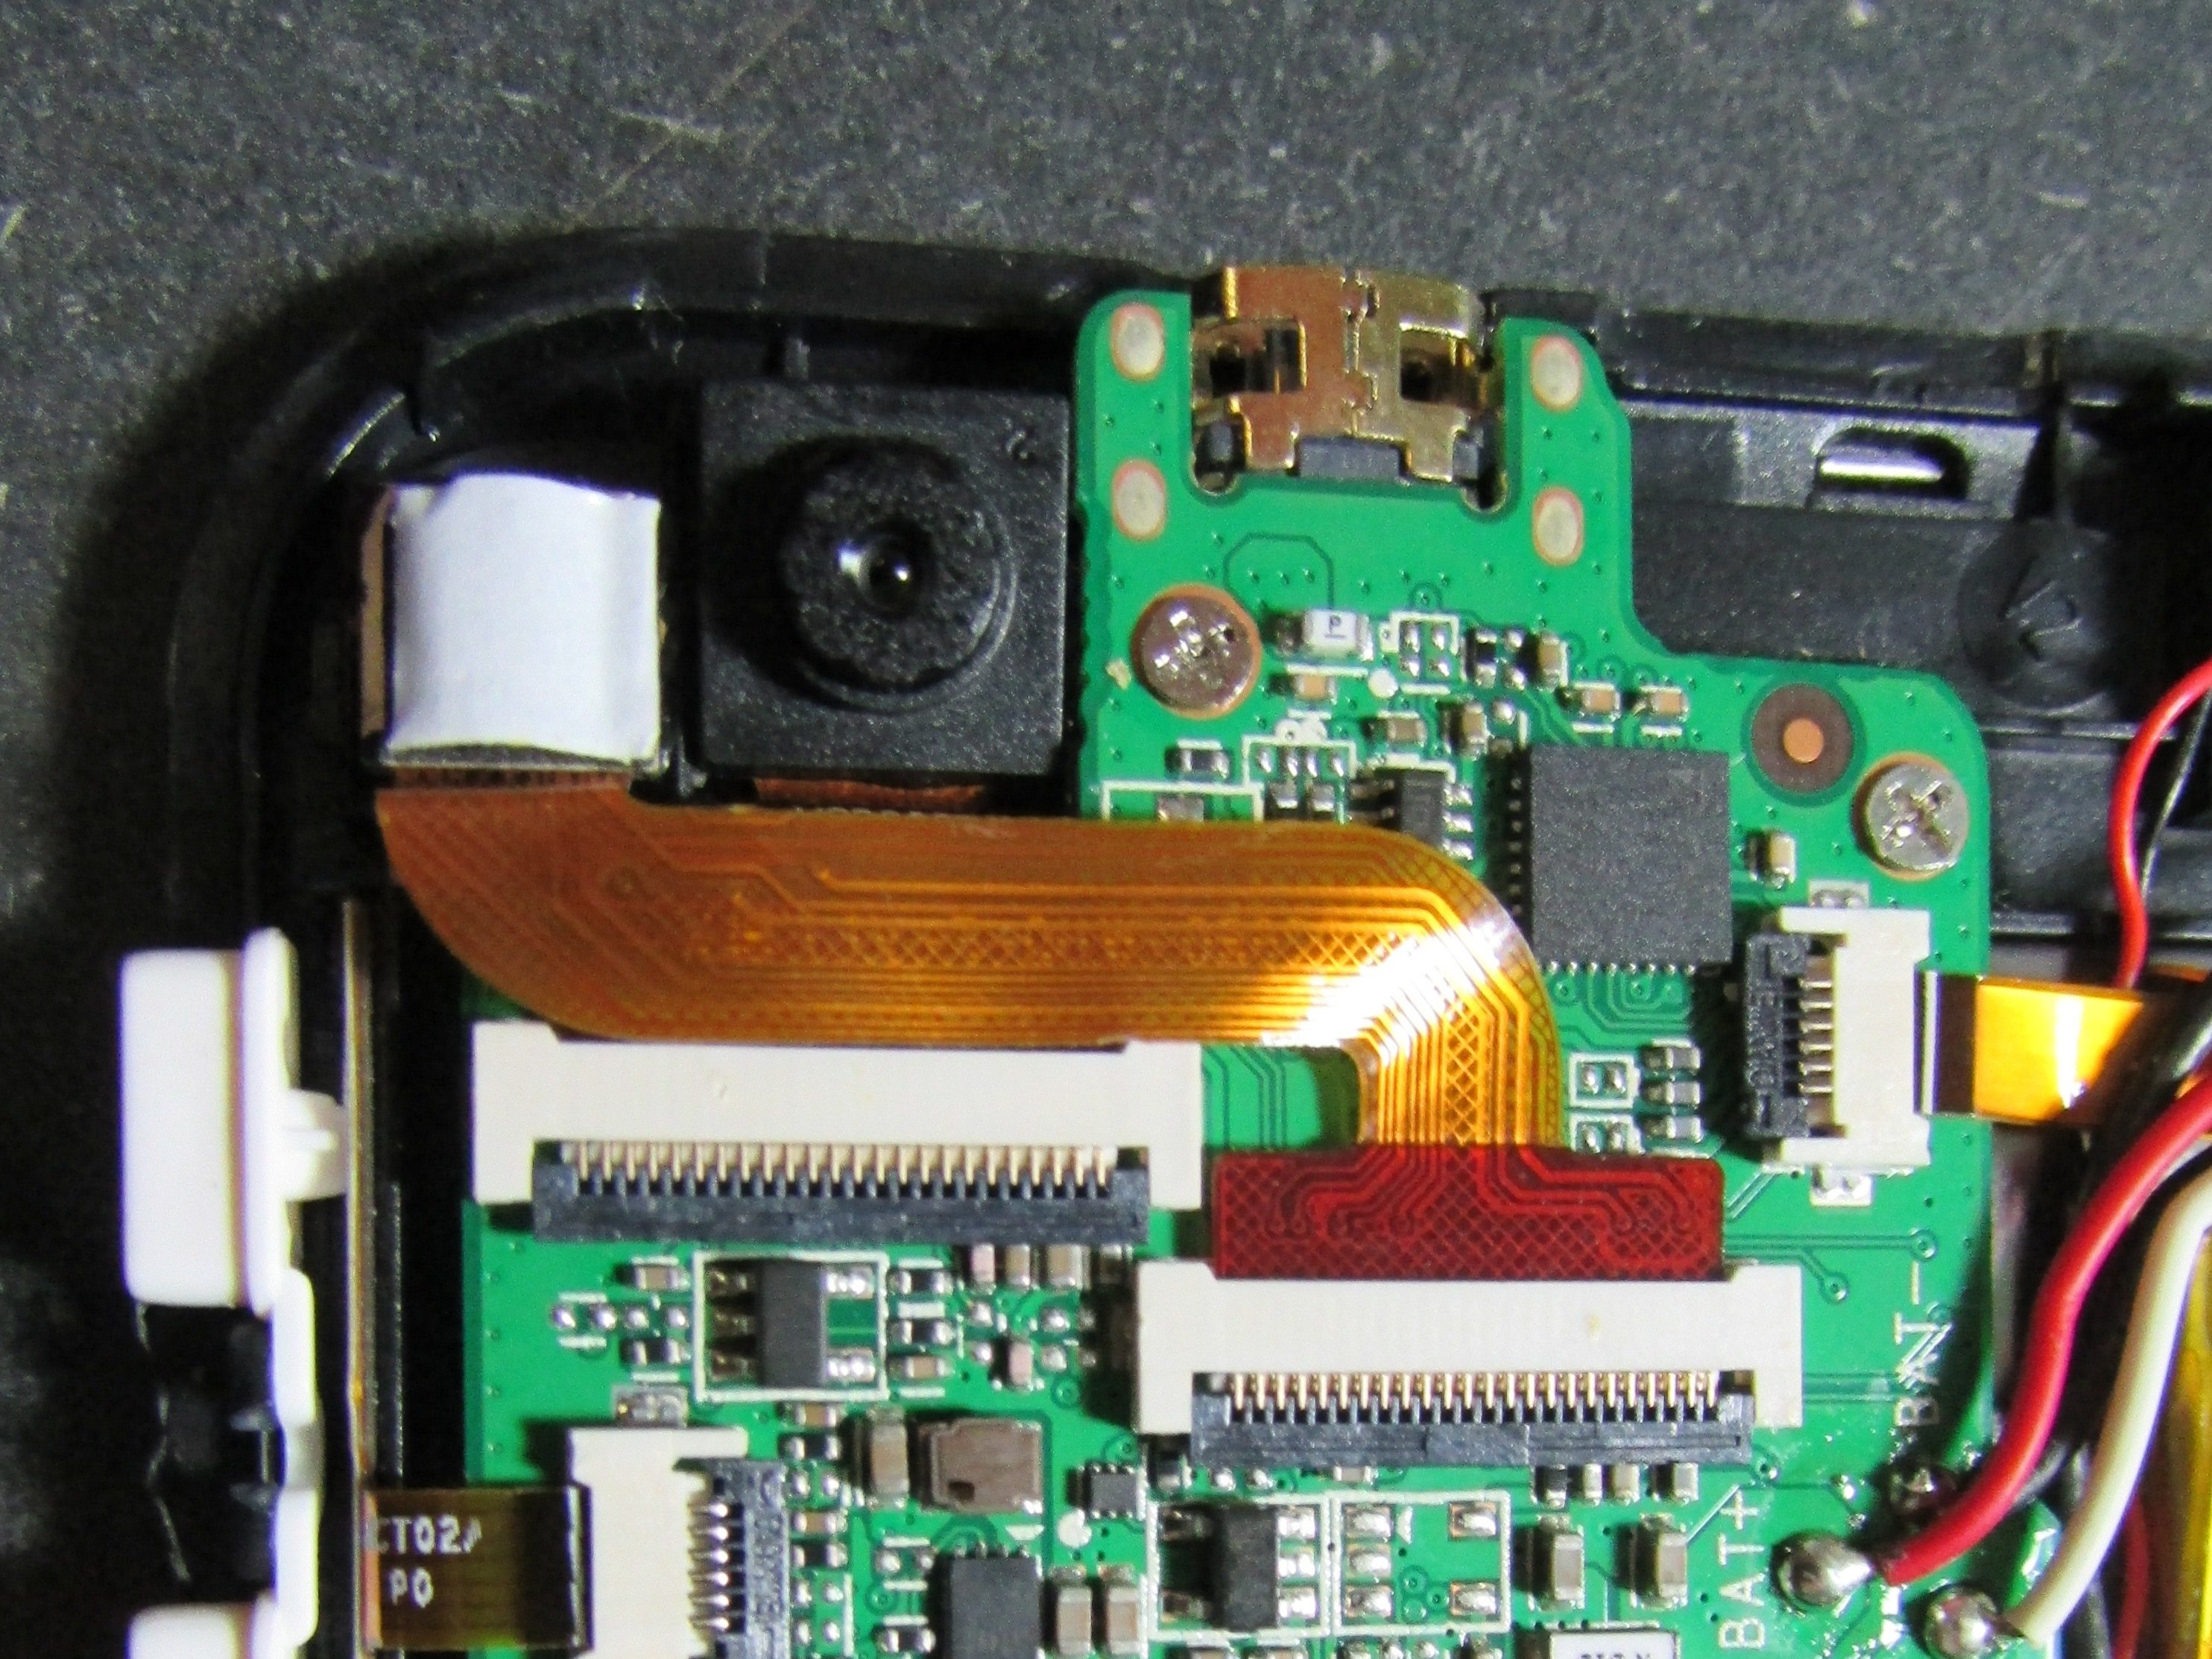
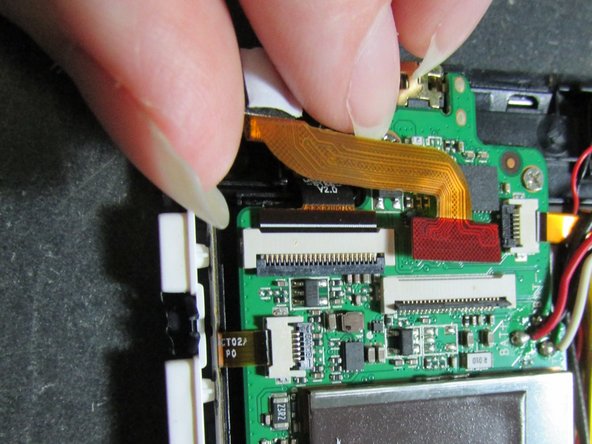
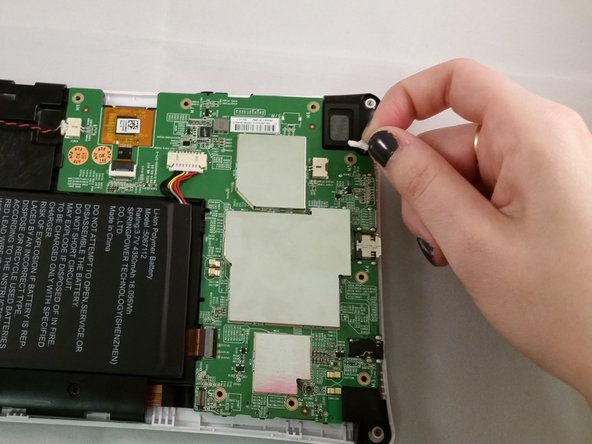
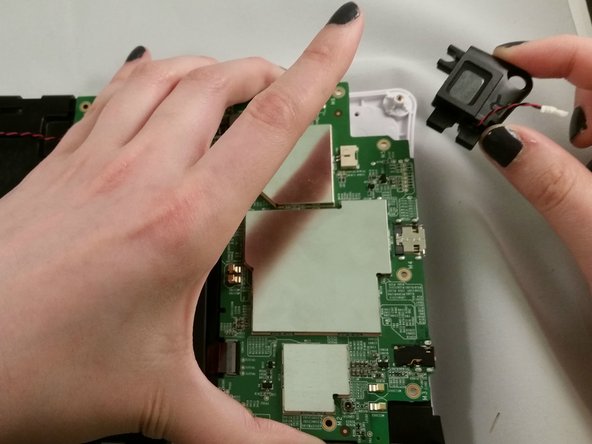
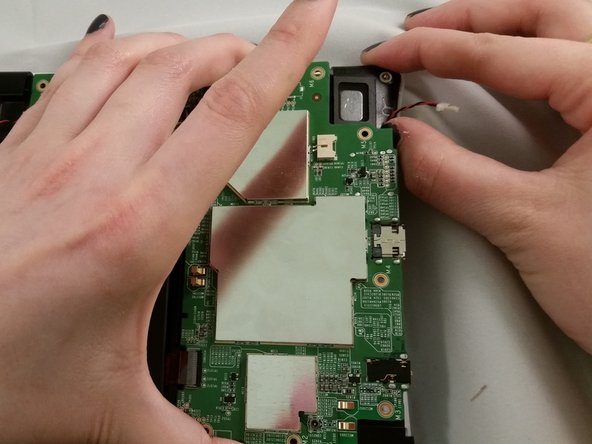
– Gently detach the speakers from the battery. These are the plastic parts covered with a mesh screen.
– Notice that the wires tuck neatly under a few clips around the bottom and left sides of the battery.
– Carefully ease the wires free from their clips. The wiring harness and speakers should come off the battery smoothly. Make sure all wires are fully released from their clips.
Step 7

– Pop in the fresh battery, get those speakers back in place, and then simply reverse the first six steps. You’ve got this!
Success!