Duration: 45 minutes
Steps: 34 Steps
Follow this guide to swap out the LCD. Some parts were filmed using a Wi-Fi model, so the inside might look a bit different compared to the cellular version. Don’t worry—the steps are the same for both, except where specifically mentioned.
Step 1


For carousel microwaves: Make sure the plate spins freely. If your iOpener gets stuck, it could overheat and burn. Keep it moving for a smoother, safer operation!
Before diving into the repair, it’s a good idea to give your microwave a quick cleanup. Any leftover mess on the bottom could end up sticking to the iOpener, and nobody wants that. A little prep goes a long way!
– Pop the iOpener right in the microwave’s center to get it warmed up.
Tools Used

Step 2

Take it easy with the heat! Don’t overdo it with the iOpener. Too much heat might make it pop, and that’s not the vibe we’re going for. Keep the temperature under 100˚C (212˚F).
If the iOpener looks like it’s puffing up, just don’t touch it! Safety first.
If it’s still too hot to handle in the middle, give it a little time to cool down. It’ll be back to warm and ready for action in about 10 minutes, so hang tight!
Microwave power varies, so you might need to heat it a bit more or less. Your iOpener is ready when it’s just a tad too warm to keep your fingers on comfortably.
– Warm up your trusty iOpener in the microwave for a quick thirty seconds.
– As you work through your repair, keep that iOpener nice and toasty by giving it another thirty seconds in the microwave whenever it starts to cool down.
Tools Used
Step 3

Careful now! The iOpener is going to be super toasty, so handle it with care. An oven mitt could be your best buddy here!
– Take the iOpener out of the microwave, but remember to grab it by one of the flat ends to avoid getting burned by the super hot center.
Tools Used
Step 4


Heads up! The iOpener gets seriously hot, so make sure you only grab it by the end tabs to keep your fingers safe.
No microwave? No worries! Just drop your iOpener into a pot of boiling water to heat it up. It’s simple and effective, like a warm bath for your tools.
– Grab a pot or pan and fill it with enough water to completely submerge your iOpener.
– Heat the water until it’s boiling hot, then turn off the heat.
– Carefully place the iOpener in the hot water for about 2-3 minutes. Make sure it’s fully submerged.
– Use tongs to safely remove the iOpener from the hot water.
– Dry the iOpener off completely with a towel, giving it a good wipe down.
– You’re all set! Need to heat it up again? Just bring the water to a boil, turn off the heat, and dunk the iOpener in for 2-3 minutes.
Tools Used
Step 5


Pop on some safety glasses to keep your peepers safe, and handle that LCD screen with care so it stays happy and scratch-free.
This keeps any sneaky glass shards from escaping and gives your prying and lifting some solid backup.
– If your display glass is cracked, keep the shards in check and avoid any ouch moments by taping the glass securely.
– Cover the iPad’s screen with overlapping strips of clear packing tape until the entire front is safely wrapped.
– Follow the remaining steps as outlined, but heads up: once the glass is broken, it might crack more as you work. You may need to carefully use a metal prying tool to lift out the glass pieces.
Step 6

Heads up! Since you might be handling some broken glass here, it’s a smart move to pop on some safety glasses to keep those sneaky shards from causing any trouble.
– Place the iOpener flat along the right edge of your iPad, making sure to smooth it down for a snug fit with the surface of the iPad. We’re going for a solid connection here!
– Give it about 90 seconds to work its magic before you try to pop open the front panel. Patience is key!
Tools Used
Step 7


It might take a little elbow grease to slide the wedged tip of the opening tool between the glass and plastic. Take your time and be gentle, giving that plastic opening tool a little shimmy and shake as needed.
– Spot the tiny gap in the iPad’s adhesive ring located at the upper right corner, about 2.0 inches (~5 cm) down from the top edge. This little opening is your entry point.
– Line up your tool with the mute button. Gently slip the tip of a plastic opening tool into the crack between the front glass and the plastic bezel — just a quick nudge to create some space, no need to force it.
Step 8

– Carefully slide your tool right into the sweet spot—nestled between the plastic display bezel and the front panel glass.
Step 9


– With the plastic opening tool snugly in place between the front glass and the plastic bezel, gently slide a plastic opening pick into that little gap right next to your trusty tool. You’re doing great—keep it steady!
Step 10


– Gently pull out the plastic opening tool from the iPad, then slide the opening pick a bit further under the front glass—aim for about half an inch deep.
Step 11

– As you loosen the adhesive on the right side of the iPad, give that iOpener another quick heat-up and pop it back onto the bottom edge to keep things nice and warm.
Tools Used
Step 12


The adhesive is super strong, so you might need to put in some elbow grease. Take it slow and steady!
If the tip of your opening pick is poking out beneath the front glass, give it a little tug. It’s totally fine to go this deep, but just know you might end up with a bit of adhesive residue on the LCD. No worries, though—you’re still on track!
– As the bottom edge gets cozy with the warmth from the iOpener, start peeling back that sticky adhesive from the right edge of your iPad.
– Gently glide the opening pick down the side of the iPad, letting it do its magic and free the adhesive along the way.
Tools Used
Step 13


You might need to slide the heated iOpener back to the right edge of the iPad as you peel away the adhesive. This will depend on how long the iPad has had a chance to cool down while you were busy working your magic.
– If your opening pick is feeling a bit stubborn and gets stuck in the adhesive, just give it a friendly ‘roll’ along the edge of the iPad. Keep it moving to help loosen that sticky stuff!
Tools Used
Step 14


– Before you dive in and whisk away that first opening pick from the bottom corner of your iPad, slide in a second pick beneath the right edge of the front glass. This little buddy will help keep the adhesive from getting cozy again!
– Give your iOpener a little reheat love, then place it at the top edge of the iPad.
Tools Used
Step 15

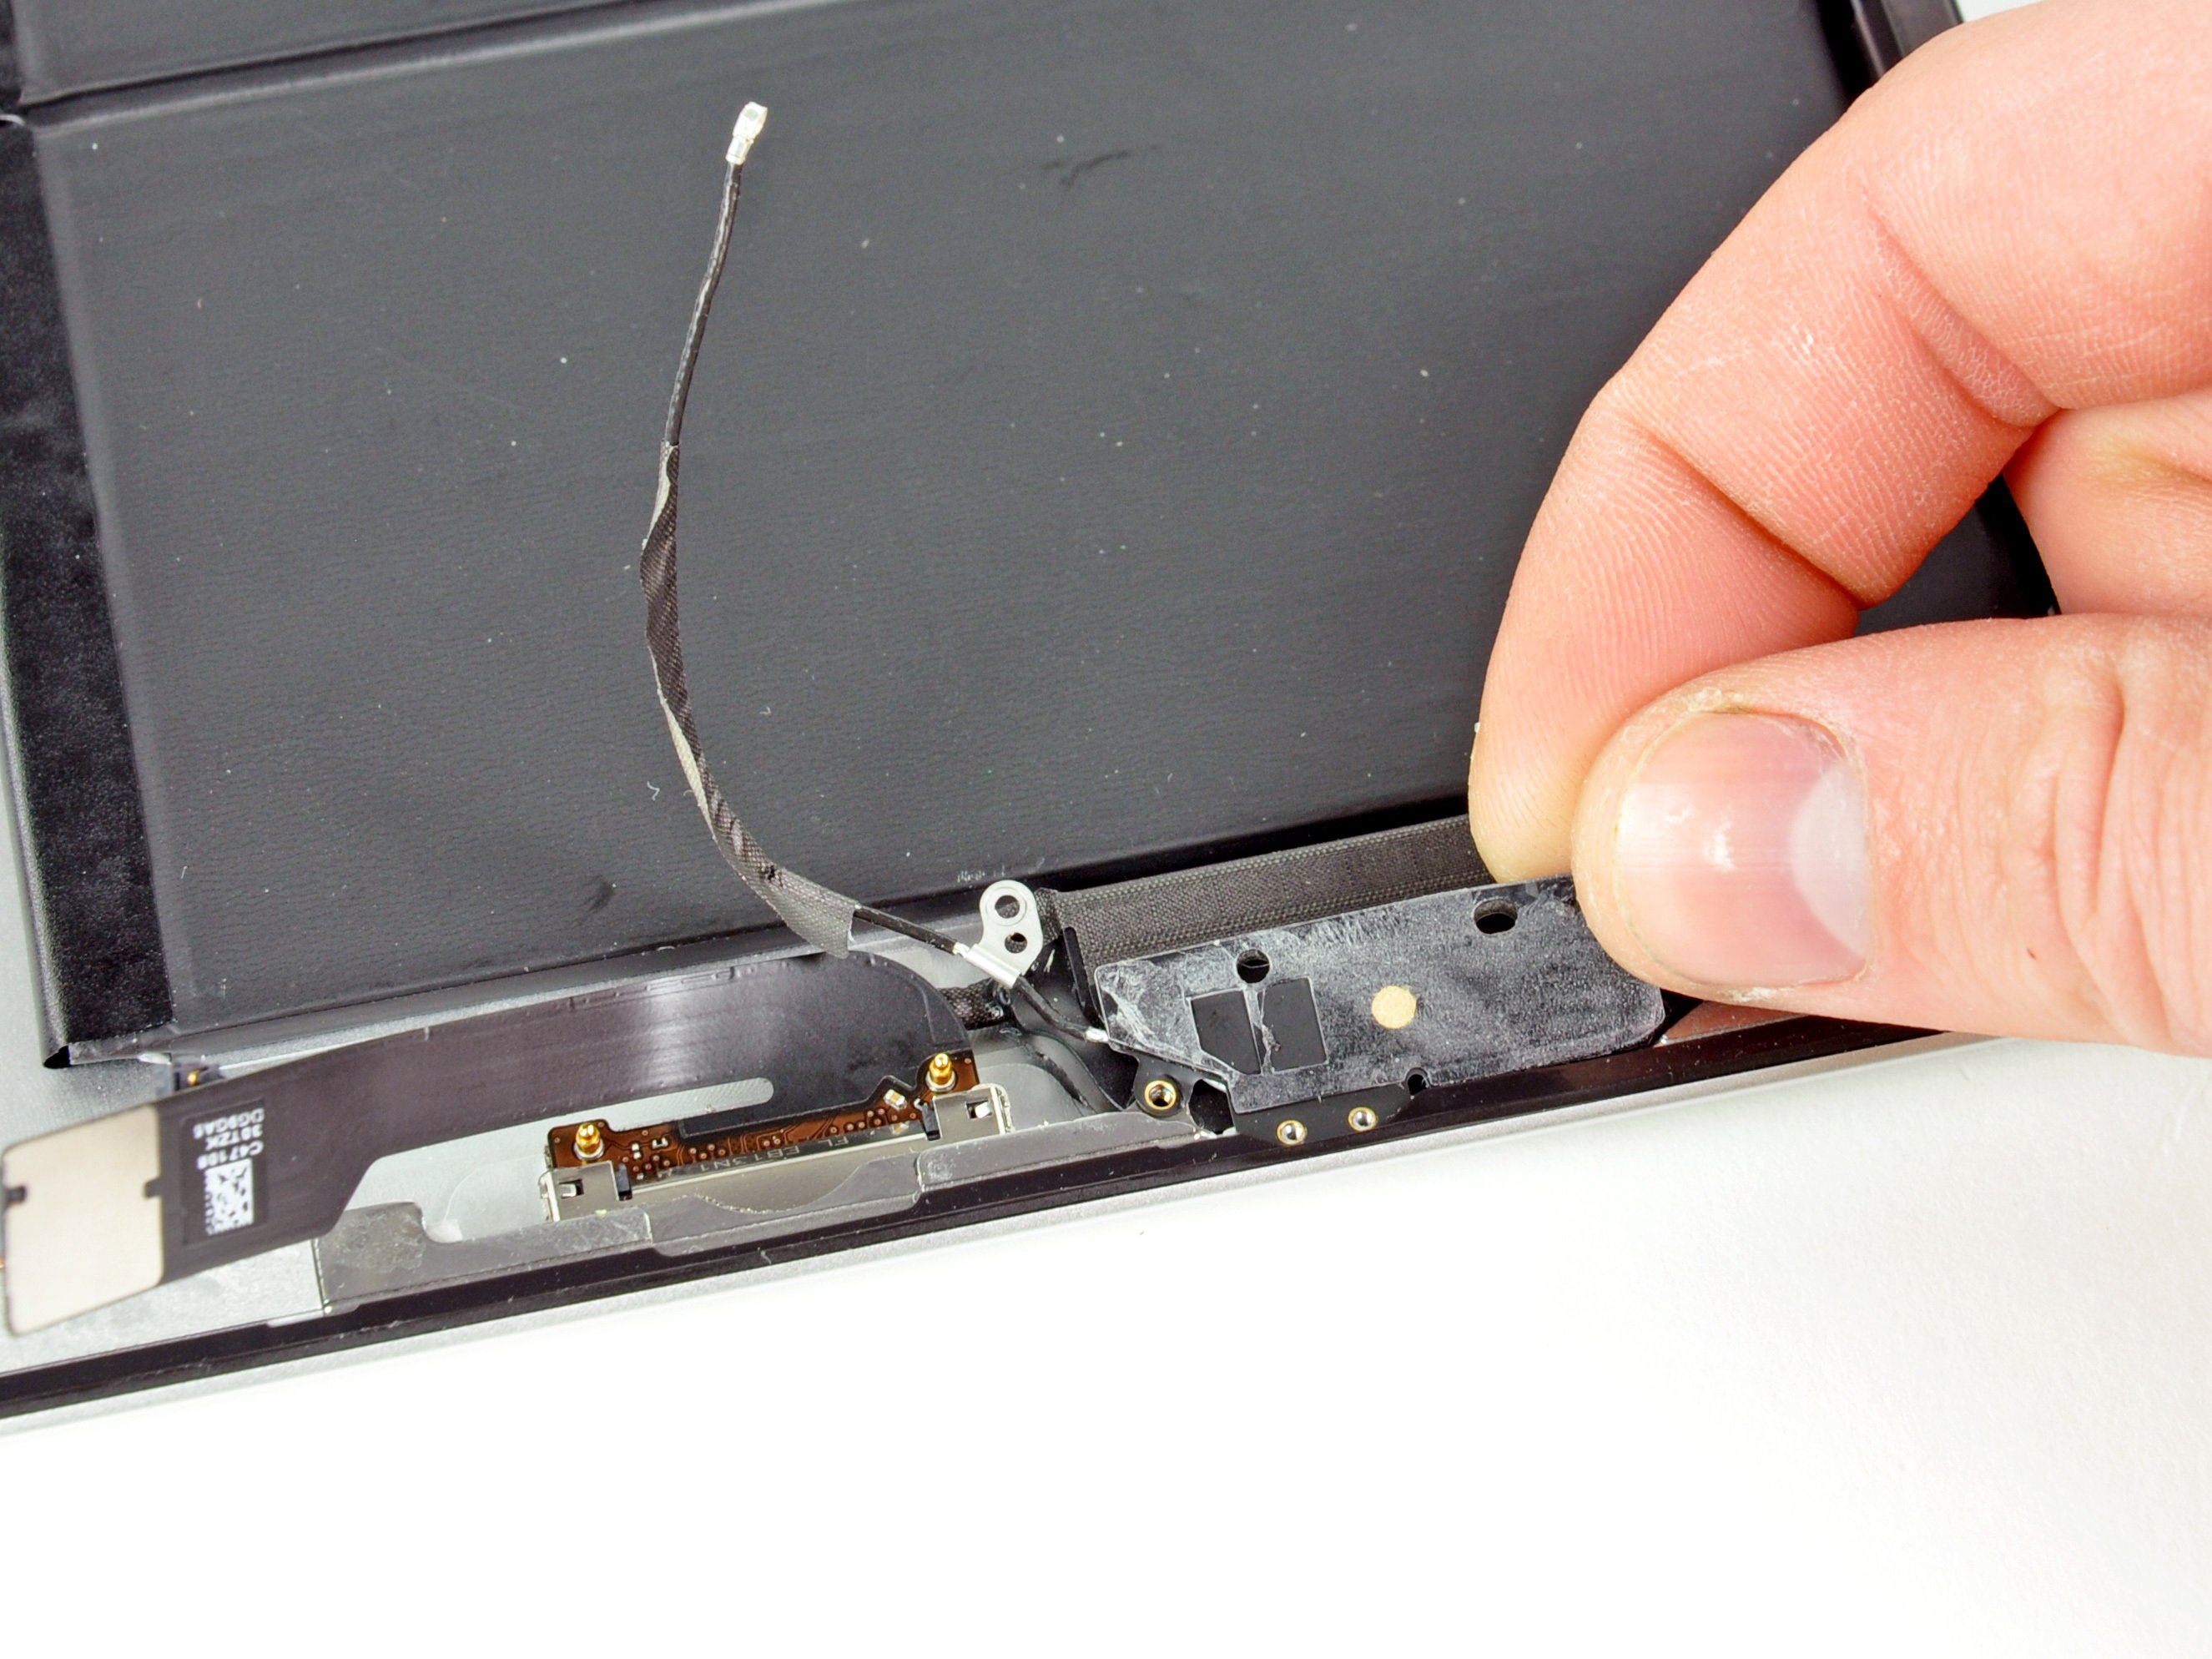
The Wi-Fi antenna is screwed and connected along the bottom right edge of the iPad’s rear case. Its unique placement means you’ll want to handle it with care to avoid any accidental damage that can’t be undone.
– Heads up: the next few steps call for some serious care.
– You’ll need to carefully loosen the adhesive holding the antenna to the front panel without messing up the fragile connectors attaching the antenna to the iPad’s bottom. Take it slow and follow along closely.
Step 16


Heads up! Don’t push the pick past the bottom right corner — that Wi-Fi antenna is sensitive and could get hurt if you go too far.
– Gently glide the opening pick around the bottom right corner of the iPad to break free that sticky adhesive holding everything together. You’ve got this!
Step 17


Careful moving the opening pick along the bottom right edge of the front panel! The Wi-Fi antenna hangs out near the corner and can get cut if the adhesive comes loose the wrong way.
Don’t yank the pick all the way out from under the front glass—just pull it out a bit so that around 1/8″ (3 mm) of the tip stays tucked under the glass. A little goes a long way!
– Gently glide the tip of your opening pick along the bottom edge of the iPad to free up the adhesive that’s holding the Wi-Fi antenna in place. You’ve got this!
Step 18


– Once you’ve navigated past the Wi-Fi antenna (about 3″ or 75 mm from the right edge, or right by the home button), carefully slide your opening pick all the way in.
– Now, gently slide the pick to the right. This will release the adhesive holding the Wi-Fi antenna to the front glass, so it’s free to move.
– The antenna is secured to the bottom of the iPad with screws and a cable. This step helps detach the antenna from the front panel, ensuring no damage when you take the panel off.
Step 19


Don’t overdo it with the iOpener—heat it for just a minute at a time, then give it a breather for at least two minutes before reheating. Patience is key!
If the adhesive along the bottom edge has cooled down too much, just heat up the iOpener again to soften the glue right where you’re working.
– Keep gently working your way along the bottom of the iPad, releasing the adhesive as you go. Once the opening pick has made it around the home button, pull it out a bit and then reinsert it about half an inch (10 mm) deeper. You’re getting closer!
Tools Used
Step 20


For iPad 4 models, gently slide the pick in this area, but keep it to about 1/2 inch (10 mm) deep. We want to keep that home button ribbon cable safe and sound, so let’s be careful out there!
– Keep sliding that adhesive release tool all along the bottom edge of your iPad like a pro.
– Leave the opening pick snugly tucked under the front glass near the home button to keep things steady.
Step 21

– Pop that iOpener in the microwave to warm it up, then gently place it on the left edge of your iPad. This will help get the adhesive nice and warm, making it easier to work with.
Tools Used
Step 22


If the adhesive has cooled down too much, just pop the iOpener back along the top edge and keep going. If it’s too chilly to work with, give it another heat-up session.
– Gently slide the opening pick along the top edge of your iPad, giving it a little nudge to navigate around the front-facing camera bracket.
– This section has some seriously sticky adhesive, so don’t be surprised if you need to put in a bit of muscle. Go slow and steady to avoid any slips – we don’t want you or your iPad to get hurt!
– If the pick feels stuck in the adhesive, just give it a little ‘roll’ as shown in step 9. It should slide through much smoother.
Tools Used
Step 23


If the adhesive feels nice and warm, go ahead and take the iOpener off the iPad for easier access. But if it’s still giving you a bit of a challenge, just heat it up again and place it along the left edge while you continue your work. It’s all about finding that perfect balance!
– Keep peeling back the adhesive along the iPad’s top edge, then slide your opening pick around the top left corner like a pro.
Tools Used
Step 24


The digitizer cable is hiding about 2 inches (50 mm) from the bottom of your iPad. Once you slide the pick down to around 2.25 inches (60 mm) from the bottom, it’s time to stop! You’ve got this!
– Gently glide the opening pick along the left edge of your iPad, letting it work its magic on that adhesive. It’s a bit on the thin side here thanks to the digitizer stretching along the whole left side. Just remember to keep the pick no deeper than 1/2 inch (about 10 mm) to avoid any accidental mishaps with the digitizer. You’ve got this!
Step 25


Be super careful here! The bottom of the digitizer cable is just about 1″ (25 mm) from the bottom of the iPad. Take your time and work gently to avoid cutting this cable. You’ve got this!
– With your trusty opening pick still nestled beneath the bottom edge of the iPad, give a little nudge to free the adhesive in the bottom left corner. You’re almost there!
Step 26


Sometimes the adhesive around the edge of your iPad likes to play sticky again. If that happens, just slide a pick under the spot where the front glass is still clinging on and carefully ‘cut’ through the adhesive to set it free.
– Grab one of those nifty opening picks and gently lift up the bottom right corner of your iPad. Once it’s up, give it a friendly pinch with your fingers to hold it steady.
Step 27


Watch out for any sticky adhesive still lurking around! Grab your trusty opening pick and gently slice through any remnants that might be keeping the front panel glued down.
– Grab the iPad by the top and bottom right corners and gently swivel the front glass away from the device.
– When putting everything back together, give the LCD a little spa treatment with a microfiber cloth and some compressed air to zap away dust and fingerprints before snapping the glass back on.
Step 28

– Unscrew the four 2.0 mm Phillips #0 screws that are holding the LCD in place on the rear case. Keep them safe!
Step 29


Handle the LCD with care, and remember, it’s not going anywhere! The display data cable will keep it connected while you gently rotate it over.
– The front panel ribbon cables hide underneath the LCD. To get to them, you’ll need to carefully flip the LCD over and move it aside for a moment.
– Grab the LCD by the long edge nearest the volume buttons and gently flip it out of the back case—kind of like turning a page in a book.
– Place the LCD face down on the front panel, giving yourself easy access to those cables.
Step 30


Remember, as you disconnect that display data cable connector, keep it cool and avoid lifting it upwards. You’ve got this!
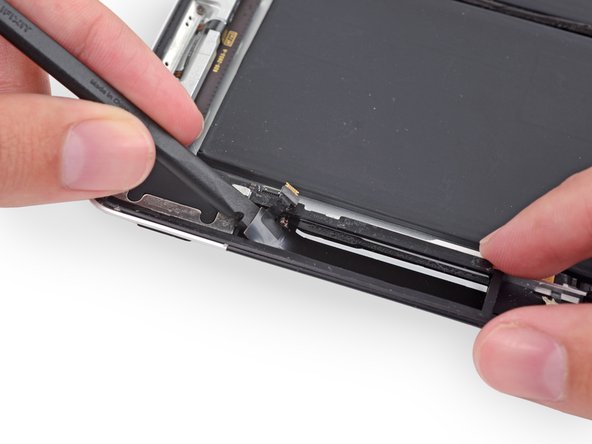
– Gently wedge the edge of a plastic opening tool under the metal clip that’s holding the display data cable in place on the logic board, and flip it up.
– Carefully pull the display data cable straight out from its socket on the logic board.
Step 31

– Carefully detach the LCD assembly from your iPad 2, just like peeling an orange, but without the mess!
Step 32


– Peel away that tiny strip of black tape that’s keeping the display data cable connector on the LCD all snug and secure.
Step 33


When disconnecting the display data cable, resist the urge to yank it upwards. Give it a gentle nudge instead!
– Gently use the edge of a plastic opening tool to flip up the metal clip holding the display data cable in place.
– Carefully pull the display data cable out from its socket and detach it from the LCD.
Step 34

– The LCD is still hanging in there.
Success!