Duration: 45 minutes
Steps: 12 Steps
Ready to give your iPad 7/8 a fresh look? Replacing the glass digitizer is a rewarding challenge! The trickiest part? Removing the broken glass from the screen. Make sure to fully take off the old glass before putting on the new one – you don’t want any gaps or damage to the replacement screen. Take it step by step, and if you run into any issues, feel free to schedule a repair for extra support.
Step 1

Get your screen nice and toasty along those red lines! The sweet spot is to aim for hot to the touch—just enough to loosen up that stubborn adhesive. Remember, we want it warm, not a mini bonfire!
– I like to use a heating pad to gently warm up the screen just enough to loosen the adhesive. Alternatively, you can grab a hair dryer and aim the heat around the edges of the device to soften that sticky stuff.
Step 2


Watch out for those sneaky glass shards! Depending on how your screen cracked, they might be lurking around. Keep your hands safe and rock those gloves if you have them handy.
– Gently work your way around the screen’s edges. Just a heads up: be careful when you reach the bottom—there are some important bits like the home button, Wifi attachments, and GPS antennas hiding under there.
– There’s a ribbon cable about one-third up the right edge, connecting the screen. Make sure to handle that spot with extra care so nothing goes awry.
Step 3

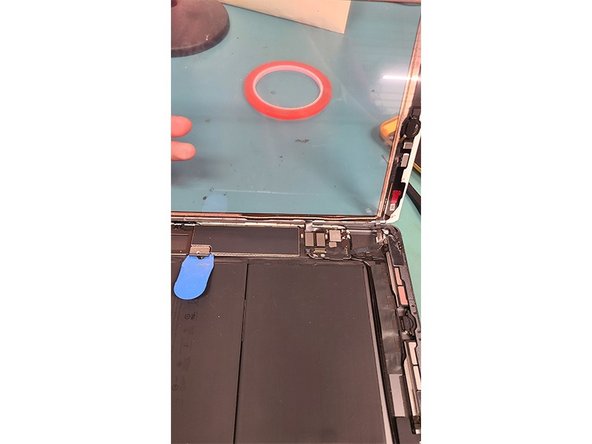
– Gently lift and give the digitizer a little wiggle from the top left side.
– The screen should pop open, swinging like a door on the ribbon cable on the right. Nice and smooth!
Step 4


Support the glass digitizer so you can keep both hands free for all the fun stuff ahead!
– Take a deep breath and grab your trusty screwdriver! Unscrew those 4 PH000 screws nestled in the corners of your LCD screen.
– Now, with a gentle touch, use a metal tool to carefully nudge the LCD up from the top left and right screw brackets. You got this!
Step 5

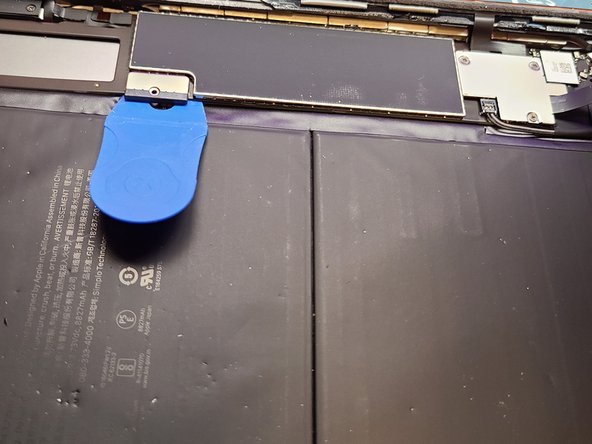
– Gently peel the LCD screen away from the top—easy does it!
Step 6

– Remove the single PH000 screw holding the battery connection in place.
– Gently slide a plastic pick underneath the battery connection to loosen it.
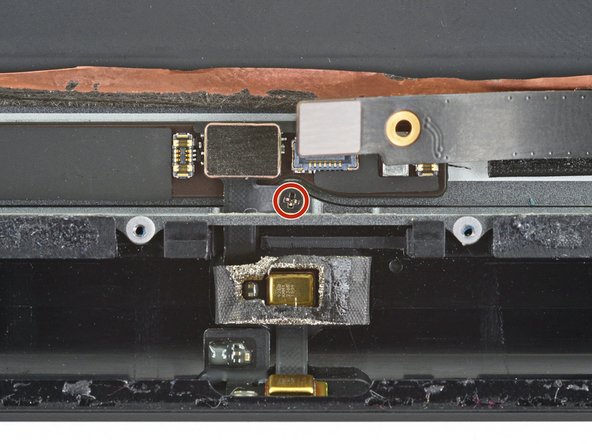
– Take out the three PH000 screws securing the display cable bracket.
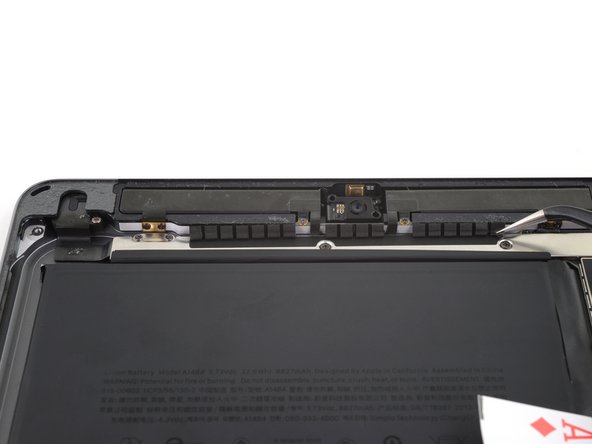
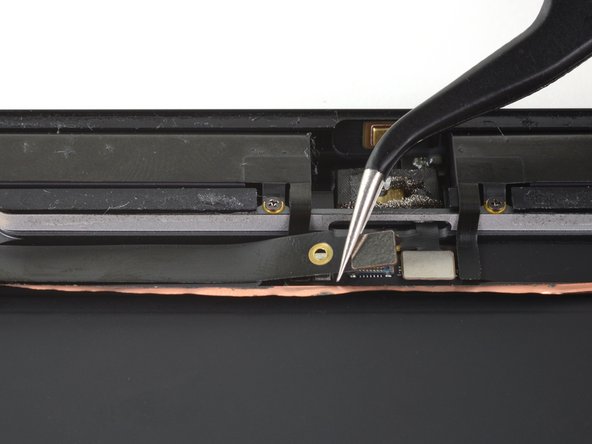
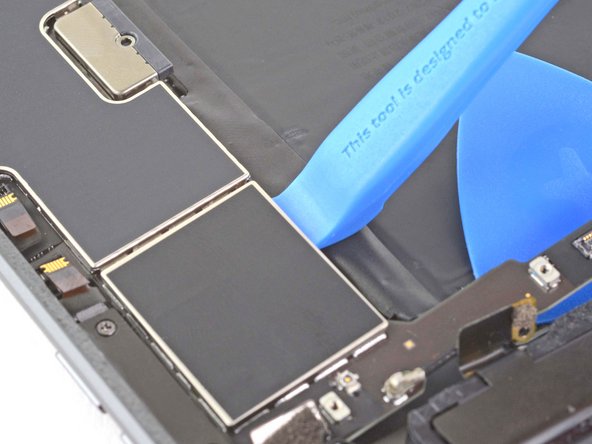
Step 7


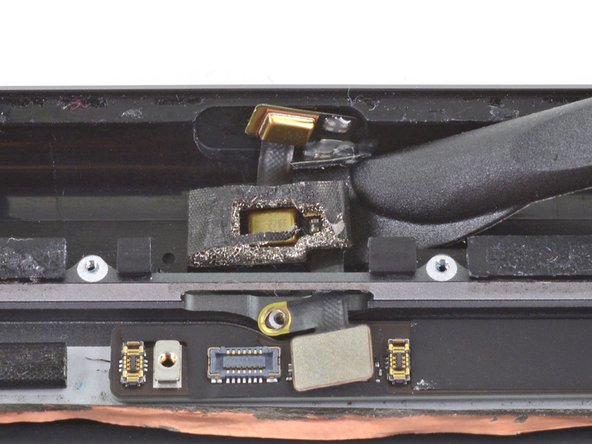
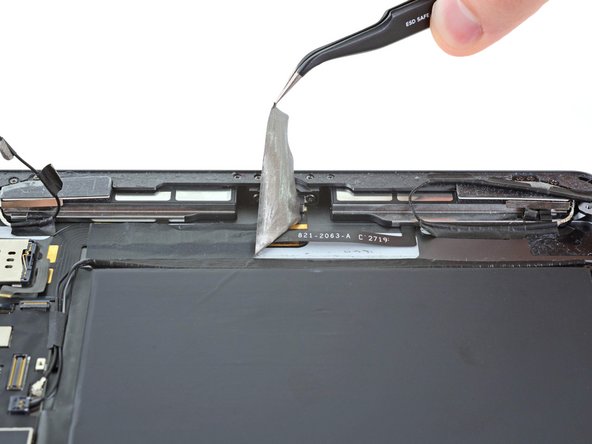
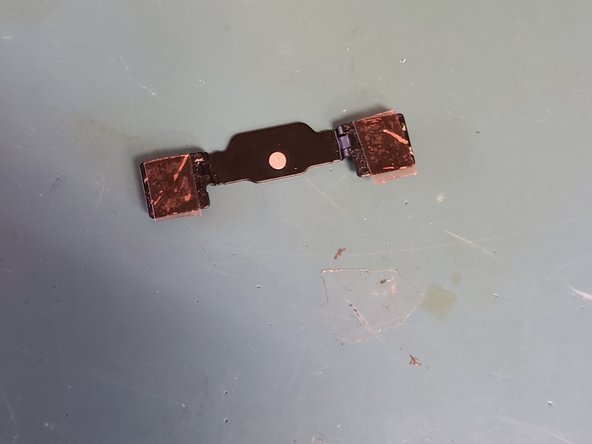
– First up, let’s detach that LCD ribbon cable – it’s time for a little separation!
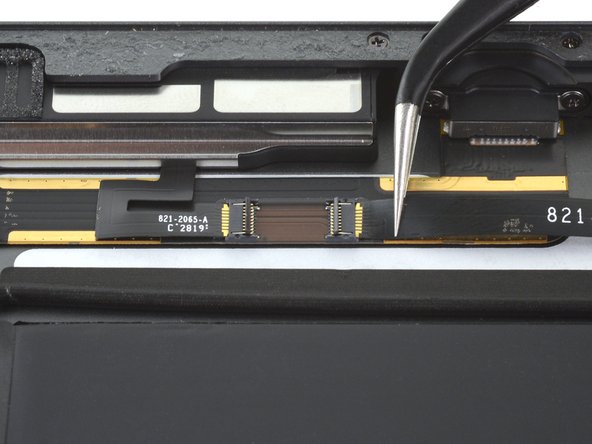
– Next, say goodbye to the digitizer’s two ribbon cable connections. They’ve served you well!
– Now, swing open the lock that keeps the home button ribbon cable snug and secure.
– Finally, carefully disconnect the home button ribbon cable using the flat end of a plastic spudger, or if you’re feeling nimble, gently slide it out with some tweezers.
Step 8

– Carefully unplug the cable from the iPad housing, making sure to leave the rubber cover protecting the home button cable in place.
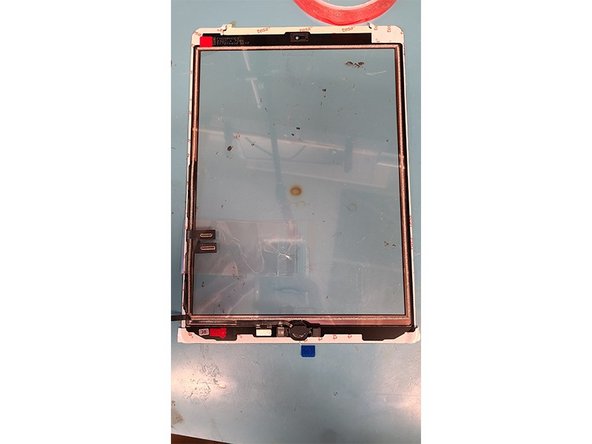
– Now you can safely lift and remove the glass digitizer completely from the iPad housing.
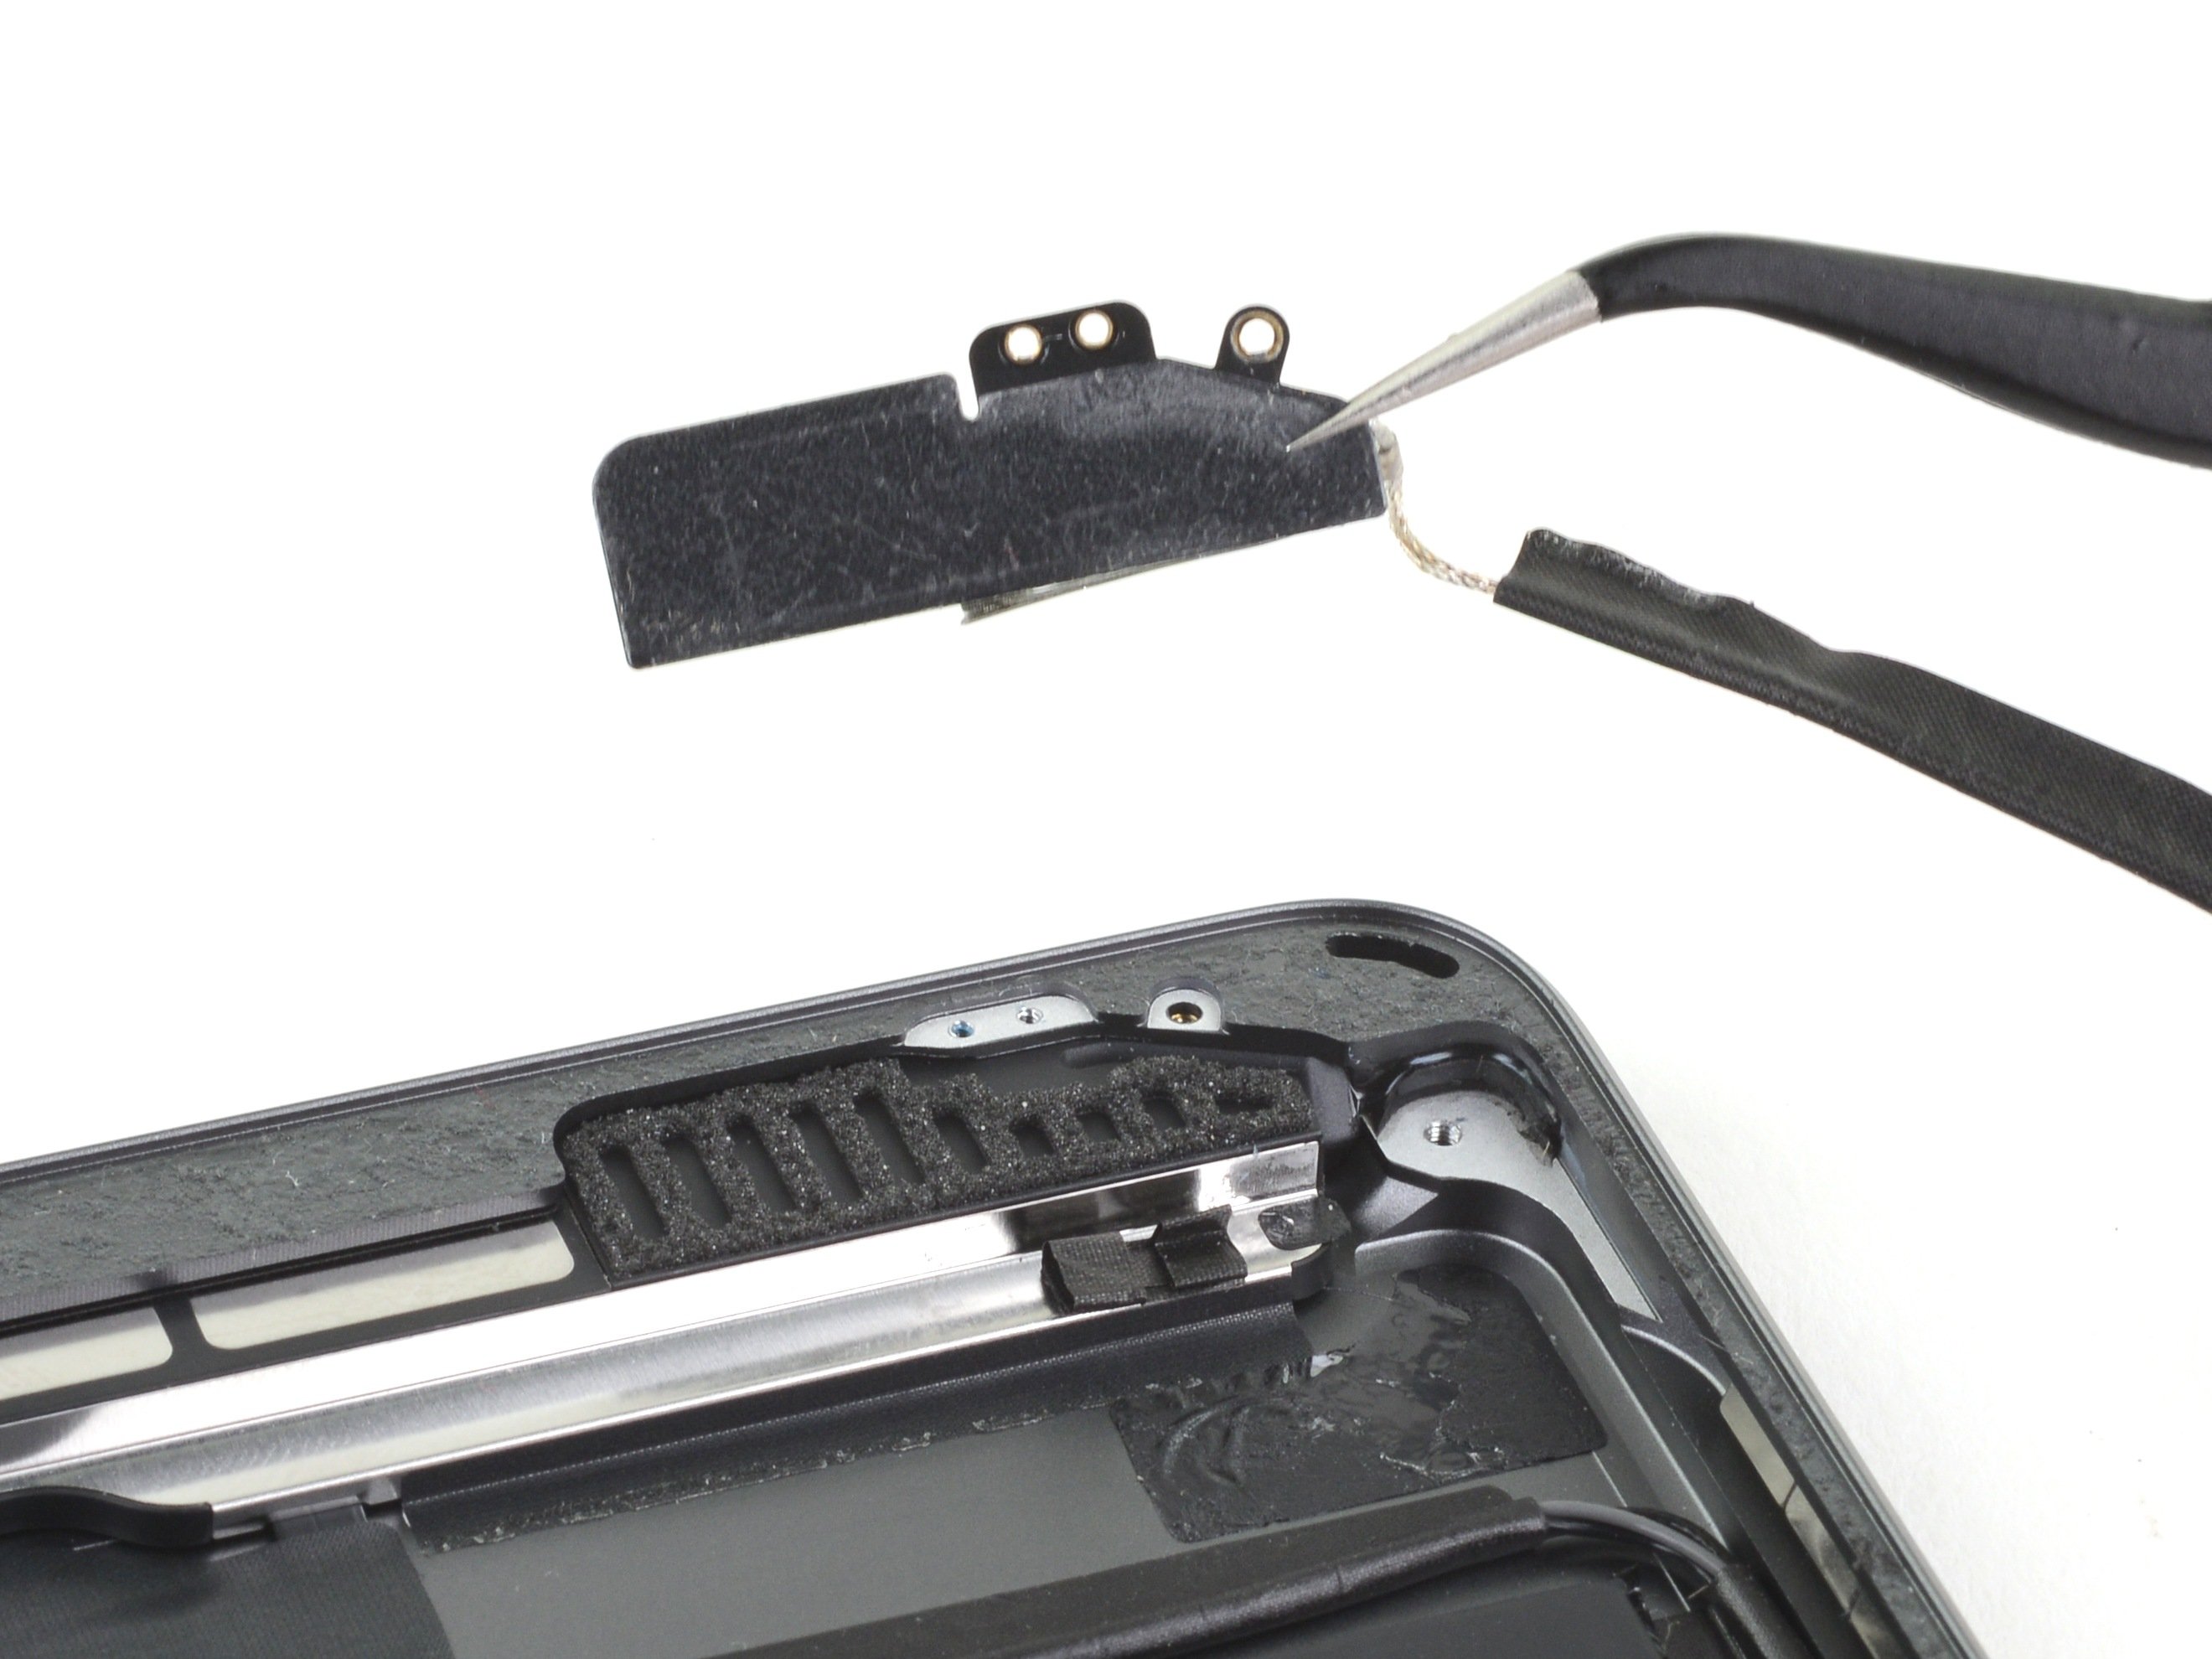
Step 9


– Warm up the home button with a heat gun or heating pad. A blow dryer will also do the trick if you don’t have the fancy tools.
– Gently lift the home button, carefully tugging on the ribbon cable. Just be cautious—no need for any damage here.
– Use a metal pry tool to carefully pop off the metal bracket around the home button. Go slow and steady.
Tools Used

Step 10

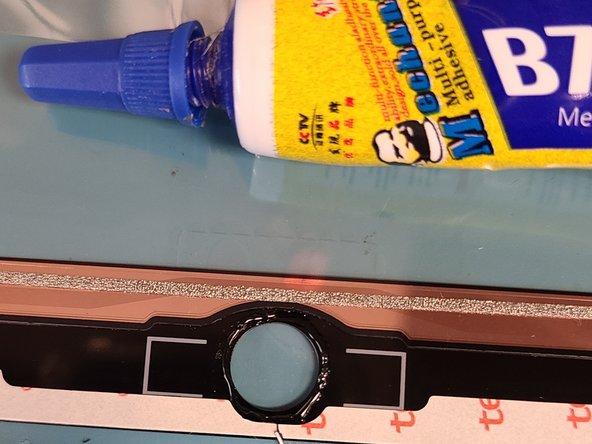
– Now that you’ve freed the home button and its bracket, let’s get crafty! Dab some liquid adhesive around the new glass digitizer’s home buttonhole to keep everything snug and secure.
Step 11

Before you dive in, give those edges a little TLC! A Q-Tip dipped in just a smidge of isopropanol can work wonders. Remember, any gunk in the digitizer groove could lead to a cracked digitizer. Let’s keep things smooth sailing!
– Start by placing the home button down first, then secure it with the metal bracket. Give the button a few test clicks to make sure it’s sitting nice and steady.
– Get ready to test by reconnecting the home button and the glass digitizer’s ribbon cables exactly how you unplugged them in step 7.
– Take out the plastic pick from the battery connector and screw back in the PH000 screw to keep things snug.
– Put the display cable bracket back in place and fasten it with its three PH000 screws.
– Finally, remount the LCD by screwing in its four PH000 screws into the iPad housing.
Step 12

Hold your horses on the glue until you’ve given that shiny new digitizer and home button a good test drive!
– Place the new digitizer gently into its groove. Make sure it sits perfectly!
– Power up your iPad and make sure everything is running smoothly.
– Lift the digitizer carefully, making sure the LCD and the underside of the digitizer are nice and clean.
– Apply a small line of glue along the edge of the digitizer groove on the iPad housing.
– Place the digitizer back into its groove and gently press down until the glue holds it in place.
Success!