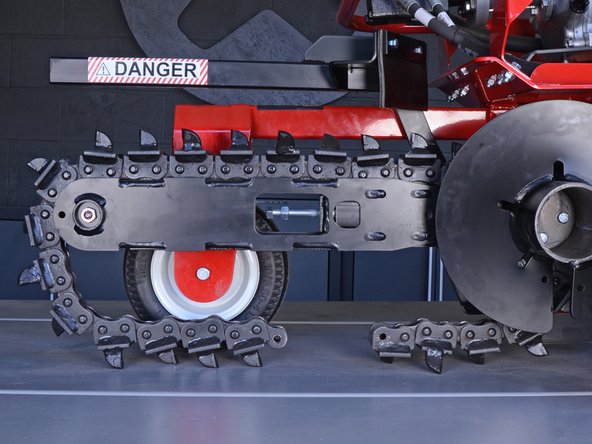
Barreto Trencher E718MTH4S 2016 Chain Roller Spacer Replacement
Duration: 45 minutes
Steps: 12 Steps
Make sure the trencher is chillin’ on a flat surface, shut that engine down, and double-check that it’s completely powered off before diving into the work. Safety first, always!
Get ready to breathe new life into your Barreto Trencher E718MTH4S 2016 by replacing the roller spacer. First, find a flat surface to park your trencher, shut off the engine, and make sure it’s completely powered down before you start tinkering. Safety first!
Step 1


Once that pin’s locked in place, turning the wheels should feel like pushing a brick wall—super tough!
– First things first, let’s make sure both ignition switches are chilling in the off position. One’s hanging out on the engine, and the other is vibing on the control panel.
– Next, give that ring near one of the wheel hubs a gentle tug straight out, away from the wheel. It’s like a little dance move!
– Now, twist it around until that small roll pin finds its cozy spot in the slot. It’s all about alignment!
– Let go of the ring and watch as the lock pin slides into the wheel. You might need to give the wheels a slight spin to help the lock pin seat itself fully. Teamwork makes the dream work!
– Do the same for the other wheel to ensure both lock pins are snugly engaged. You’re almost there!
Step 2


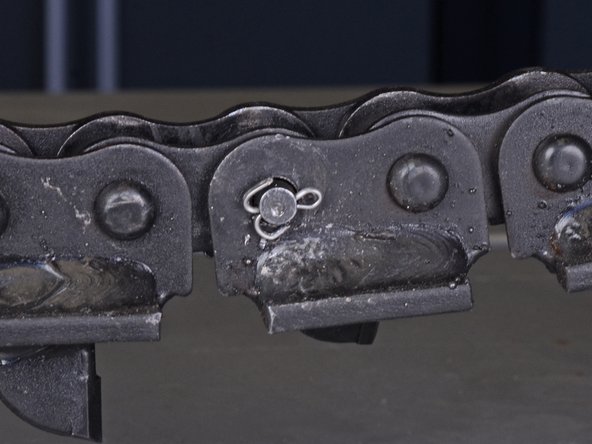
– Turn the auger to position the chain so you can easily spot the master link, which is the one with the removable pin. Let’s make this repair happen!
Step 3
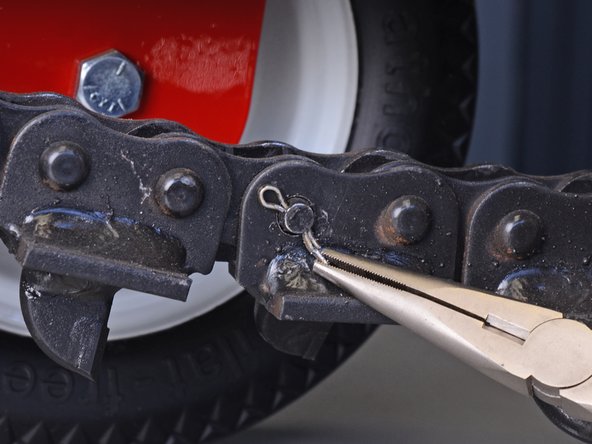

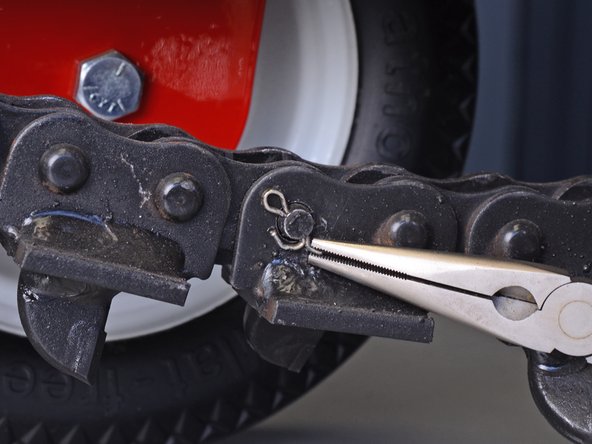
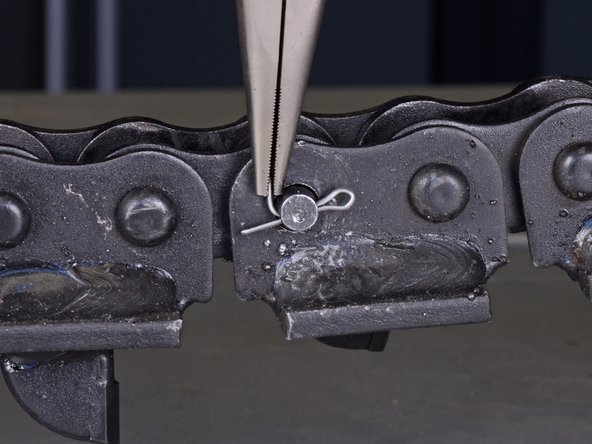
– Grab a trusty pair of needle-nose pliers and give both sides of that cotter pin a little TLC to straighten it out. This will help keep the pin snug in the master link!
Step 4
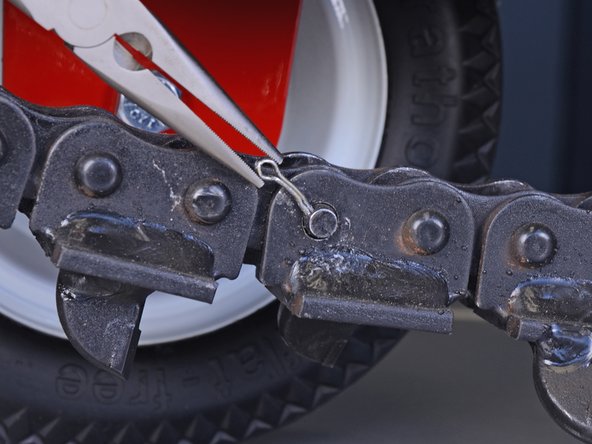

– Slide that cotter pin out of the chain pin—it’s time to set it free!
Step 5

– Pop that chain back on using a shiny, new cotter pin—because your bike deserves it!
– Slide that fresh cotter pin right into the chain pin—it’s like threading the needle, but cooler.
– Grab your needle-nose pliers and give each end of the cotter pin a satisfying bend around the chain pin. Secure it like a boss!
Step 6

Keep your hands safe and sound! Make sure not to swing too close to the ends of the punch. After each swing, take a moment to line up your hammer and punch again, and you’ll be good to go!
Getting into this position makes the link much more accessible, and the chain is nicely supported against the boom’s guide.
If you’re dealing with a stubborn pin, a dash of penetrating lubricant at the juncture of the chain and the pin can work wonders. Just let it hang out for a few minutes before you give it another go.
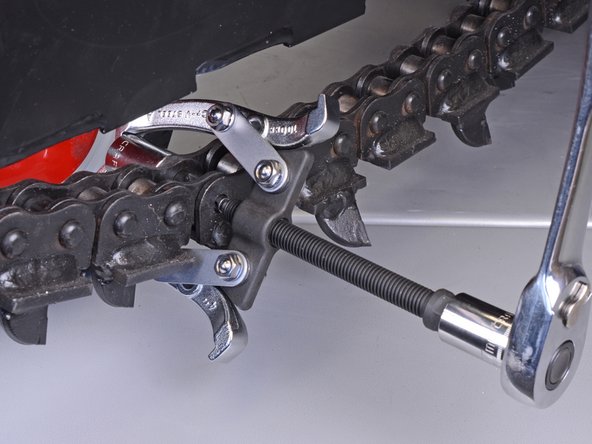
When you’re breaking out the gear puller, remember that the master link should be lying under the boom to give those puller arms some breathing room. Give the auger a spin to adjust the chain so that master link is just where you want it.
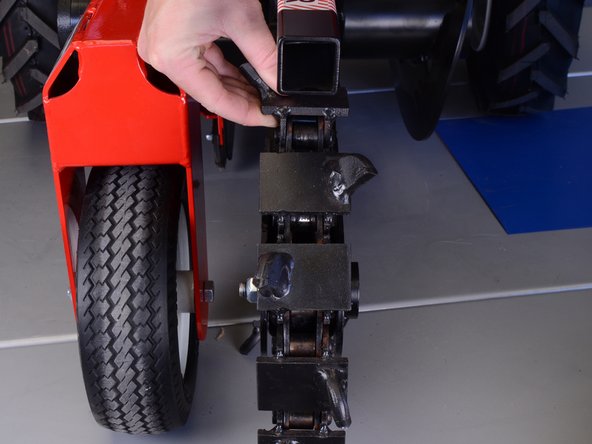
– Turn the auger and move the chain until the master link is sitting comfortably on top of the boom.
– Place the smaller, flat side of a 3/16 inch pin punch against the end of the master link pin where the cotter pin used to be.
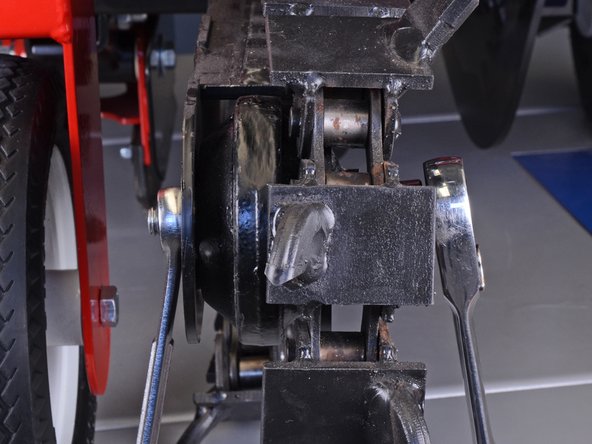
– Give the larger end of the punch a solid tap with a heavy hammer to nudge that pin out of the master link.
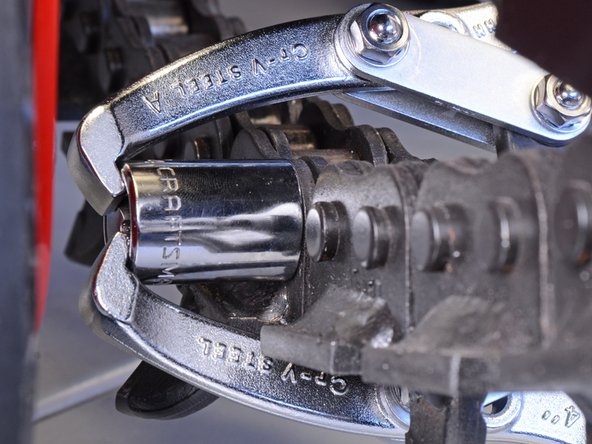
– If you’re still having some trouble, a two-jaw gear puller or in-line pin puller could be your new best friend. When using a gear puller, you might want to stabilize the claw side with a spacer that won’t get crushed as you start pushing the pin out. A 3/4 inch socket works great for this job.
Tools Used

Step 7
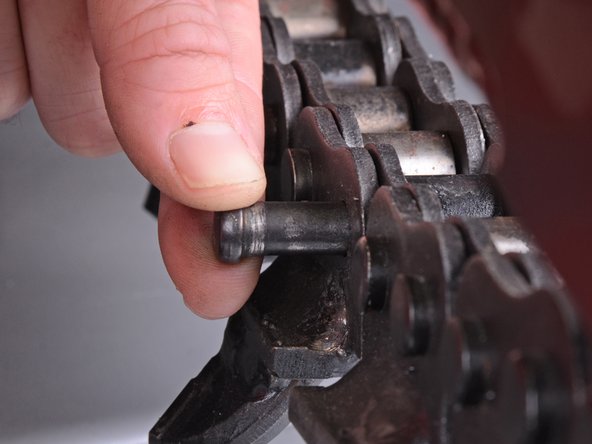

Heads up! The chain is super heavy, so be prepared for it to drop off the boom as soon as you remove the pin from the master link. Make sure to keep your hands and any fragile items out of the way before you start.
– Time to get that chain back in action! Start by carefully pulling the pin out of the master link – it’s the first step to getting your device up and running again.
– When you’re ready to reassemble, be prepared for a bit of a workout. You’ll need to use some elbow grease (and a heavy hammer and pin punch) to push that pin back into the master link. Don’t worry, it’s doable, and the end result will be worth it. If you’re not feeling confident, you can always schedule a repair with the pros at Salvation Repair.
Tools Used
Step 8
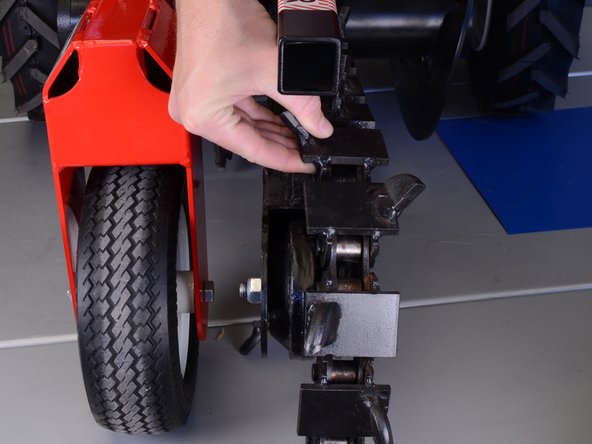

– Gently lift the chain off the roller assembly and slide it away from the chain guide on the boom, making your way toward the side where the Zerk fitting is chillin’.
– Carefully place the chain down on the boom, right next to the chain roller assembly. You’re doing great!
Step 9

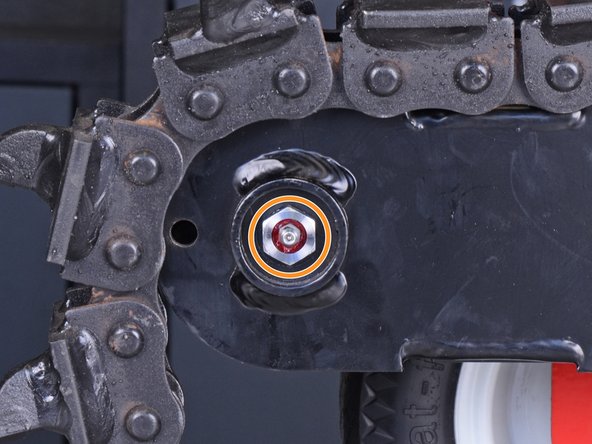
– Take off the 3/4 inch hex nut located on the side of the boom, opposite the Zerk fitting. Yep, that’s the one!
– Grab a 3/4 inch socket and use it to steady the bolt on the opposite side while you loosen up that nut. You’ve got this!
Step 10

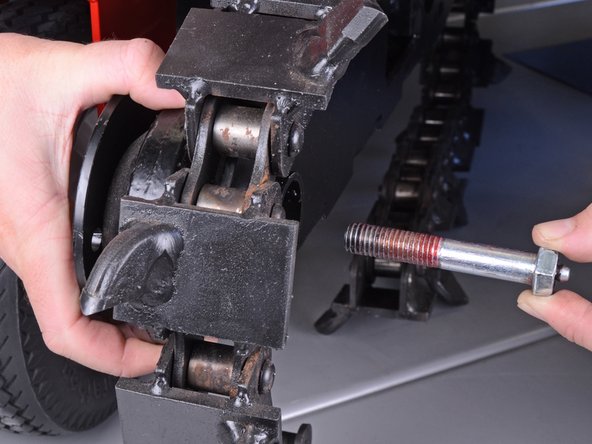
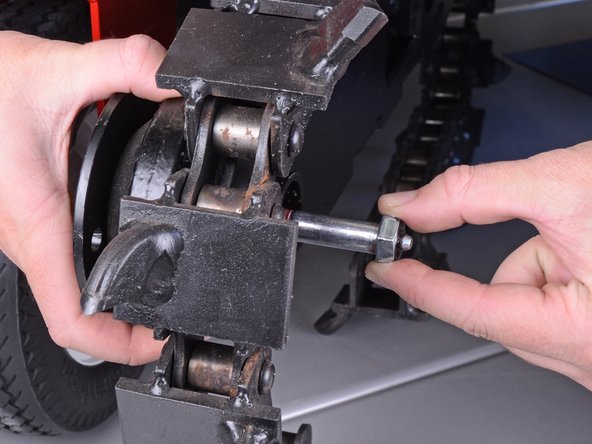
– Hold the chain roller assembly steady with one hand while you unscrew the bolt that keeps it in place.
Step 11

– Take off the chain roller assembly with a little flair! Just gently detach it and set it aside like the superstar you are.
Step 12


– Now, simply reverse the steps to put everything back together and get your device back in action.
– When reassembling the chain, don’t forget to pop in a fresh cotter pin to keep things tight and right.
– After you’ve reassembled everything, check that the chain’s tension is spot on and give the chain roller Zerk fitting a little grease for smooth sailing.
– Need a hand? If you’re stuck or just don’t want to bother, feel free to schedule a repair.
Tools Used

Success!