Benro V2 Ball Head Teardown
Duration: 45 minutes
Steps: 13 Steps
Step 1

– Benro V2 Ball Head
– Time to get your hands on this Benro V2 Ball Head and give it the TLC it deserves. Make sure everything is lined up perfectly, and let’s get started!
– Step 1: Begin by loosening the locking mechanism of the ball head. This is essential to make sure the ball head moves freely, which will give you better control during your setup.
– Step 2: Carefully detach the ball head from the tripod. It might take a little wiggling, but it should come off easily.
– Step 3: Inspect the ball head for any loose screws or signs of damage. If it’s looking a bit worn, consider tightening or replacing any parts that seem off.
– Step 4: Once everything is in good shape, reattach the ball head to the tripod and tighten the lock to secure it in place.
– Step 5: Test the movement. Rotate and adjust the ball head to ensure it pivots smoothly without any awkward resistance.
– Step 6: If all is good, you’re ready to get back to shooting. If not, don’t hesitate to schedule a repair.
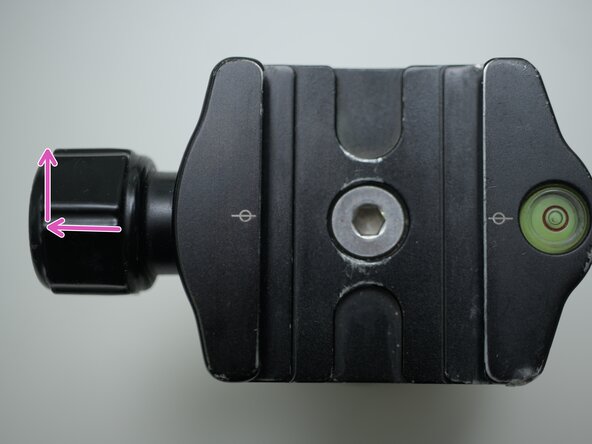
Step 2
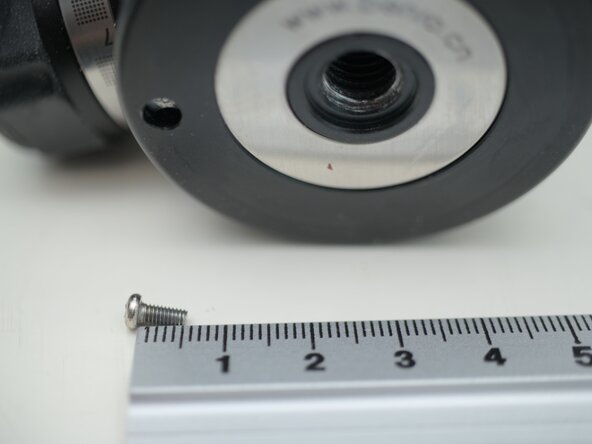

– Got a loose pan lock? Time to tighten things up!
– Twist the base to reveal and unscrew all 4 M3 screws. Don’t leave any behind!
– Gently separate the base. You’re almost there!
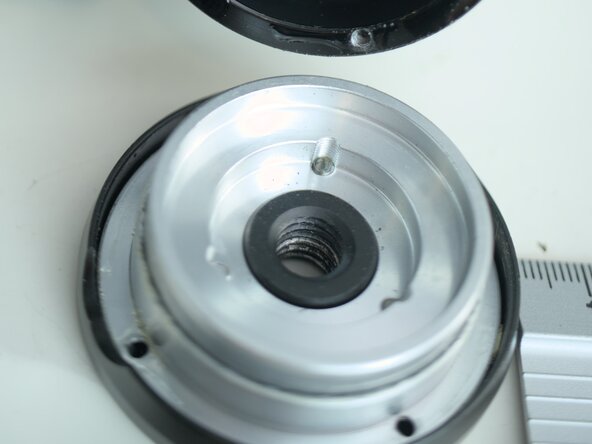
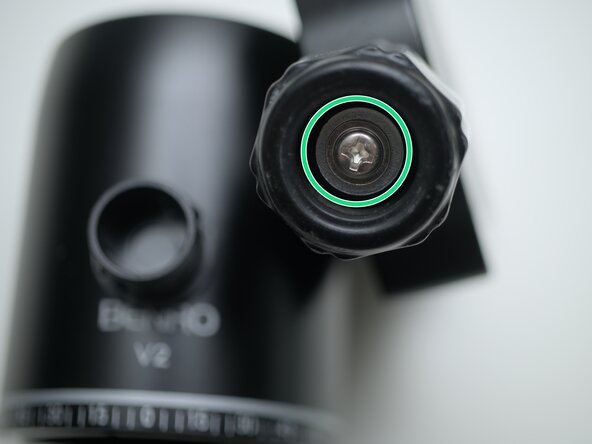
Step 3
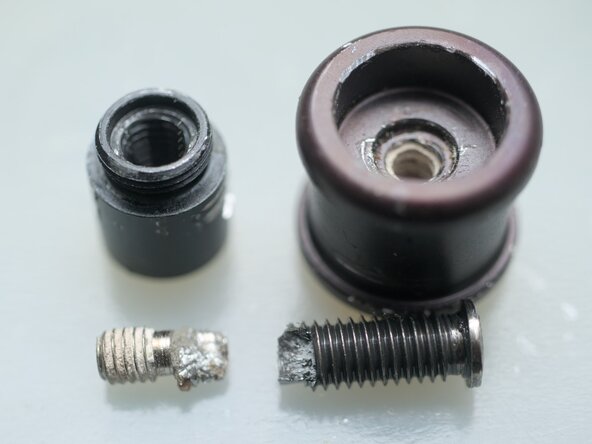
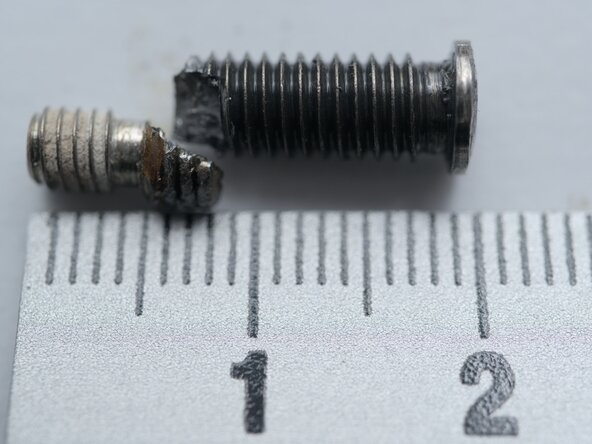

– Feel free to heat things up a bit here if you think it will help.
– Rotate the pan locking knob all the way out, then go ahead and remove the nut. (Just a heads up, my screw is a bit broken!)
– The threads on that screw are M5 and M4, so be mindful of that when working with it.
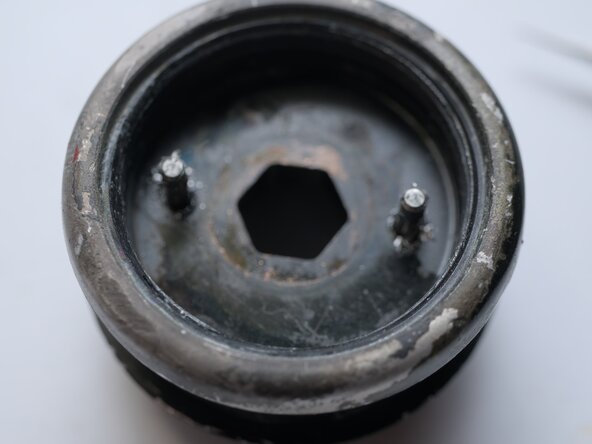
Step 4

– Take off the locking ring carefully.
– Lift away the ball locking plates.
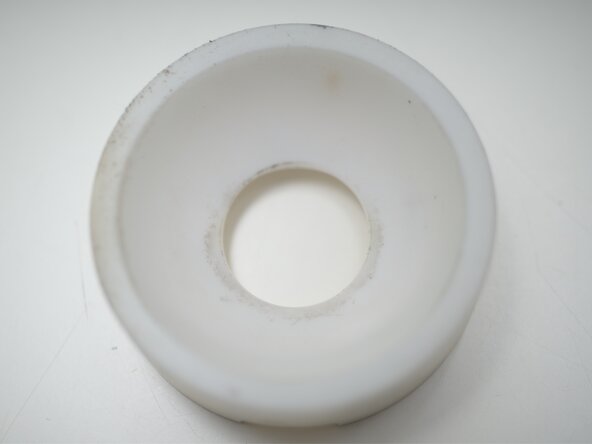
Step 5

– First, twist the cover off by turning it counterclockwise. It might be a bit stubborn, so feel free to grab something to help, or warm it up a bit to loosen things up. I found that drilling two small holes helped with that.
– Next, take out the damp limiter screw. A coin or your fingernail will do the trick for this one!
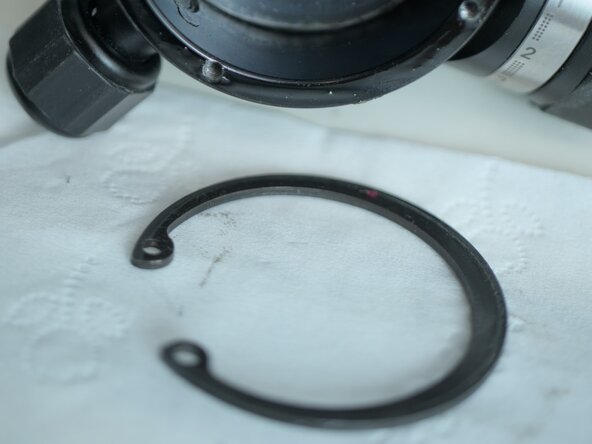
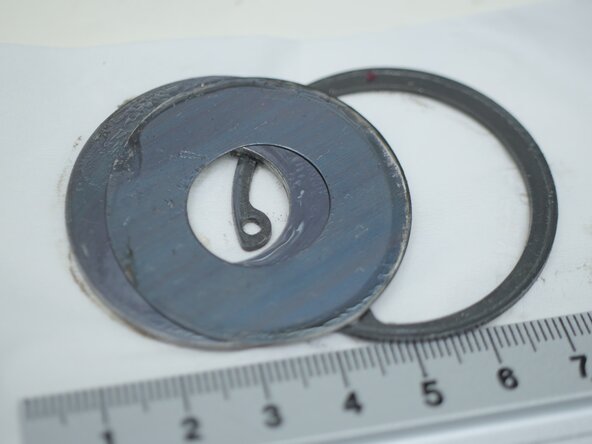
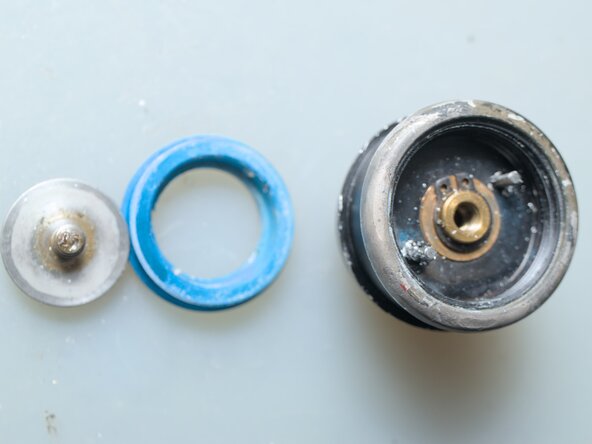
Step 6
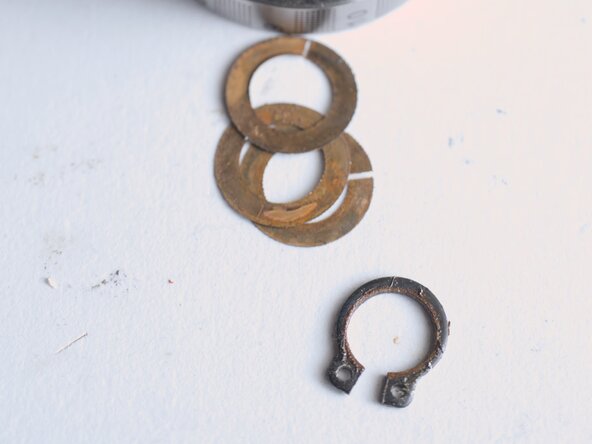

– Pop off the clip
– Take out the washers
– Gently wiggle the knob off
Step 7

– Now for the friction scale—keep an eye on it as you work, it’s about to get interesting!
Step 8
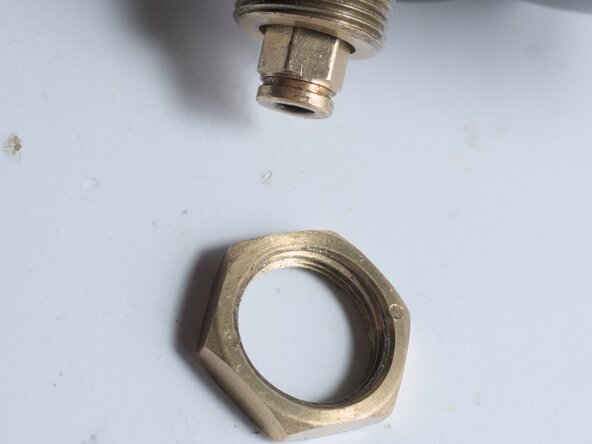

Before you take off that nut, make sure to note where it’s sitting. It’ll make things smoother when putting it back!
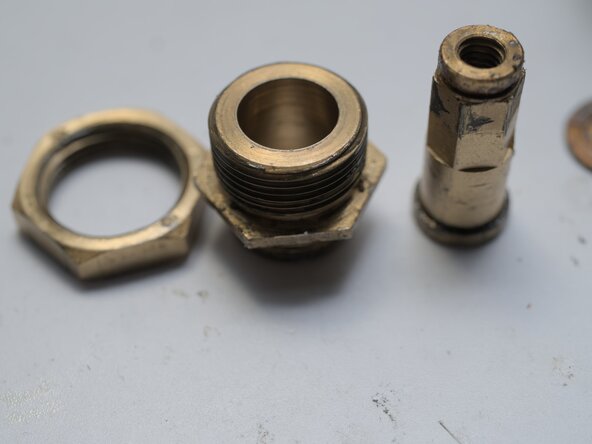
Step 9

– Give it a little twist to the left.
Step 10

– Warm up this nut to about 150°C and take it off. Trust us, it comes off way easier after a little heat.
– Totally forgot to snap a pic of this part—imagine a nut being removed in style!
Step 11

– Oops, forgot to take photos here! No worries, just go ahead and remove this part.
Step 12
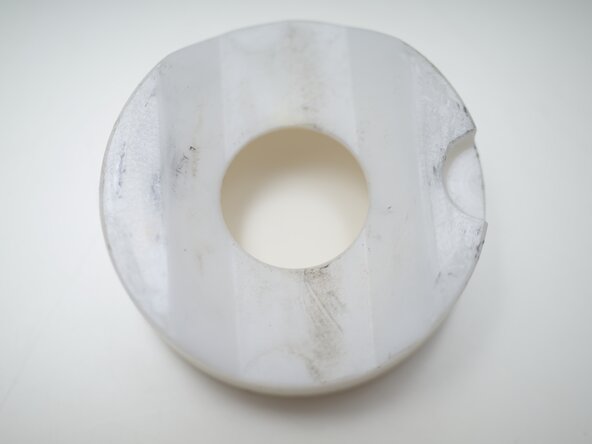

– Simply take it out.
Step 13

– Pop the cap off—easy does it!
– Unscrew the part (lefty-loosey, righty-tighty).
– Give the knob a gentle pull and twist to set it free.
– Now the ball is loose. No pic for this one, but you’ve got this!
Success!