BlackBerry 7280 Microphone Replacement
Duration: 45 minutes
Steps: 11 Steps
Ready to get your device’s microphone out of hiding? This guide will walk you through taking out the microphone, but first, make sure you’ve already removed the logic board. Let’s keep those tunes and calls crystal clear!
Step 1


– Give that locking button on the back of your BlackBerry 7280 a gentle press with your thumb.
– Now just slide the battery cover off—easy does it!
Step 2


– Gently lift the lithium-ion battery out from the back of your device using your index finger. Keep it steady as you remove it to avoid any damage. If you need help, you can always schedule a repair.
Step 3


– Grab your device with both hands, nice and steady.
– Gently lift the SIM card tray with your thumb and index finger, giving it a little lift.
– Pop out the SIM card and set it aside, all done!
Step 4


We’ve taken out the SIM card here to keep it safe from any damage during the process. It’s a good idea to do this, but totally not mandatory. You do you!
– Grab your Torx T6 screwdriver and carefully remove all six 1/8 inch screws (highlighted in red) from the back cover. Keep those screws safe—you’ll need them later. If you need a hand along the way, remember you can always schedule a repair with Salvation Repair.
Step 5


– Grab your plastic opening tool and gently work it between the back and front cases to pop them apart.
Step 6


– Grab your Torx T6 screwdriver and carefully remove the single 1/8 inch screw securing the upper metal bracket to the larger one. Keep the screw and the bracket safe—you’ll need them later. If you need help, you can always schedule a repair.
Step 7


– Gently peel off the front plastic casing from the metal bracket. You’ve got this!
Step 8


– Grab a plastic opening tool and gently wedge it at the edge of the screen near the track-wheel. Take your time and work carefully to get it started—you’re opening the door to the rest of the repair!
Step 9

– Grab your trusty Torx T6 screwdriver and get ready to unscrew the 3 1/8 inch screws shown here. It’s a quick move, and you’ll be one step closer to the fix!
Step 10

– Gently lift out the logic board using your hands.
Step 11
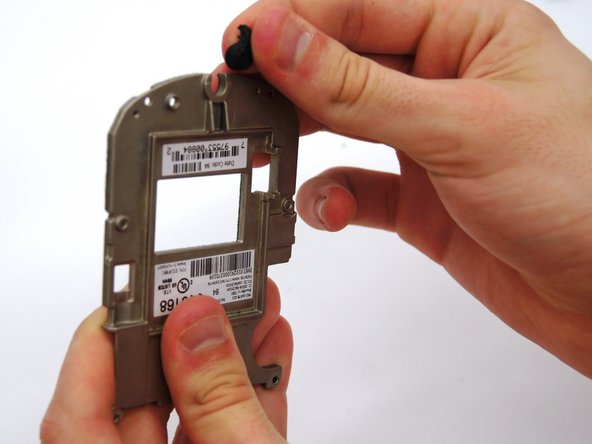

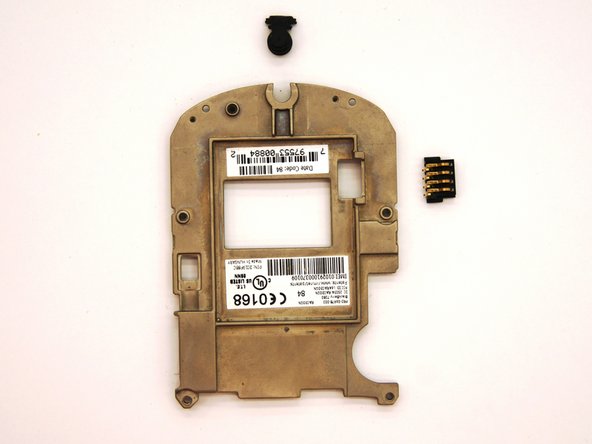
– Gently slide the small black rubber microphone off the metal bracket, and voilà, it’s free!
Success!