Blu Studio HD 6.0 Microphone Replacement
Duration: 45 minutes
Steps: 10 Steps
Time to get your soldering station set up and ready to roll. Keep it cool—safety is key!
Step 1

– Let’s start by powering down your Blu Studio. This is an important first step.
Step 2


– Alright, let’s get started! To pop off that back panel, find the lift tab chilling in the bottom-right corner.
Step 3

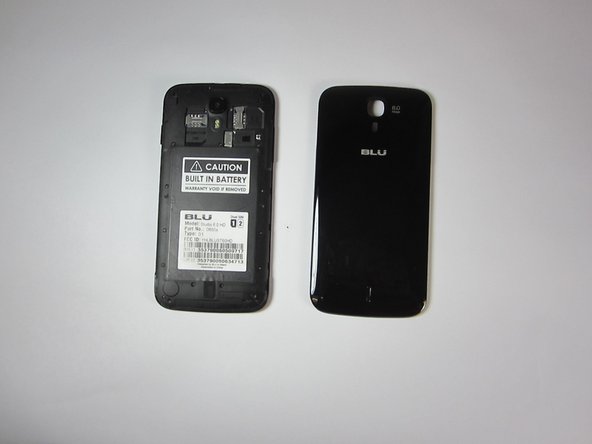
– Alright, you’re ready to roll! Carefully slide your thumb—or go full pro with a plastic tool—down the seam running the length of your Blu Studio. Keep sliding till that rear panel pops off like a dream!
– Pro tip: stash that rear panel someplace safe and out of harm’s way. You don’t want to be chasing it down when you’re finishing up.
Step 4


– Pop off that back panel (you already did this in the last step, nice work!) and grab yourself a size PH00 Philips head screwdriver. Let’s keep this repair train rolling!
Step 5

– Alright, let’s tackle those 16 screws (each 2.5mm long). Don’t stress—since they’re all the same size, no need to worry about mixing them up later!
– Heads up—one sneaky screw on the lower right will be hiding under a sticker. Time to unveil it!
Step 6

– Alright, let’s get started! Pop out all 16 screws and gear up to remove the battery housing panel—it’s time for a little teardown fun.
– Grab that slim, trusty plastic prying tool and gently trace along the seam of the case, starting up top near the camera. Slow and steady wins the race!
– Heads up! The side buttons are the delicate ones, so take it easy there. You’ve got this!
– Once the top half of the case lifts open, slide in the thicker prying tool to keep it propped. The battery and housing have a suction-like grip, but don’t worry, you’re in control here!
Step 7

– By now, your battery, motherboard, rear camera, and front camera should be ready and waiting for some TLC. Dive in and make them shine. You’ve got this!
Step 8
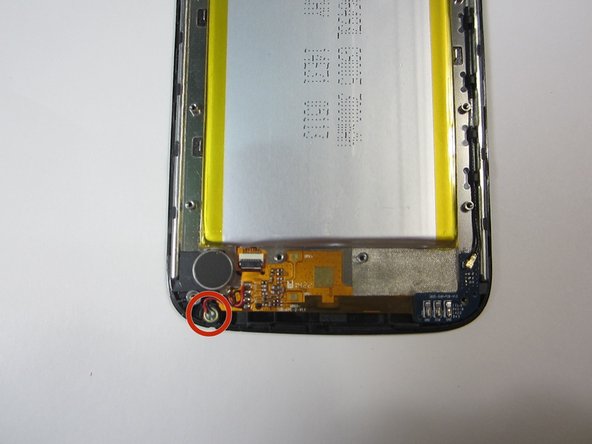

– The microphone can be found at the back, toward the lower-left corner.
Step 9


– Gently lift that microphone with care, you got this!
– Now, let’s unsolder those two lower wires; one red and one black. Easy does it!
Step 10

– To reassemble your device, follow the steps in reverse order to get it back to working condition.
– If you need help, or have questions, you can always schedule a repair
Success!


