Bosch GBA Battery 14.4V 1.5Ah Teardown
Duration: 45 minutes
Steps: 7 Steps
Step 1

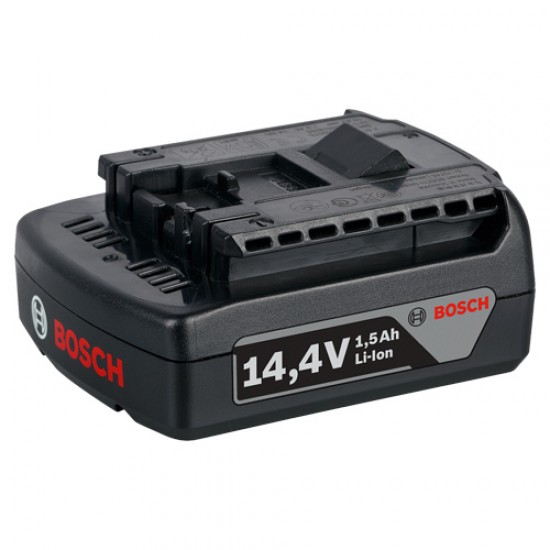
– Here we’ve got our nearly new Bosch 14.4V battery for cordless drills. It sports a clean, sleek design with the Bosch logo on the side and a clear product number. The top part features a universal Bosch battery socket that’s compatible with all cordless tools of this voltage—making your power tools ready to go with just one battery. If you need a hand with anything, you can always schedule a repair.
Step 2


– The Bosch battery is secured with 4 combo screws that are compatible with both flat and torx screwdrivers. For this step, a flat screwdriver is your best bet!
Step 3


– With the screws out, flip the battery back and carefully lift off the top cover to check out what’s inside—there’s more happening in here than you’d expect!
– Next up, you’ll spot the battery pack holder, which wrangles four hefty ‘18650’ Li-ion cells, plus a tiny PCB with some serious metal claws and a couple of resistors. Gently pick up the pack and move it aside, staying mindful not to short out those powerful cells—no need for fireworks today!
Step 4


– The upper lid has an interesting little release mechanism with three parts to discover.
– Look for the red push button that slides in and provides just the right amount of force to the dark black blocker peeking out from the lid.
– No need to worry about anything holding it down; you can easily lift and remove it with a gentle tug.
– The black blocker is secured by two plastic pieces on either side, but don’t fret—it comes off with ease and leaves no damage behind.
Step 5

– Under the bottom cover, you’ll find an ergonomic design that snugly holds those li-ion cells in place—nothing sneaky hiding here.
Step 6


– The PCB features a total of 5 spring jaws—two on the sides for GND and VCC, while the inner three are linked with resistors to keep an eye on battery temperature when it’s working hard or charging up.
– Fun fact: the jaws used by the battery and the cordless drill are different, with only the central piece being the same in both!
Step 7


– Check out the last photos to see how these four li-ion cells are connected. They’re spot welded in two spots. By connecting four 3.7V cells in series, we get the 14.4V that’s promised!
– You’ll also notice a temperature probe here, which is likely a thermal resistor, snugly placed between two of the inner cells. Nice touch!
– Good news! There’s no control board in the battery cell, which really boosts durability. The control board’s duties have been shifted to the charger and the drill, but don’t worry, this doesn’t impact the price of these battery packs.
Success!