Cc quartz wristwatch Movement battery Replacement
Duration: 45 minutes
Steps: 5 Steps
This guide walks you through the fun and straightforward process of swapping out the battery in a variety of quartz movement wristwatches. Let’s get that watch ticking again in no time!
Step 1


– First things first, double-check that your watch is rocking a quartz movement instead of a fancy mechanical one.
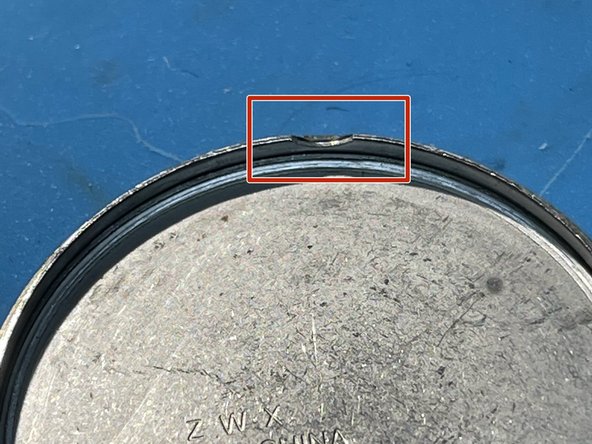
– Now, flip it over and hunt for that little indentation (if it’s not the screw-on type).
– Look for the red mark; it indicates where to pop open the watch back with your trusty opening tool, specifically for this model.
Step 2


– Pop that back case off! Slide your watch back opening tool into the groove (it’s like the secret handshake for this watch!) and use gentle leverage to pry it open. Heads up! If it feels like you’re summoning Thor-level strength, stop—you’re probably overdoing it!
– Stick to the groove, my friend! Using your tool anywhere else might leave some gnarly scratches and won’t do the job. Groove is the word!
– Boom! Back cover’s off. Now gently pull the crown out one click (trust us, no Hulk moves needed here!). Look for the red arrow in Picture 2—it’s your guiding light!
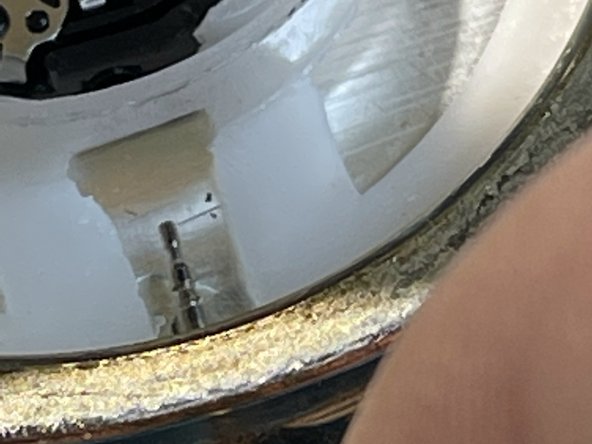
– Time to locate the teeny-tiny pin or lever (marked with a red spot in Picture 3). Grab a watch tool or slim tweezers and apply a bit of downward pressure while you carefully pull the crown all the way out. Be cool, smooth, and steady as you go!
Tools Used

Step 3

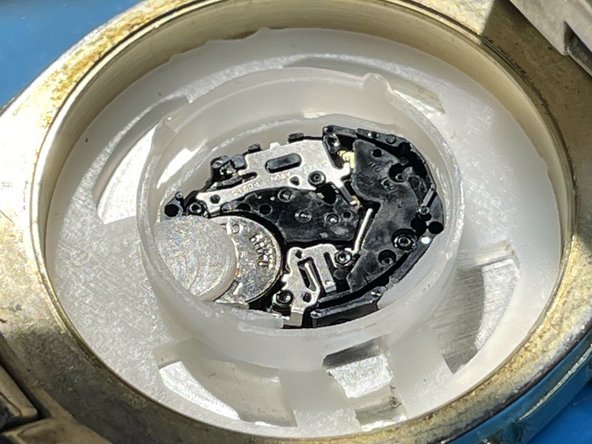
– Now that the crown’s off, carefully take out the plastic alignment case, and gently lift the movement (with the dial still attached) out of the body.
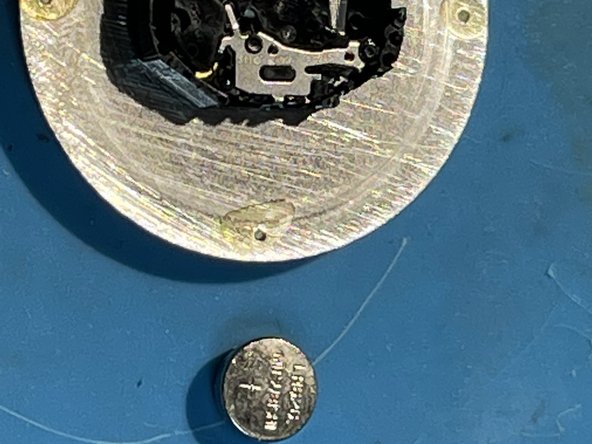
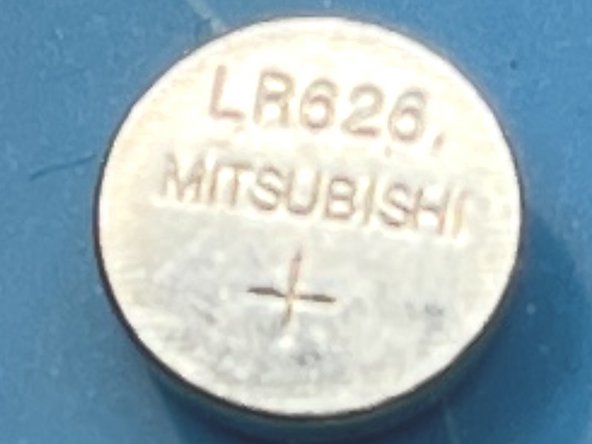
– Grab a pair of fine-tipped tweezers, remove the battery, and make sure to note the type so you can grab a replacement.
– This movement runs on an LR626 battery or something equivalent—377 works just as well!
Tools Used
Step 4

– Pop in that fresh battery! Make sure it fits snugly in the movement—this is the heart of your watch, so treat it well.
– Now, carefully place the movement and dial back into the body. Take a moment to align everything just right. A little patience goes a long way!
– Gently slide the crown back into its home. No need to force anything; just make sure it lines up and clicks into place smoothly. No pressing necessary, it’ll lock itself in when it’s ready!
Step 5

– Reassembly is covered step-by-step in this guide, so you’ll have your device back together in no time!
– Need a hand? If things feel tricky, you can always schedule a repair.
Success!