D-link DI-524 Teardown
Duration: 45 minutes
Steps: 6 Steps
Step 1


– Here’s the router, proudly rocking 12 years of service. Still kicking, but it’s time for a little TLC.
Step 2


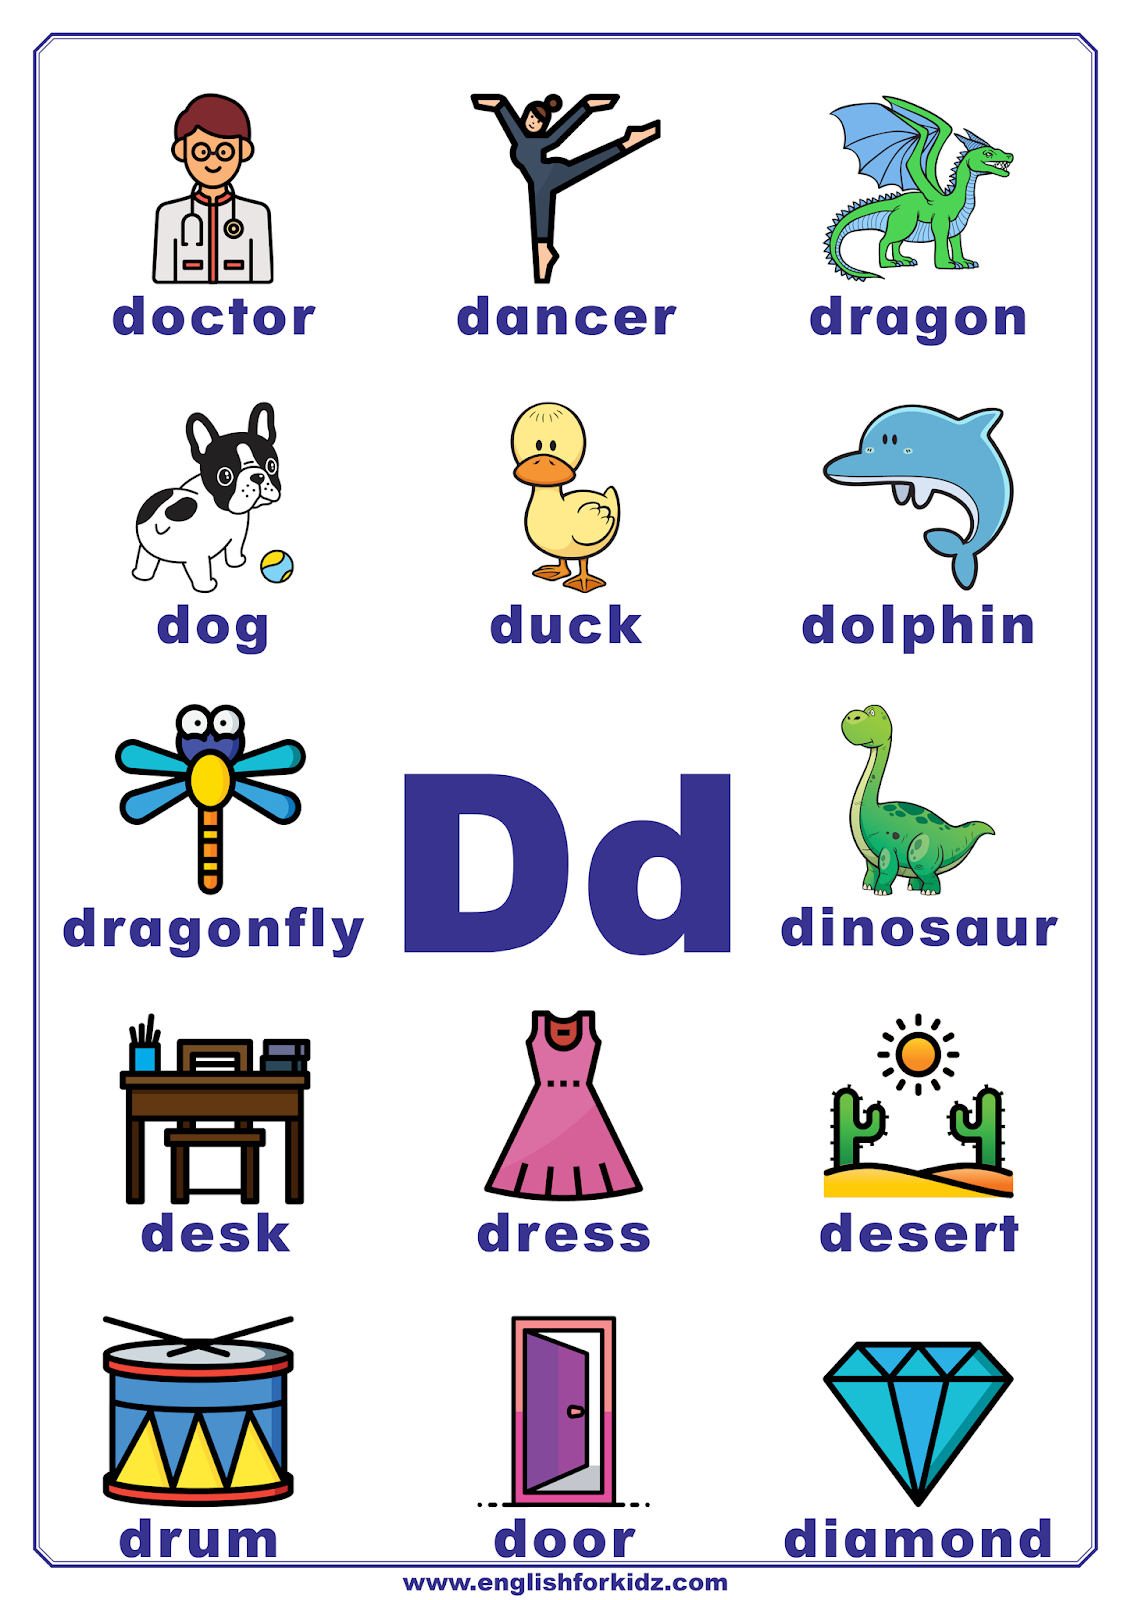
– First things first, unscrew the antenna and set it aside. Easy peasy.
– Now, flip the router over and take out the 2 screws marked in orange (check out pic 2).
– Once that’s done, flip it back over and gently lift off the top plastic cover.
Step 3


– Now that the plastic cover is out of the way, you can check out the board. Time to unscrew the two remaining screws at the back—they’re marked in orange.
– Before you can lift the board out, use some pliers to unscrew the nut where the antenna was attached. Easy move!
– Once that’s sorted, just unplug the connector and carefully lift the board up and out.
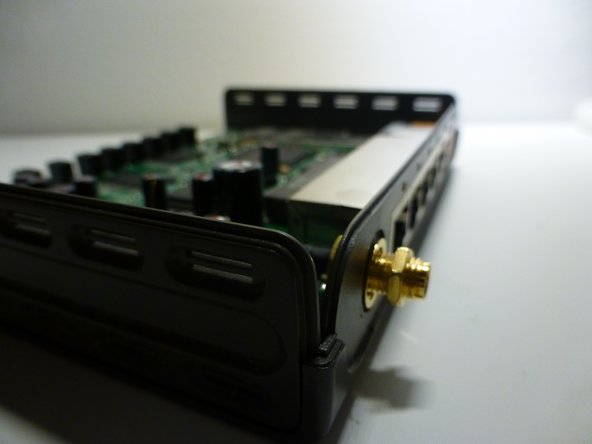
Step 4

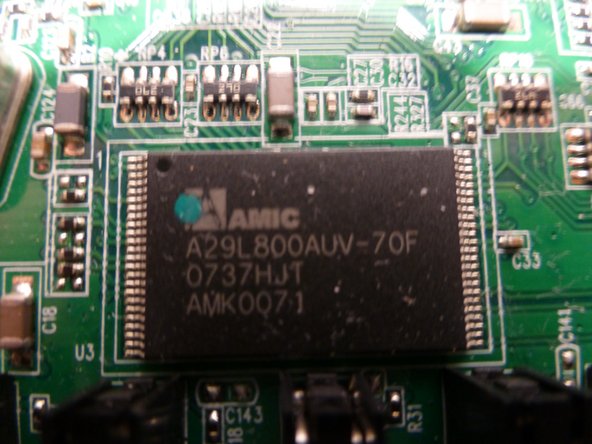
– Here’s a closer look at the board chips. If anyone out there knows exactly what these are, feel free to drop a comment and I’ll update the details.
– (There’s also one more chip, but it seems like only three pictures fit in this guide)
Step 5
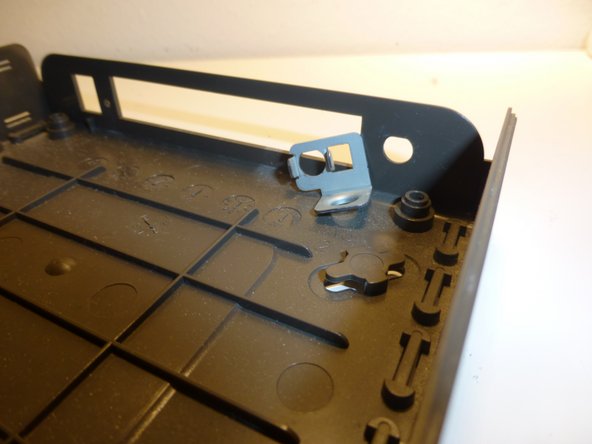

– Here’s the final piece! It’s that little metal clip right here. Just give it a gentle pull, and you’re all set.
Step 6

– Congrats! You’ve successfully disassembled the D-link DI-524. At this point, there’s nothing more to remove from the motherboard since everything’s soldered on tightly. If you need a hand or want to get your device back in action, you can always schedule a repair with Salvation Repair.
Success!