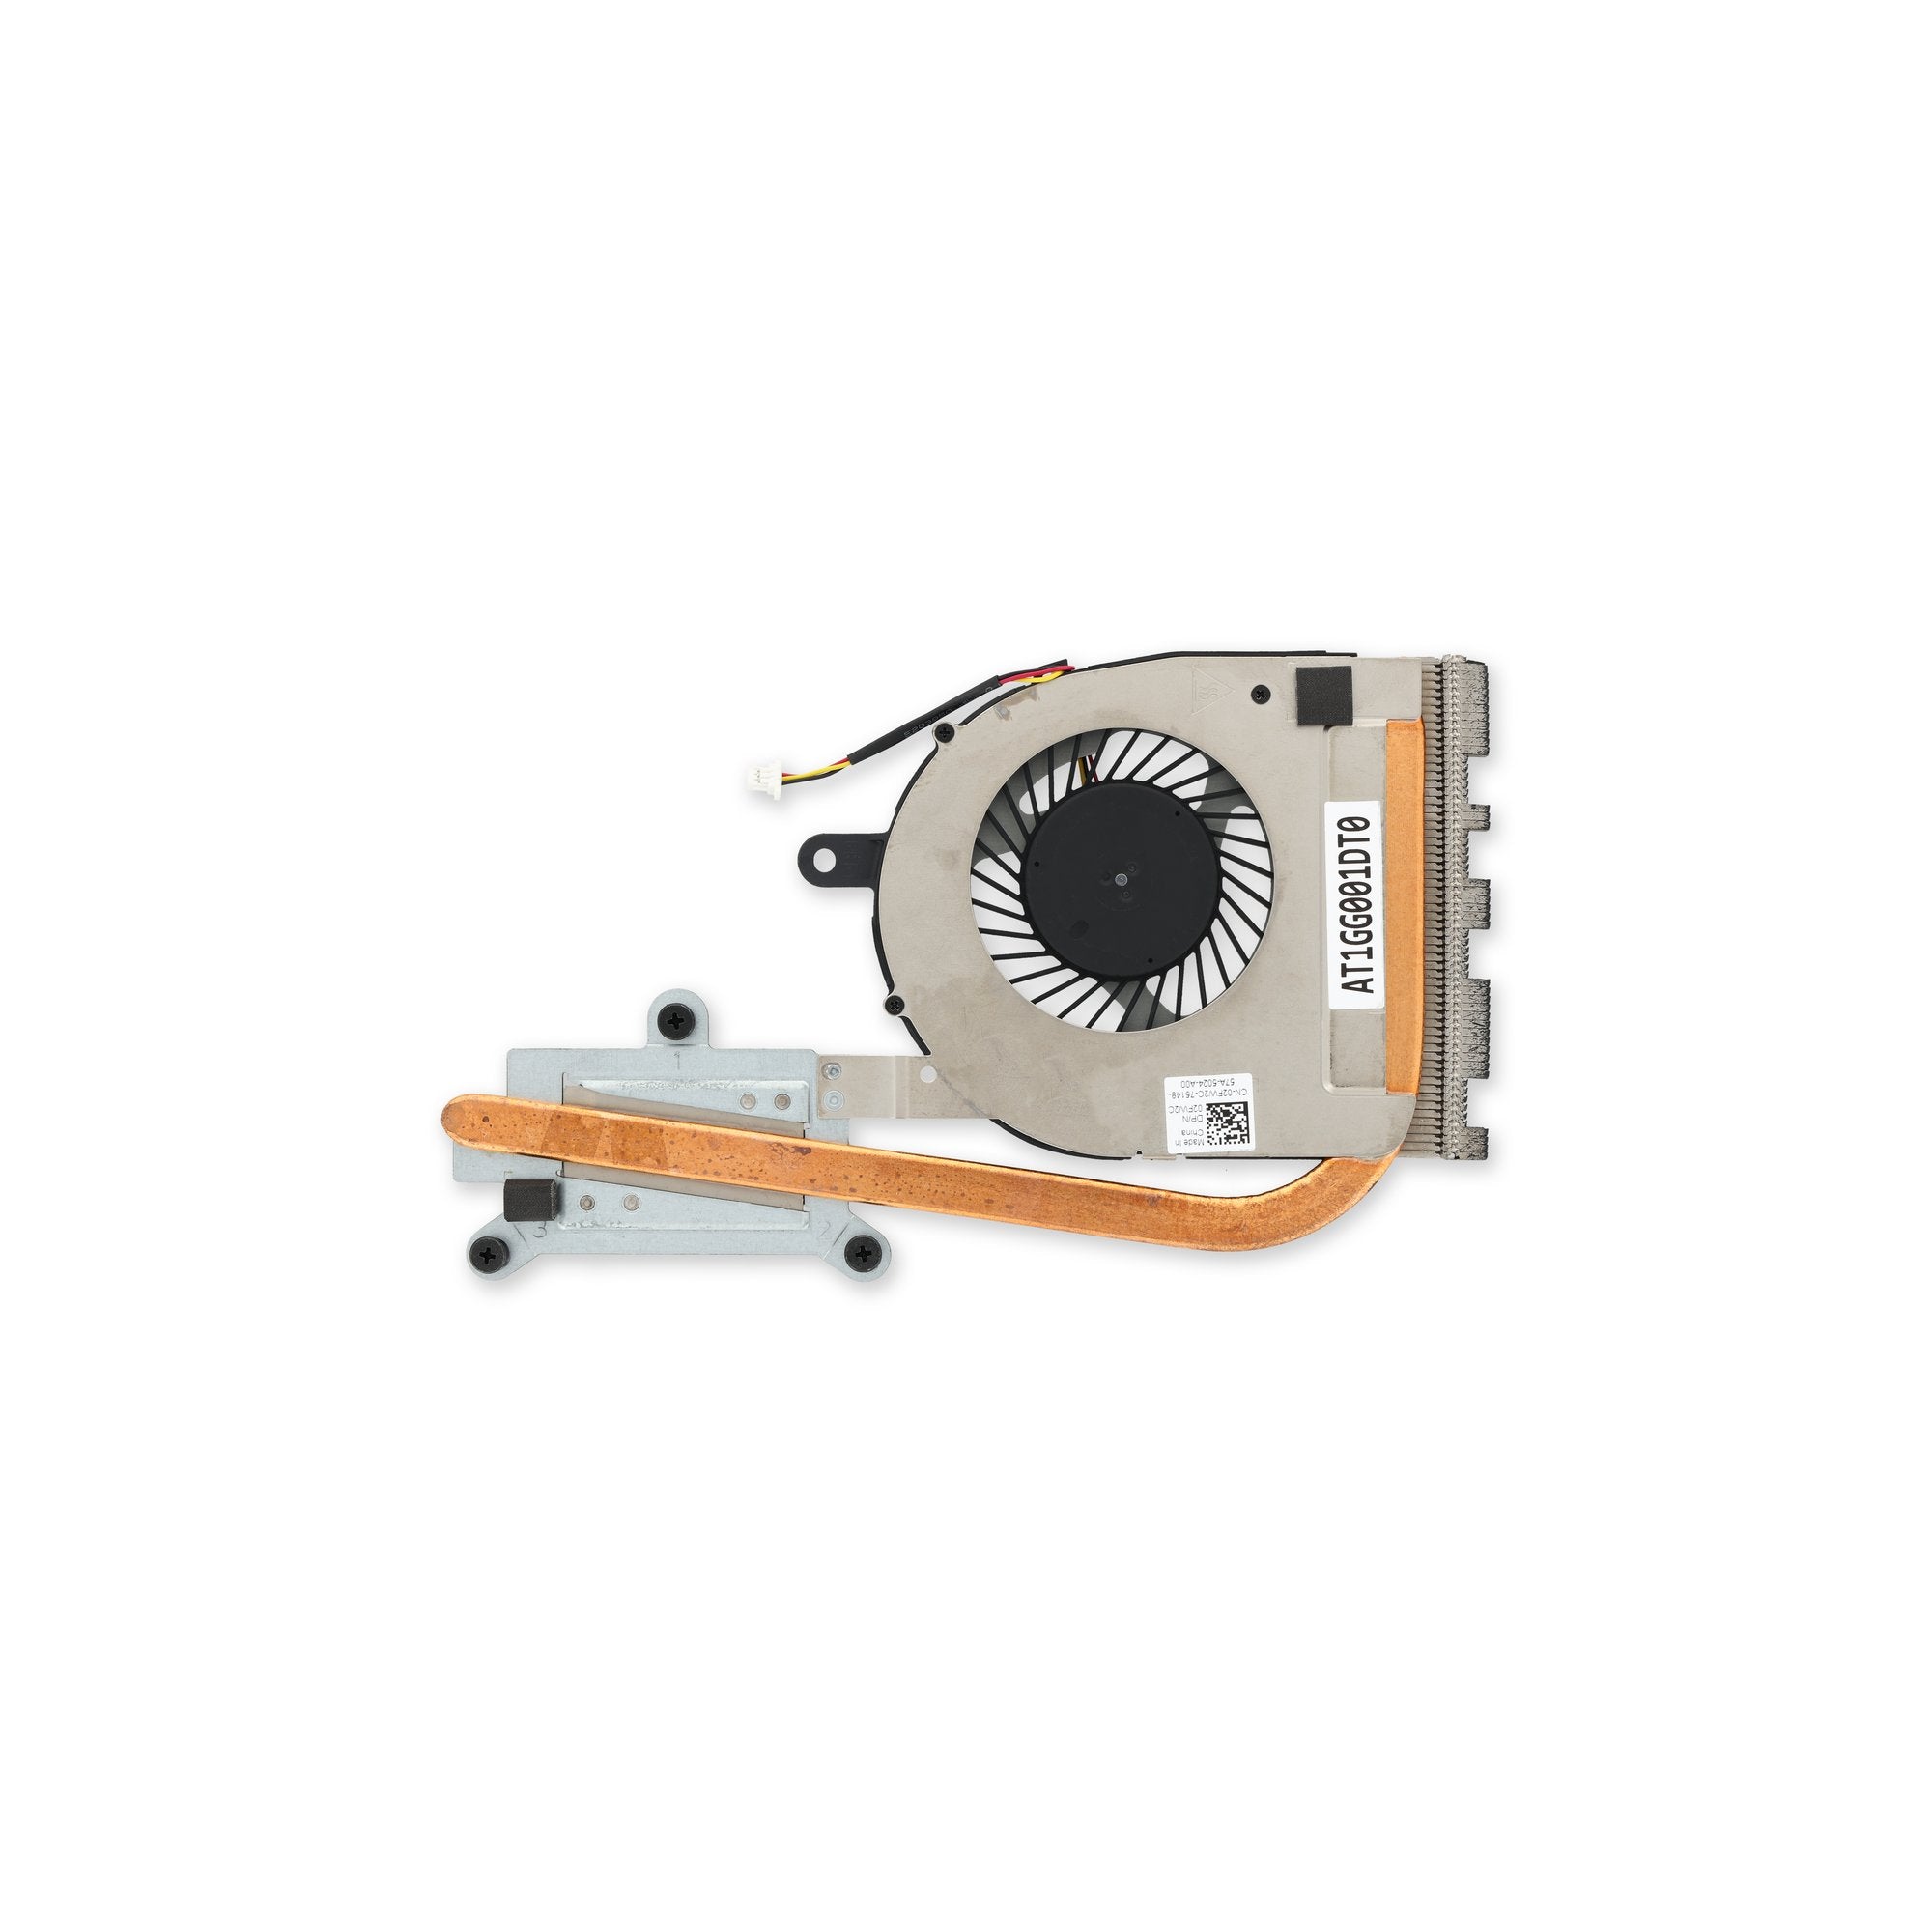
Dell Inspiron 15-3521 Heat Sink Replacement
Duration: 45 minutes
Steps: 11 Steps
Step 1

– Alright, before we flip this laptop back to its regular position, let’s tackle the screws holding the back plate to the laptop frame. Keep it steady, no rush!
– Grab your trusty Phillips head PH0 screwdriver and remove those backplate screws—there are 11 in total, so let’s get them all out.
– Next up, turn your attention to the screws hiding under the battery and the access panel. You’ll need the same Phillips head PH0 screwdriver—just 3 screws this time!
Step 2


– Flip that laptop right-side-up and get ready to dive in!
– Grab a trusty spudger and carefully work your way around to separate the keyboard from the laptop frame. Patience is key here—slow and steady wins the race!
– Using your fingers, gently lift the keyboard out of the laptop frame. Watch out for the keyboard cable—handle it with care to avoid any oops moments. You got this!
Tools Used

Step 3


– Alright, to kick things off, find the keyboard cable locking gizmo—it’s usually hanging out near the keyboard connection.
– Once you spot it, gently lift up the locking mechanism like you’re opening a tiny treasure chest.
– Now slide the keyboard cable right out of its slot. Boom! The keyboard and laptop are officially broken up, but in a good way!
Step 4


– First things first, find that sneaky wireless card hiding beneath the keyboard you’ve just removed. It’s like a game of hide and seek!
– Next up, gently disconnect those antenna cables that link the laptop to the wireless card. Take your time; they’re a little shy.
– Grab your trusty Phillips head PH0 screwdriver and unscrew the lone screw that’s keeping the wireless card snug in place. Don’t worry, it won’t bite!
– Now, it’s time to liberate the wireless card from its cozy spot. Just pull it out, and voilà!
Step 5


– Disconnect the palmrest cables—they’re the ones with the snazzy blue and purple markers.
– To take them out, pop up the locking tab, then gently slide the cables out of their laptop connectors.
Step 6

– Let’s kick things off by unscrewing those four 2.5 mm by 5 mm screws hiding beneath the keyboard plate. Grab your trusty Phillips head PH0 screwdriver and get to work!
– Next up, it’s time to tackle the three 2 mm by 3 mm screws also nestled under the keyboard plate. Keep that Phillips head PH0 screwdriver handy, and let’s keep this repair rolling!
Step 7


– Grab a spudger and gently pry apart the palmrest from the laptop base. You’ll find this connection runs around the middle of the laptop—think of it as the ‘equator’ of your device.
– Now, switch to your trusty fingers and carefully lift the palmrest away from the laptop base to fully detach it.
Tools Used
Step 8


In the first image, you’ll see the wireless card is still plugged in. To get to that sneaky power cable, you’ll need to disconnect the wireless card. Take a peek at the second image for guidance.
– First, go ahead and unplug the power cable, which is chilling in the upper left corner of the laptop. A pair of forceps or your trusty fingers should do the trick here.
– Next, tackle the LCD cable, which you’ll find in the upper center of the laptop. To remove it, use the same unlocking technique you used for the palmrest cables in step 6. It’s basically a repeat performance, but with a different cable.
Step 9


Alright, you’ve made it to the last hurdle! The first image shows the final cable fully detached, making this step smooth sailing.
– Step three: Grab those trusty forceps or just use your fingers—whatever works for you—and unplug the speaker cables. Gentle, yet firm wins the day here!
– Step four: Time to take off that final cable with the snazzy purple flag. It’s got the same locking style as the palmrest cables you tackled back in step six, so you’re already a pro at this!
Step 10


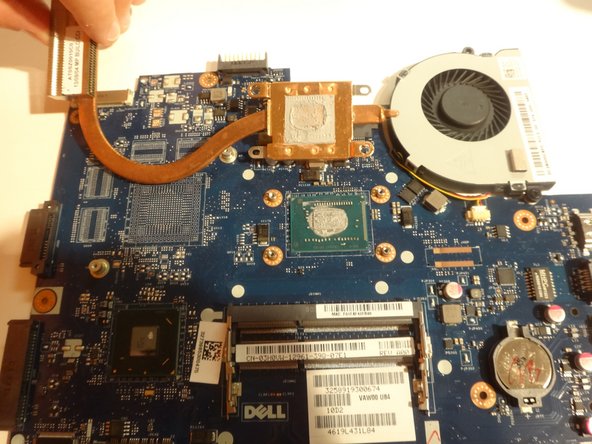
– Grab your trusty Phillips head PH0 screwdriver and confidently unscrew the motherboard from the laptop frame. You’ve got this!
– Now, gently wiggle and lift the motherboard out with your fingers. It’s as easy as a friendly handshake—just take your time!
Step 11
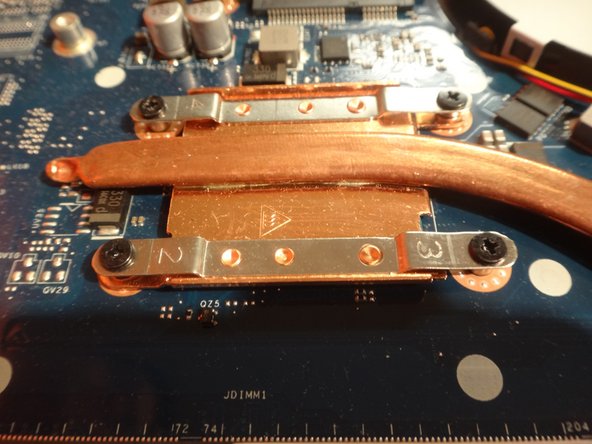

– Let’s flip that motherboard over so we can see the heat sink attachment point—it’s like revealing a secret compartment!
– Now, grab your trusty Phillips head PH0 screwdriver and unscrew those four screws holding the copper heat sink to the motherboard. It’s a simple twist and shout!
– Next up, it’s time for some spring cleaning! Clean the interface between the motherboard and the heat sink to ensure they bond like best buds.
– Attach the new heat sink to the motherboard, and don’t forget to reapply that thermal compound (the grey goo that keeps things cool). Secure everything with those screws, and you’re all set!
Success!
