Dell Inspiron 1545 Center Control Cover Replacement
Duration: 45 minutes
Steps: 6 Steps
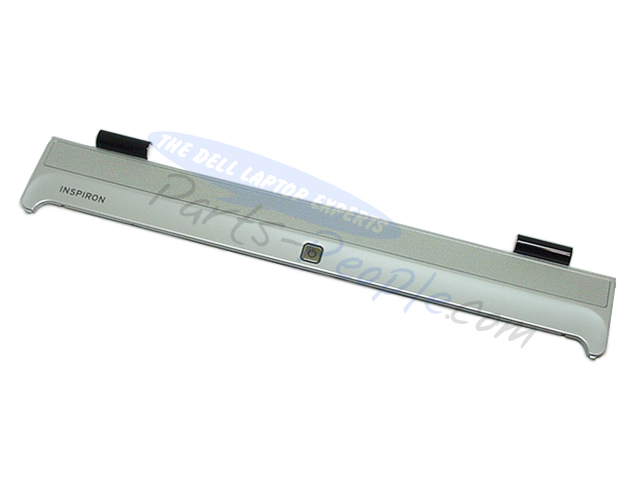
The Center Control Cover is like a bodyguard for the laptop’s insides—it’s there to shield the fussy, intricate bits. If you’ve had a gravity-related mishap and this piece gets cracked, it’s time to swap it out to keep things looking sharp and running smooth.
Step 1

– Alright, before you go battery-extracting mode, make sure your laptop is unplugged from any power sources and completely shut down. Safety first, my friend!
– Flip your laptop onto its back—it’s like turning it over for a nap!
Step 2

– Gently slide the release latch while pulling the battery back with a little bit of flair! You’ve got this.
Step 3

– Gently slide the battery out of the battery bay—easy does it!
Step 4

– Once the battery is out, grab your Phillips #1 screwdriver and unscrew the two 3mm screws hiding underneath. These little guys are keeping the Center Control Cover snug and secure, so give them a gentle twist to free up the cover.
Step 5

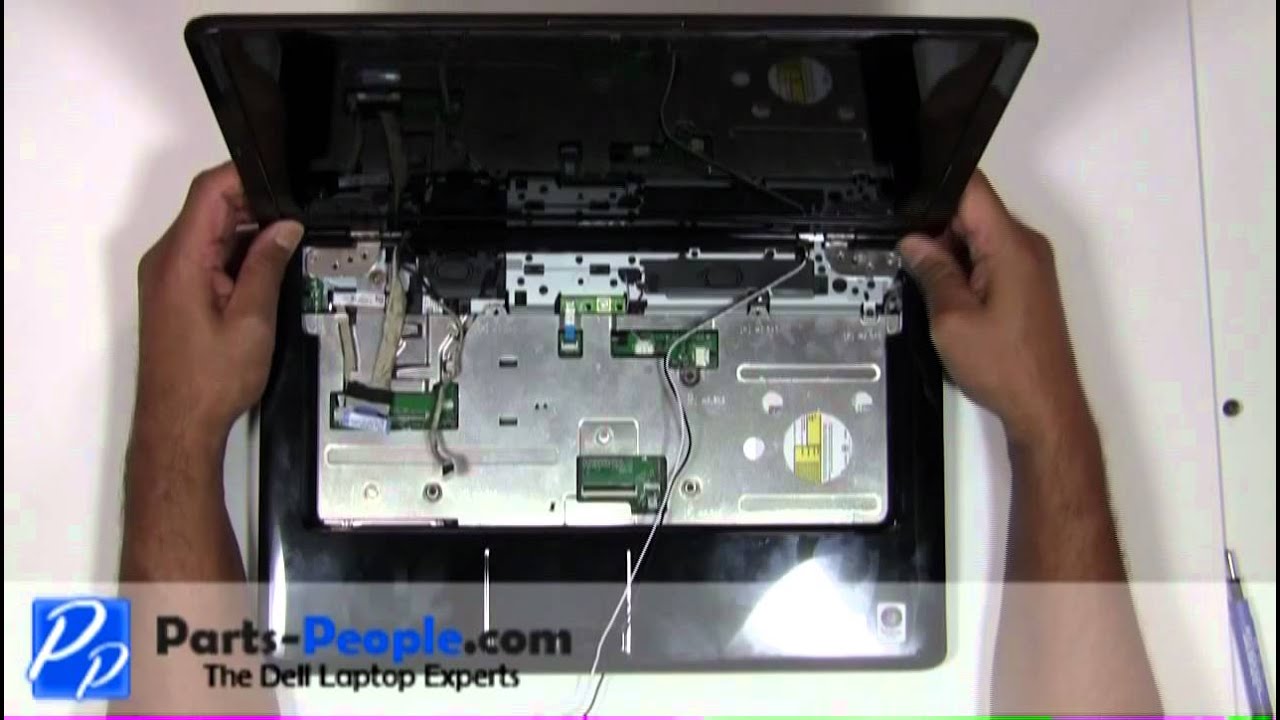
– Gently flip the laptop onto its front side and open the display all the way. You’ve got this, just take it slow and steady!
Step 6


Handle the Center Control Cover with care – it’s super fragile, so be gentle when using prying tools!
– Gently pry off the Center Control Cover from your laptop. There’s a little notch on the right side that’s perfect for getting started—so go ahead and make that your starting point!
– Carefully lift the Center Control Cover away from the laptop, and voilà!
Success!