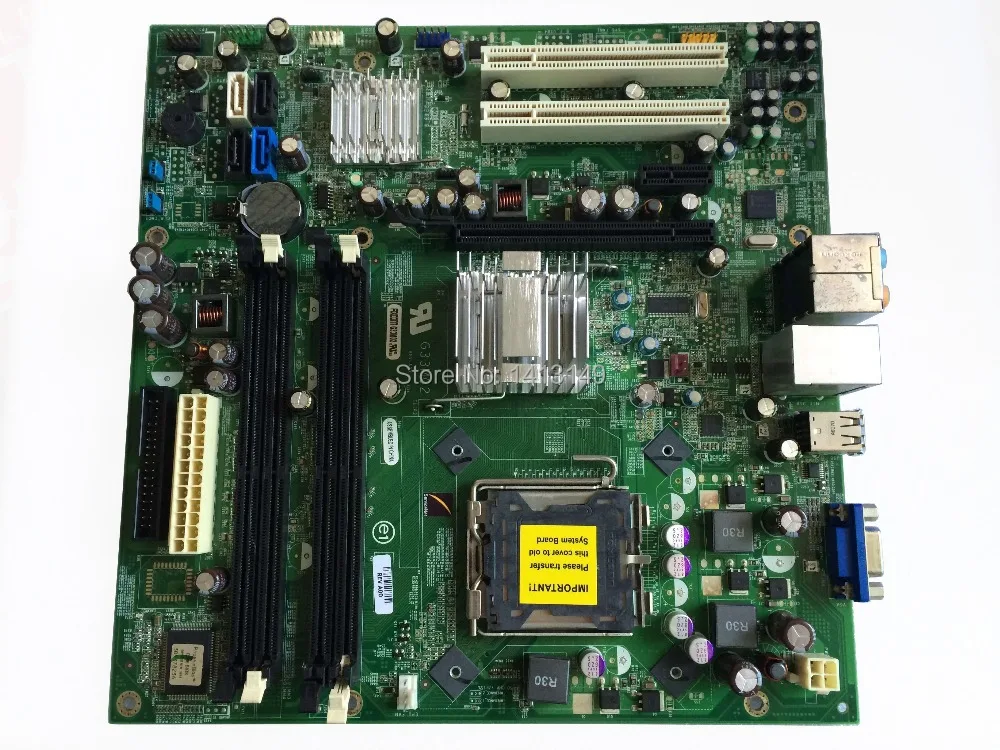
Dell Inspiron 530 Hard Drive Replacement
Duration: 45 minutes
Steps: 5 Steps
Get ready to dive into the exciting world of tech repairs! In this guide, we’ll walk you through the process of swapping out the hard drive for your Dell Inspiron 530. It’s easier than you think! Just follow the steps, and before you know it, you’ll have your machine up and running smoothly again. And remember, if you hit a snag, feel free to schedule a repair for some expert help!
Step 1
– Lay the case on its side like a cool surfboard waiting for the waves.
– Find those two 13.1 mm thumbscrews and give them a little twist to release them from their cozy home.
Step 2
– Gently slide the side panel toward the back and lift it off. Easy does it!
Step 3
– Find the hard drive. It’s hiding in there, waiting for you to discover it!
Step 4
– Unplug the two cables from the back of the hard drive—don’t worry, these connectors are just hanging out waiting for a new adventure!
Step 5
– To put your device back together, just work your way through the steps in reverse—piece of cake!
– If you need help, you can always schedule a repair.
Tools Used
Success!


