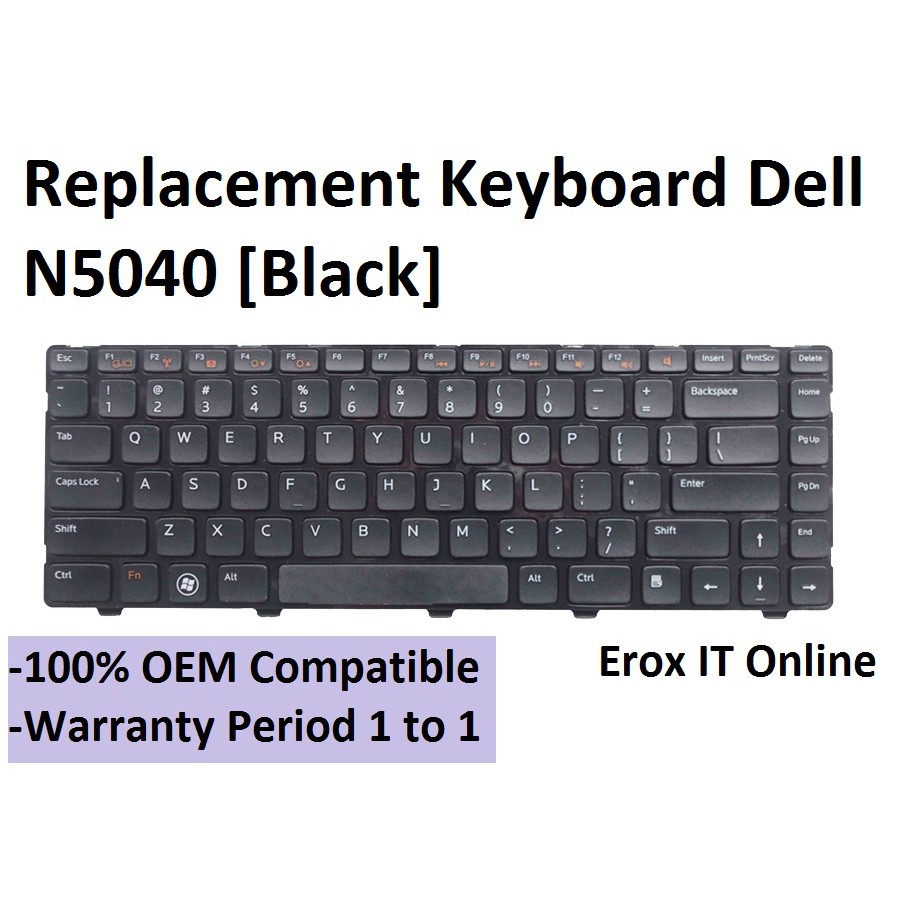
Dell Inspiron n5050 Keyboard Replacement
Duration: 45 minutes
Steps: 5 Steps
To get to the good stuff (like the hard drive, optical drive, RAM, and motherboard), you’ll need to remove the keyboard first. It’s a simple step that opens up the access you need. Take it slow and steady!
Step 1

– Turn your laptop upside down to see the bottom side and find those two tricky locks waiting for you!
Step 2

Give those locks a little slide to set the battery free—easy peasy!
– Gently slide those two locks apart, giving them the space they need to do their thing.
Step 3


Take out the laptop battery entirely—don’t hold back!
– Gently slide the battery out of your laptop like you’re disarming a tiny, sleepy robot.
Step 4


After you release the first tab, carefully lift the keyboard to prevent it from locking back into place. As you work on releasing the remaining three tabs, keep the keyboard slightly lifted. It will hinge upwards along the bottom, making it easier to access the internal components. Remember to take your time and be gentle to avoid causing any damage.
– Let’s get started! Flip your laptop right side up and open it up – it’s time to get inside and fix that issue.
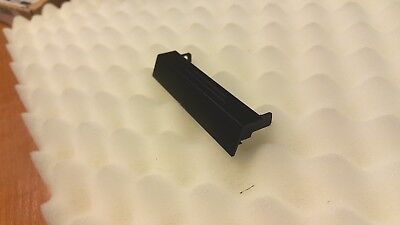
– Next, gently press in the four retaining tabs along the top of the keyboard with a spudger, one at a time. Take your time and be careful – we’ve got this!
Tools Used

Step 5


Good news! You don’t have to worry about disconnecting the keyboard ribbon cable when removing the optical drive.
– Put your device back together by simply reversing these steps—it’s like rewinding a DIY adventure!
– If you need help, you can always schedule a repair.
Tools Used
Success!