Dell Latitude D630 Speaker Replacement
Duration: 45 minutes
Steps: 22 Steps
Laptops and stress go together like peanut butter and jelly, especially when it comes to speakers. Over time, your trusty speakers may start to sound like they’re auditioning for a tin can band. This guide will walk you through the basics of keeping things safe while prying open your laptop’s inner world to get to those misbehaving speakers. We’ll cover the steps to reach the speakers, avoid accidental oops moments that could make things worse, and the tools you’ll need to make this repair smooth and effective. Let’s dive in and give your laptop’s sound system a new lease on life!
Step 1

Don’t worry if your laptop looks a bit different from the one in our pics – the palm rest might be attached to the battery case, or it might not. Either way, our steps will still guide you through the process with ease. If you need help, you can always schedule a repair
– Time to get started! Shut down your laptop, unplug it from any power source, and make sure it’s closed up tight with the latch secure.
– Now, flip that laptop over so the bottom is facing up – we’re about to get hands-on!
Step 2

– Use your index fingers to nudge those battery latches outward—just a little slide to the sides.
– Keep holding those latches out and, with your thumbs, gently push the battery towards you like you’re buddying it out of its spot.
– Once the battery shakes loose, you can relax the latches and take it out smoothly. Voilà!
Step 3


– With the battery popped out, flip your laptop right-side up, crack open that lid like you’re showing off your masterpiece—180 degrees all the way!
– Grab a trusty plastic opening tool and gently pry up one corner of the keyboard bezel like you’re unlocking secret treasure. Watch out for the sneaky tab in the corner!
– Once you’ve got the corner free, put on your superhero cape (aka your hands) and give the bezel a gentle-but-determined pull—up and towards you—to release the rest of those tabs. Slow and steady wins this race!
Step 4

– Let’s get started by removing the three 3mm Phillips #0 screws that hold the keyboard in place. Grab your trusty screwdriver and get ready to take the first step in fixing your device!
Step 5


Easy does it! When folding over the keyboard, keep it chill and gentle—there’s a short ribbon cable still connecting the keyboard to the motherboard. Treat it like the MVP it is!
– Gently lift the keyboard and fold it back onto the touchpad, like tucking in a cozy blanket.
Step 6


– Grab your trusty plastic opening tool and gently pop the blue latch that keeps the keyboard cable snug and secure.
– Now, with a little help from the blue tab, smoothly pull the keyboard cable connector out from its cozy spot on the motherboard.
Step 7


– Alright, let’s get that display ribbon cable out of there! Locate the blue tab (yep, the one in the picture) and give it a gentle tug to pop it free.
– Follow that cable’s journey back to the display and use your trusty spudger to unhook it from the body tabs. Easy does it—you’re doing great!
Tools Used

Step 8


– Grab your trusty spudger and gently pop off the six round rubber pads on the screen to uncover the hidden bezel screws underneath. Make sure those pads get a VIP spot in a labeled container for safekeeping!
– Heads up! Don’t mess with the two longer pads on the left and right sides of the bezel—there are ZERO screws under them, so let’s leave ’em be!
Tools Used
Step 9

– Grab your trusty Phillips #0 screwdriver, unscrew all six of those M2.5-5mm screws holding the bezel in place, and stash them safely in a labeled container so they don’t wander off!
Tools Used

Step 10

Start at the top near the laptop’s latch and smoothly work your way down each side. You’ve got this!
– Grab your trusty spudger and gently work your way around the bezel. Start by slipping it into the tiny gap where the two screen pieces meet along the edge. Take it slow and steady, sliding the spudger along the seam until the screen is completely free. Patience is key here!
Tools Used
Step 11

If you’re here for replacing the touchpad or the speaker, don’t worry about this step. It’s not necessary for those repairs!
– Start by unscrewing the 8 screws (M2-3mm) shown in the image. Keep them safe in a labeled container because they’re different from the bezel screws.
– Leave those screws alone – we don’t need them just yet.
Step 12

– Grab your trusty spudger and gently detach the connector from the coin battery.
– Next, give that coin battery a little wiggle and a gentle tug to slide it out of its cozy slot.
– If it’s being stubborn, you might need to use the spudger again to nudge the battery out from the top of the slot, where the yellow square is hanging out.
Tools Used
Step 13

– Alright, here’s the game plan: gently shut the laptop and flip it over like you’re turning the page of a good book.
– Next, unscrew and remove the seven screws (M2.5-8mm) marked on the left. Keep those screws safe in a labeled container—because, trust me, losing them is no fun!
Step 14


– Get those hard drive screws out and stash them somewhere safe—labeling the container helps you keep track effortlessly.
– Gently slide the hard drive out of its slot and place it aside where it’ll stay out of harm’s way.
– Loosen up the pair of screws hanging out on the laptop’s edge, but no need to take them out completely—you’re in control!
– Flip that laptop back over, pop open the screen, and let the disassembly adventure continue!
Step 15

– Gently pop off the black and white cables from the wireless card by giving them an upward pull with your trusty tweezers.
– Follow the path of those sneaky cables back to the screen, and use the spudger to free them from the clip-like tabs holding them down. Make sure the wires are fully released, blissfully unattached, and ready for the next move!
Tools Used
Step 16

– Unscrew the two M2.5-8mm screws on the back panel of the laptop to loosen the hinges. Pop those screws into a labeled container to keep them safe!
– Gently lift the screen off the bottom half of the laptop. It should come free without too much resistance.
Step 17

– Pop out the three (M2.5-8mm) ‘P’ screws shown on the left and stash them in a labeled container so they don’t wander off.
Step 18

– Gently use the spudger to lift the touchpad’s ribbon cable from the left side of the board, as shown in the picture.
Tools Used
Step 19
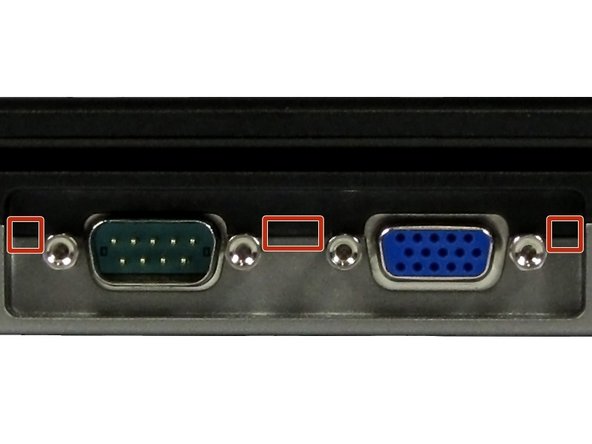

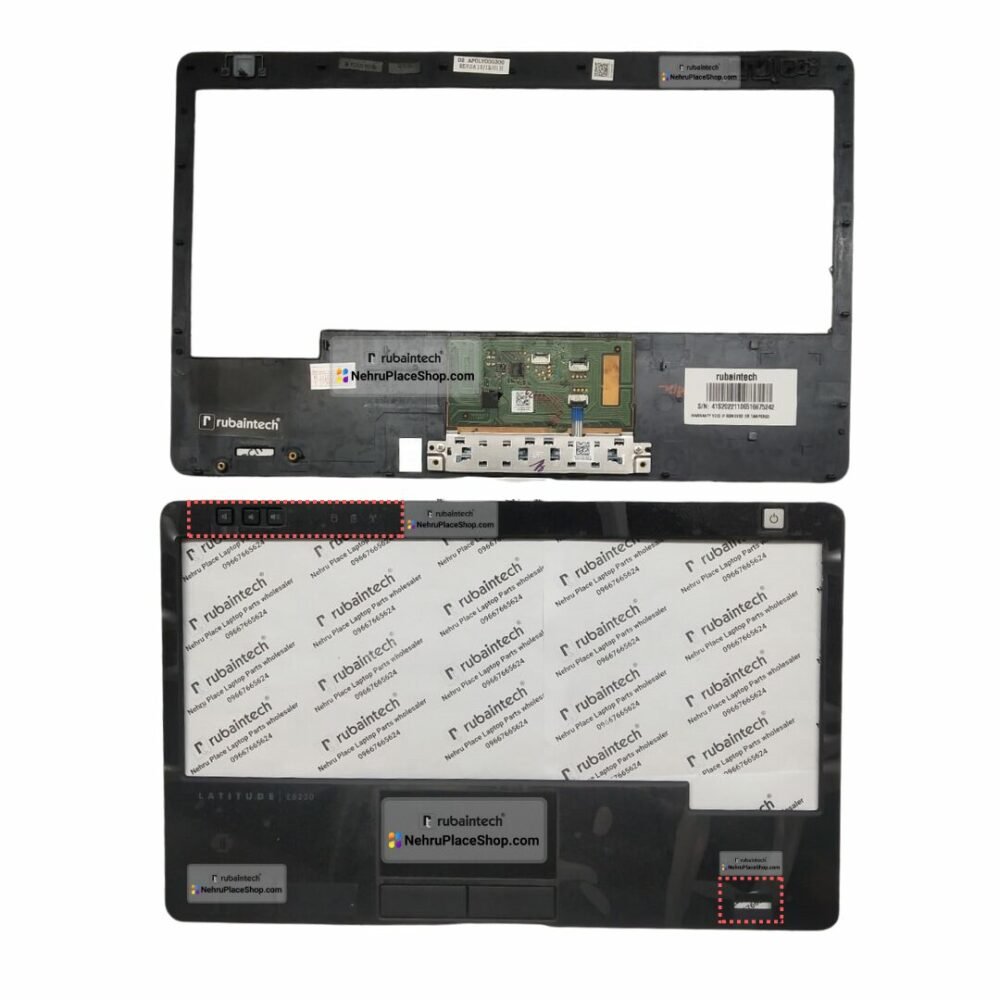
– Grab your trusty spudger and do a perimeter sweep around the laptop to gently separate the dark-grey palm rest layer from the brighter grey base layer. Think of it like cracking open a chilled soda can—careful, steady, and a little fun!
– Starting near the display input ports on the back of the laptop can make the whole process a breeze. Just work your way around the edges—smooth moves win the day!
– Once you’ve unhooked all the tabs, the palm rest layer is ready to be lifted off. Go ahead, you’ve earned that satisfying moment!
Tools Used
Step 20

If you’re replacing the speaker, no need to worry about this step. You’re good to go!
– Flip the palm rest layer over like you’re opening a treasure chest to uncover the touchpad underneath.
– Unscrew the four screws (M2-5mm) shown in the image to the left and stash them in a labeled container—organization is key to success!
Step 21

If you’re diving into this guide to swap out the speaker, feel free to skip this step—you’ve got this!
– Use a spudger to pop off the connector on the touchpad. Easy peasy!
Tools Used
Step 22

– Time to get that speaker out! Use your trusty spudger to gently dislodge the connector from the speaker.
– Now it’s time to set that speaker free! Carefully lift it out of its designated area.
Tools Used
Success!