Dell Streak 7 Battery Replacement
Duration: 45 minutes
Steps: 19 Steps
Time to give your Dell Streak 7 a fresh start with a brand-new battery! Follow along as we take you through the straightforward steps to swap out that tired old battery for a lively new one. Let’s make your tablet happy again! Remember, if you need help, you can always schedule a repair.
Step 1

Warm up those screen edges with the iOpener to make popping them off a breeze!
– Time to get this repair started! Insert the spudger under the capacitive button panel, and gently slide it all the way around to release it.
Tools Used

Step 2

– Gently lift the button cover off the tablet to unveil the inner workings. You’ve got this!
Step 3

– Grab your trusty Torx screwdriver and get ready to unscrew those pesky 4mm screws!
Step 4

– Grab your trusty Torx screwdriver and get ready to tackle those two 5mm screws! Just a couple of twists and you’ll be on your way.
Step 5


– Grab your trusty spudger and slide it right under that black side panel. Now, take a nice little stroll all the way around it until the cover gives in and pops off!
– Whip out your Torx screwdriver and unscrew those two 4mm screws. Easy peasy!
Step 6

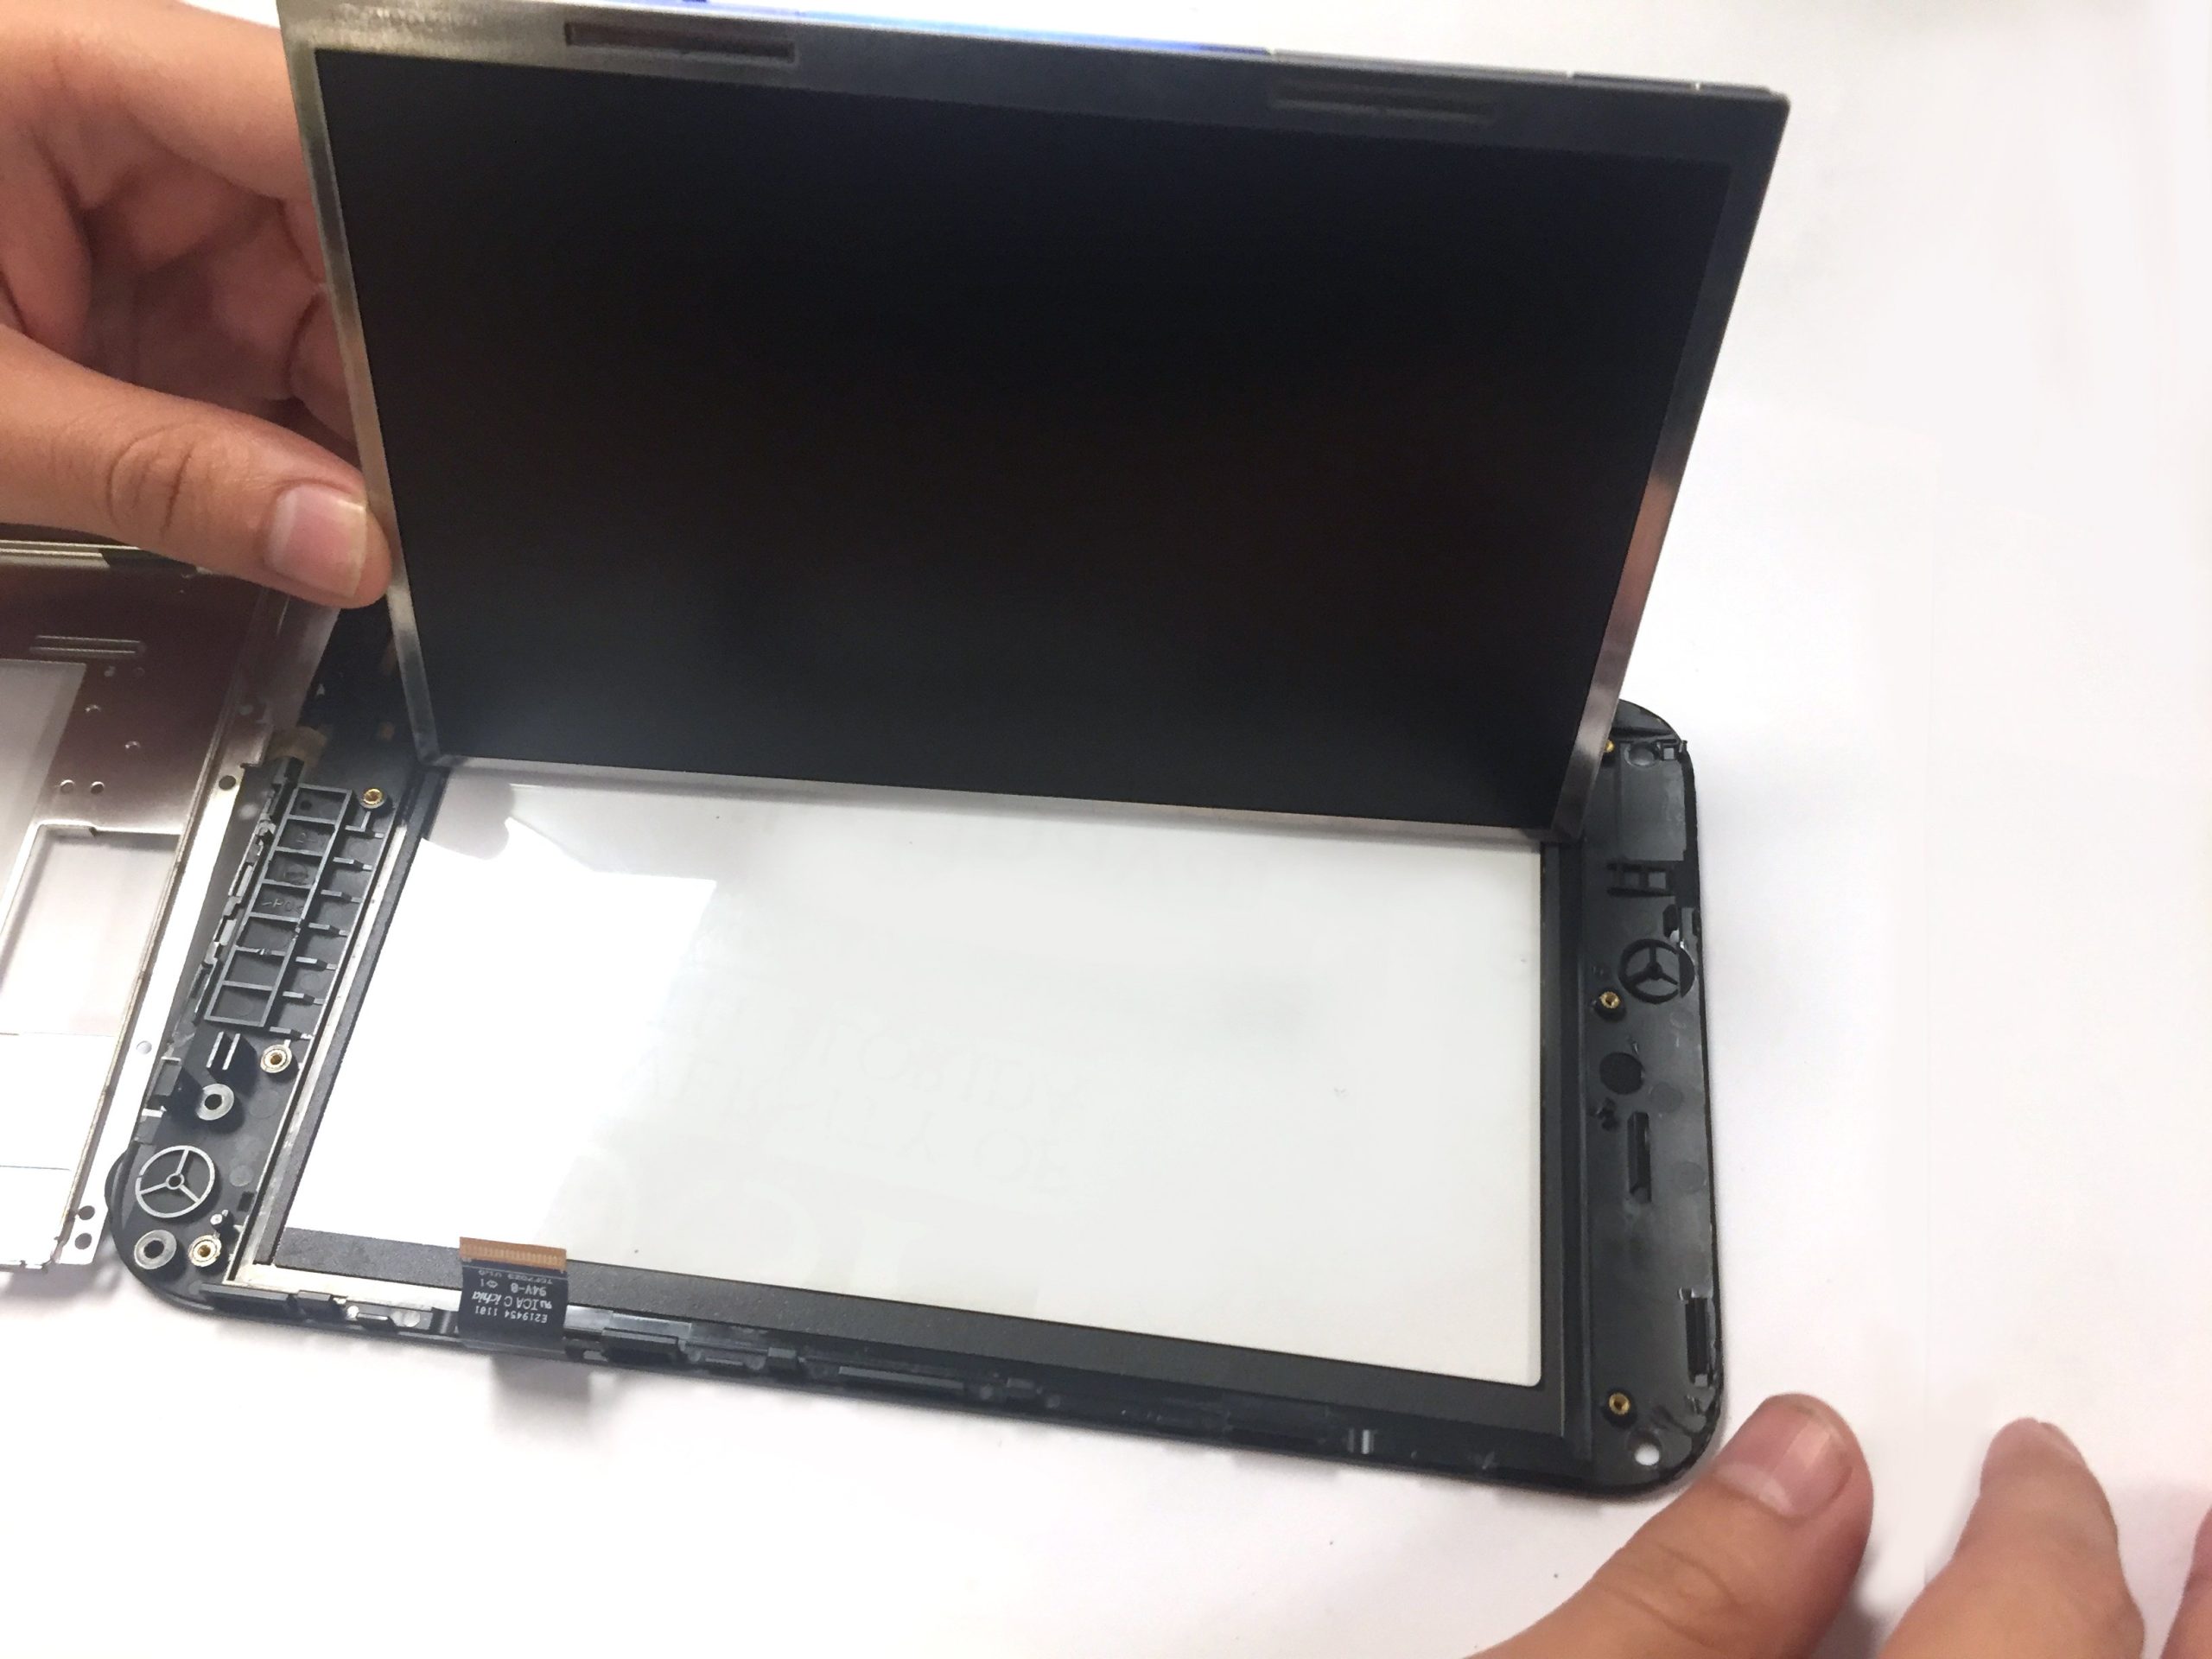
– Grab your trusty spudger and slide it around the perimeter of your device. Give those latches a gentle poke to release the display from its cozy little home in the case!
Step 7


Before diving into your device, give those cables a little breather by unplugging them. Ignoring this step could lead to a game of tug-of-war with your cables, and nobody wants that!
Ribbon cables are delicate and can snap easily, so handle them with care to avoid any mishaps.
– Gently free those ribbon cables by popping open the connector and easing the cable out—nice and smooth, no rush!
Step 8

Be gentle with those ribbon cables – they can be super delicate and prone to breaking.
– Grab your trusty spudger and gently lift up on the connector to disconnect that ribbon cable. You’ve got this!
Step 9


– Gently lift the headphone jack up and away from the case, like it’s reaching for the stars!
Step 10


– Using your trusty spudger, gently detach the antenna cable found on the module. You’ve got this!
Step 11


– Time to get up close and personal with that GSM module. Use your trusty tweezers to carefully remove the tape that’s holding it in place.
Tools Used

Step 12


– Unscrew those two 3mm screws holding the GSM module in place. Grab your trusty Torx screwdriver and let’s get to work!
Step 13

– Time to free the GSM module! Gently lift it up and out of the case—no forcing, just a smooth move. Think of it as helping a friend out of a comfy seat!
Step 14


– Grab your trusty spudger and gently lift the connector to disconnect the front camera. You’ve got this!
Step 15

– Grab your trusty Torx screwdriver and carefully unscrew those six snazzy little 3mm screws—show ’em who’s boss!
Step 16

– Gently lift that metal cover up like it’s doing a little dance!
Step 17

– Grab your spudger and gently pop the vibration motor out of its spot—smooth moves, you’re doing great!
Step 18

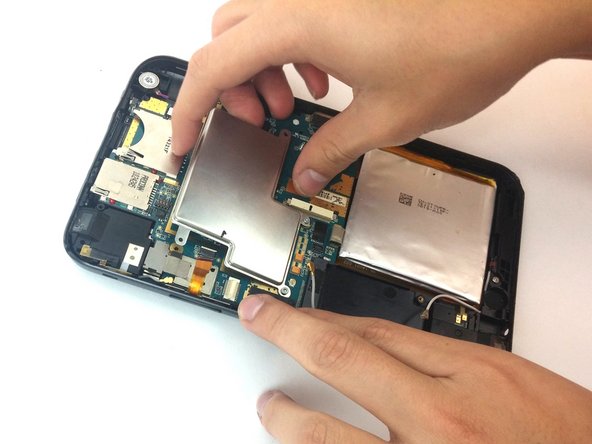
– Carefully remove the motherboard and the battery with a steady hand and a can-do attitude.
Step 19


– Grab your trusty spudger and gently work it under the cable connecting the battery to the motherboard. Give it a little lift to carefully disconnect them. You’ve got this!
Success!