Dell Streak 7 Headphone Jack Replacement
Duration: 45 minutes
Steps: 9 Steps
Get ready to swap out that headphone jack on your Dell Streak 7! This guide will walk you through the simple steps to remove the old jack and get you back to enjoying your tunes in no time. If you hit a snag, remember, you can always schedule a repair!
Step 1

Warm up the edges of the screen with the iOpener—this will make removing it way easier!
– Wiggle that spudger under the capacitive button panel, then take it for a smooth ride all the way around.
Tools Used

Step 2

– Carefully peel off the button cover by gently pulling it away from the tablet.
Step 3

– Grab your trusty Torx screwdriver and let’s tackle those 4mm screws! Remove them like a pro.
Step 4

– Let’s get started by removing the two 5mm screws using your trusty Torx screwdriver. This is the first step towards fixing your device, and you’re doing great!
Step 5


– Let’s get started by using that trusty spudger to pry open the black side panel. Just slide it all the way around until the cover piece comes off – easy peasy!
– Next up, grab your Torx screwdriver and remove those two 4mm screws. You’re making great progress!
Step 6

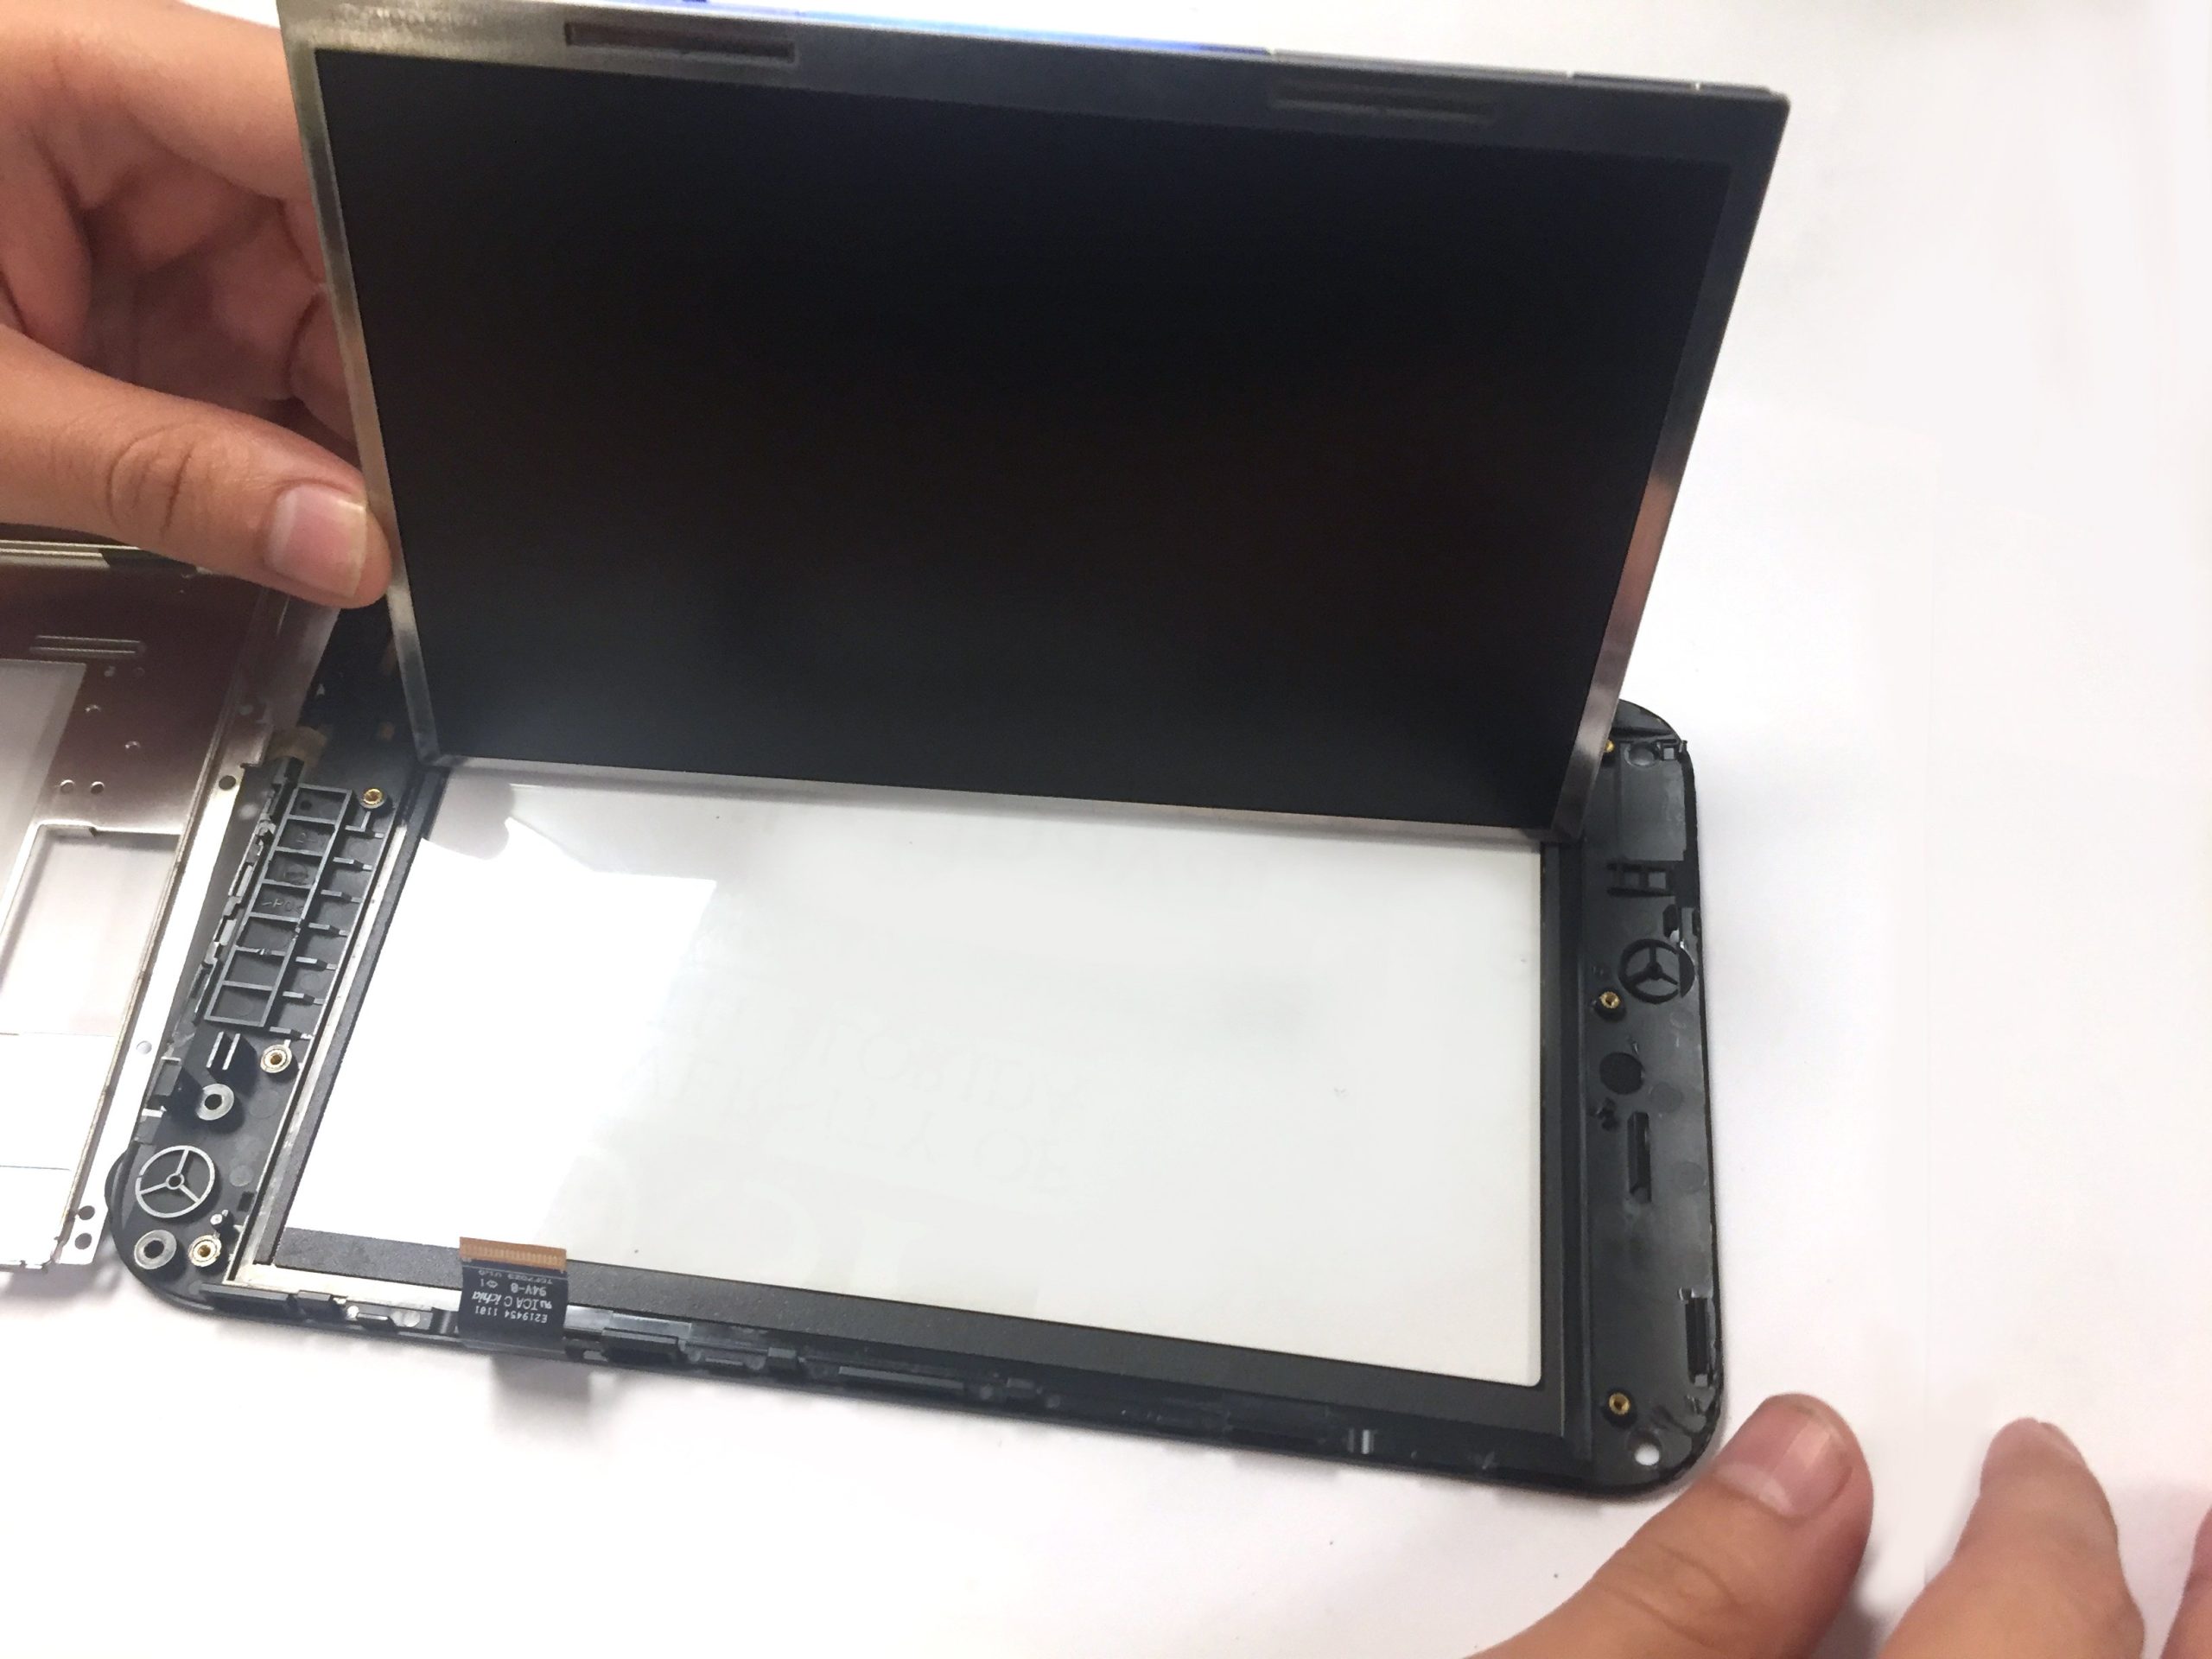
– Grab your trusty spudger and slide it around the perimeter of your device. Give those latches a gentle poke to release the display from its cozy little home in the case!
Step 7


Before you dive in and open up your device, make sure all the cables are unplugged. It’s like giving your gadget a little spa day—no one wants a bad hair day from broken wires!
Ribbon cables are delicate little guys and can easily snap if you’re not careful.
– Gently unlock the connector to release the ribbon cables, then carefully pull the cable out. Easy peasy!
Step 8

Ribbon cables are delicate little wonders, so handle them with care to keep them from snapping like a pretzel!
– Grab your trusty spudger and give that ribbon cable a little lift at the connector. You’ve got this!
Step 9


– Gently lift the headphone jack straight up and away from the case, like it’s trying to escape to freedom!
Success!