Dell Streak 7 Motherboard Replacement
Duration: 45 minutes
Steps: 18 Steps
Step 1

To make it easier to pop that screen off, grab your iOpener and give the edges a little warmth. You’ll be on your way to a smooth removal in no time!
– Use your spudger like a pro! Slip it under the capacitive button panel, then glide it all the way around—smooth moves, friend.
Tools Used

Step 2

– Gently pop off the button cover by lifting it away from the tablet—easy peasy!
Step 3

– Grab your trusty Torx screwdriver and start unscrewing those 4mm screws like a pro!
Step 4

– Grab your trusty Torx screwdriver and get ready to tackle those two 5mm screws! Just a couple of twists and you’ll be on your way.
Step 5


– Grab your trusty spudger and slip it under the edge of the black side panel. Now, shimmy it all the way around like you’re dancing your way to victory until the cover pops off.
– Next, whip out your Torx screwdriver and unscrew those two little 4mm screws. Easy peasy!
Step 6

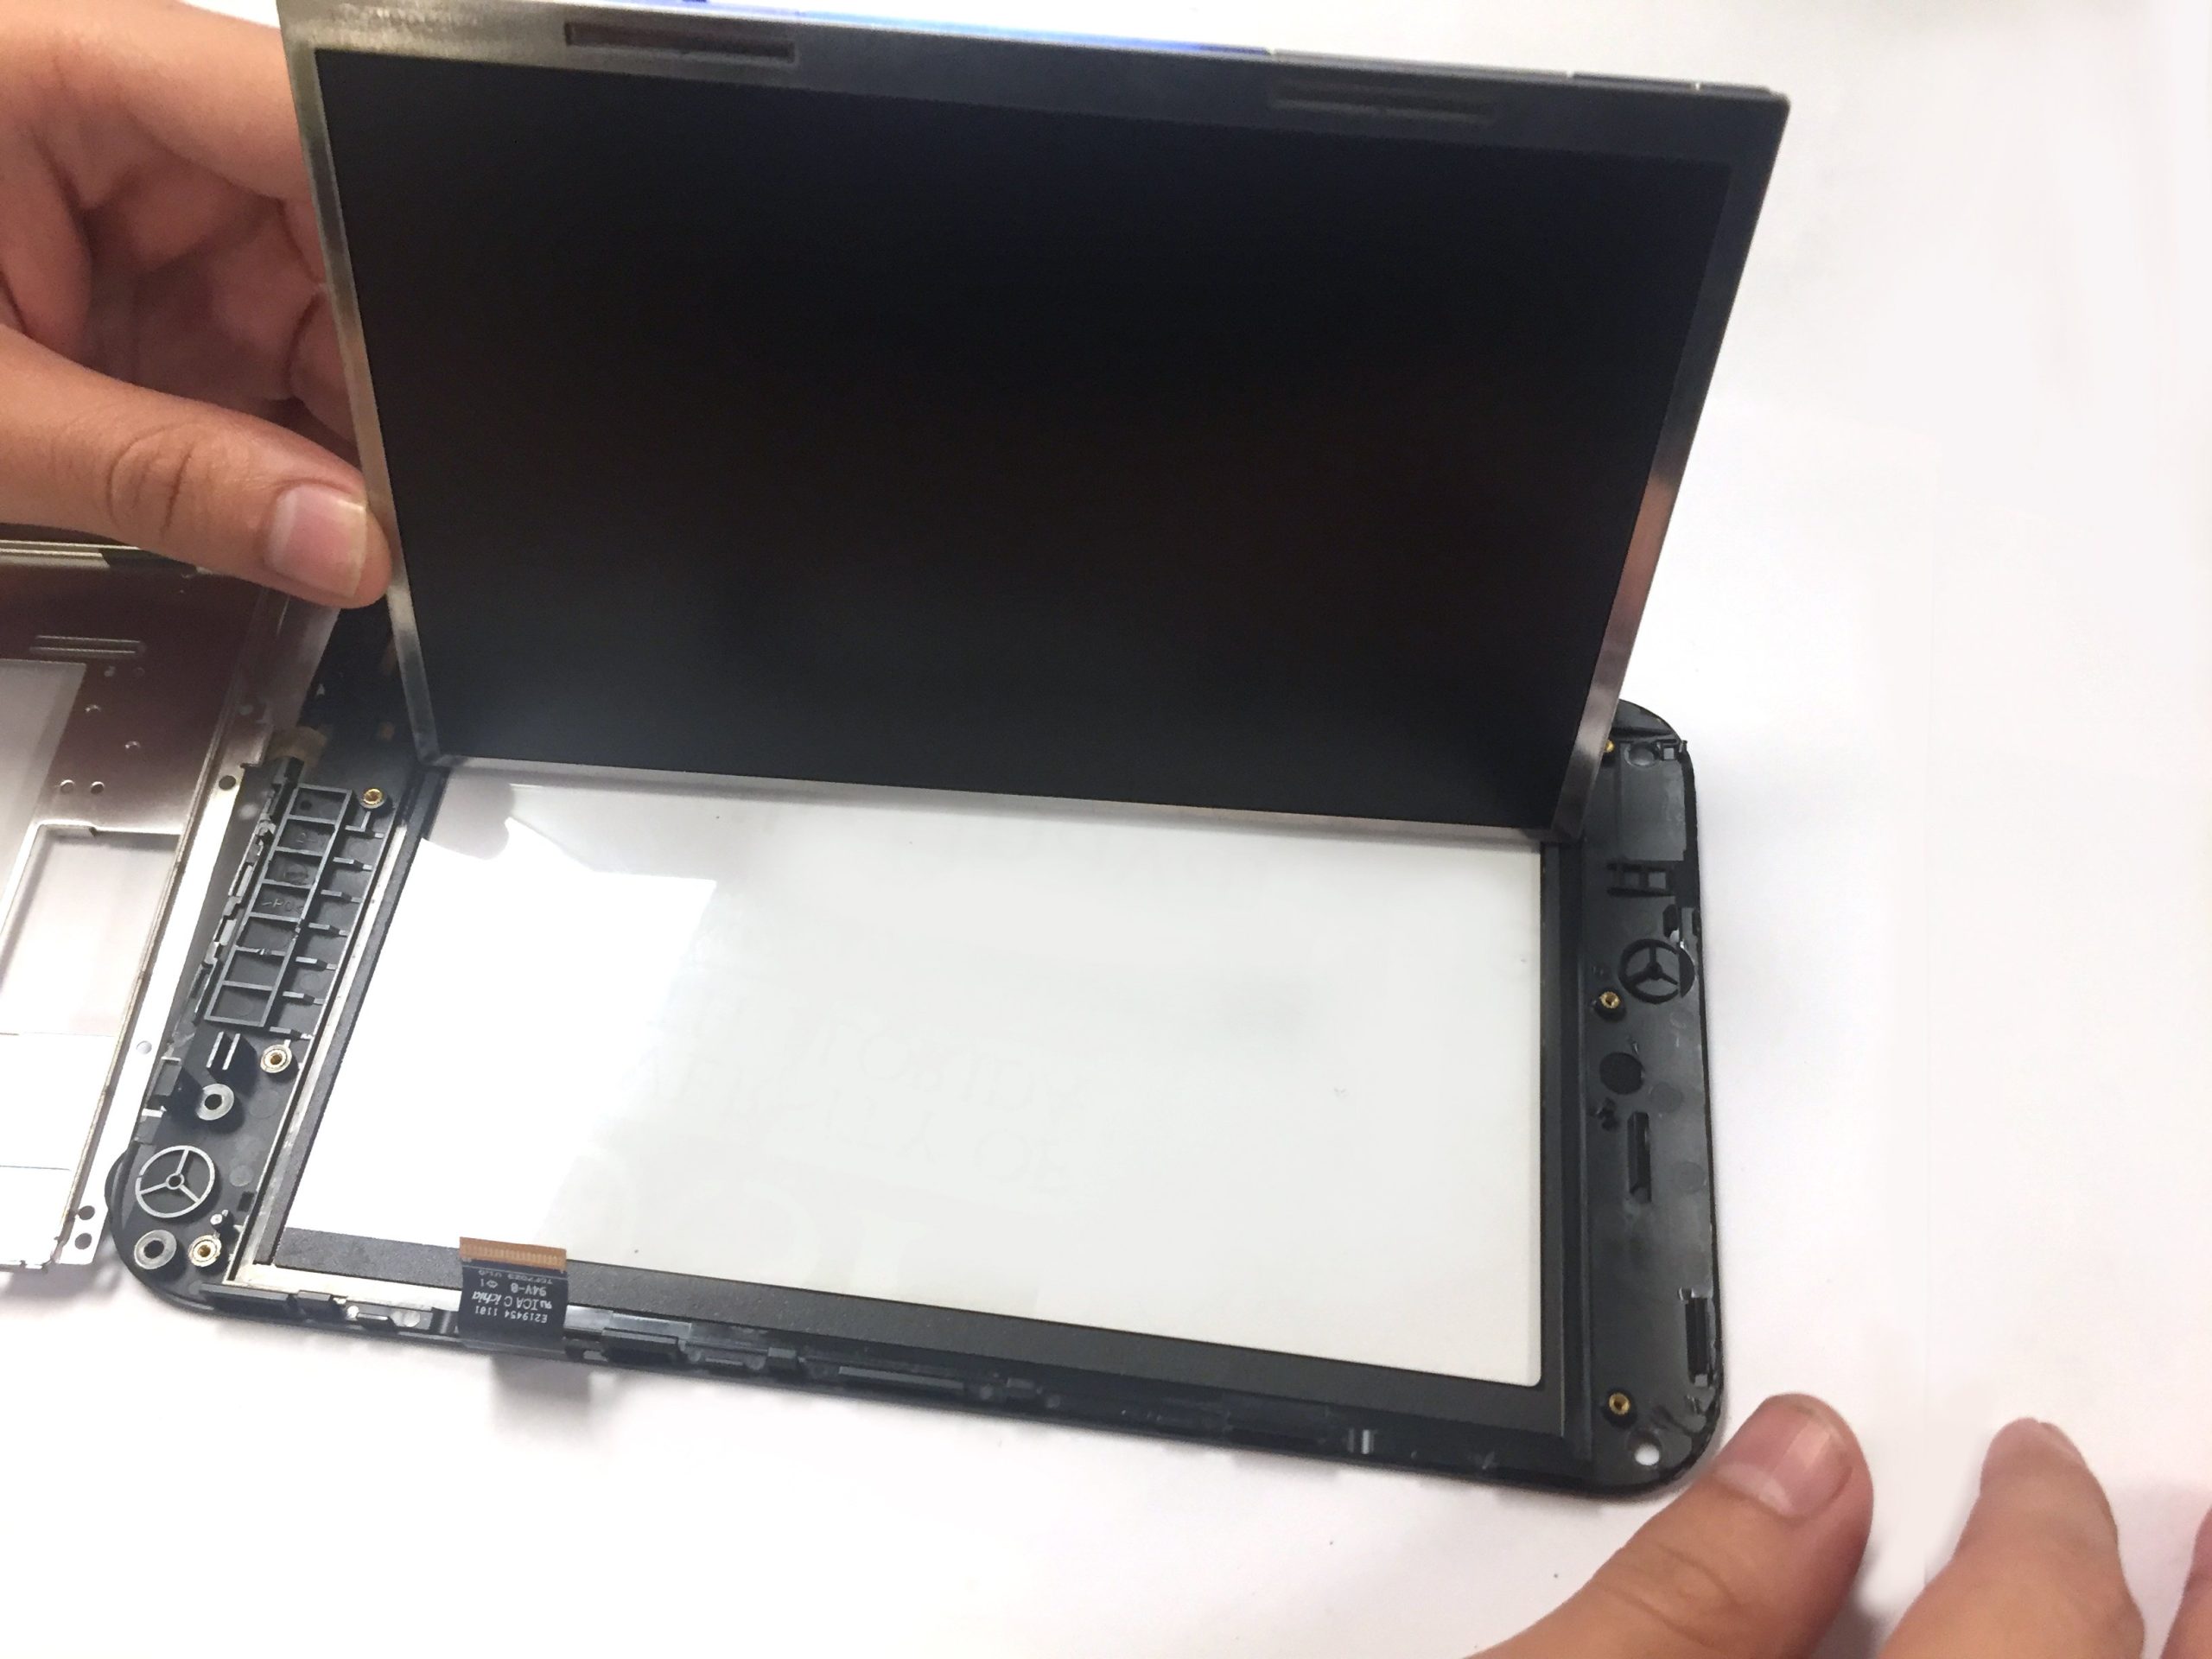
– Grab your trusty spudger and slide it along the edges of the device to release those sneaky latches holding the display to the case. You’ve got this!
Step 7


Before you dive in, make sure all the cables are unplugged. A simple step, but trust us, it’ll save you from the hassle of dealing with broken or torn cables later on.
Ribbon cables are delicate little guys and can easily snap if you’re not careful.
– Time to disconnect those ribbon cables! Unlock the connector with a gentle flick, then ease the cable out—slow and steady wins the race. No yanking or tugging here, just a smooth escape. You got this!
Step 8

Be gentle with those ribbon cables – they’re super fragile and can break easily!
– Grab your trusty spudger and gently lift the ribbon cable connector to disconnect it. Easy peasy!
Step 9


– Gently pry the headphone jack out of its cozy little home in the case by pulling it upwards. It’s like helping a friend move out – you’ve got to give them a little nudge to get them going.
Step 10


– Grab your trusty spudger and carefully pop the antenna cable off the module—like a pro!
Step 11


– Grab those tweezers and gently peel away the tape that’s cozying up to the GSM module. You’ve got this!
Tools Used

Step 12


– Unscrew those two 3mm screws holding the GSM module in place. Grab your trusty Torx screwdriver and let’s get to it!
Step 13

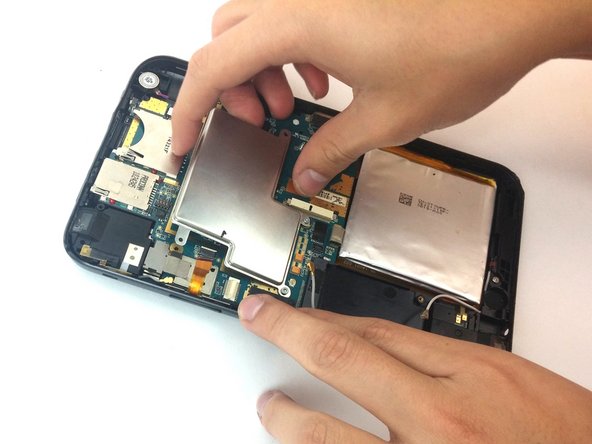
– Gently lift the GSM module upwards to disconnect it from the case. You’ve got this!
Step 14


– Time to get started. Use your trusty spudger to carefully disconnect the front camera by gently lifting up on the connector.
Step 15

– Grab your Torx screwdriver and remove those six 3mm screws. Take your time and make sure they’re all out, no need to rush!
Step 16

– Gently lift the metal cover like you’re unveiling a surprise gift!
Step 17

– Grab your trusty spudger and gently pry the vibration motor out of its cozy little spot in the case.
Step 18

– To put everything back together, just work your way through these steps in reverse. You got this!
– You’re done! If you need help with another repair or have any questions, you can always schedule a repair
Success!