Dell Streak 7 Screen Replacement
Duration: 45 minutes
Steps: 11 Steps
Get ready to breathe new life into your Dell Streak 7 by replacing the screen. This step-by-step guide will walk you through the process of removing the old display and getting your device looking brand new again. If you need help along the way, you can always schedule a repair.
Step 1

Warm up the edges of the screen using the iOpener—this makes peeling it off much easier and way less frustrating.
– Slide the spudger under the capacitive button panel and give it a gentle sweep all the way around. You’re on the right track!
Tools Used

Step 2

– Let’s get started by carefully lifting the button cover away from the tablet to remove it.
Step 3

– Grab your trusty Torx screwdriver and get ready to unscrew those pesky 4mm screws!
Step 4

– Grab your trusty Torx screwdriver and let’s get to work! Unscrew those two 5mm screws like a pro.
Step 5


– Grab your trusty spudger and slide it under the black side panel like a pro. Work your way around with steady hands until the cover pops off—no rush, but confidence is key!
– Now, take your Torx screwdriver and remove the two 4mm screws holding things together. Precision matters, but no pressure—you’ve got this!
Step 6

– Grab that trusty spudger and glide it along the edges of your device. With a little finesse, pop those latches that are holding the display snugly to the case. You’re doing great!
Step 7


Before you dive in and unleash your inner tech wizard, make sure all the cables are unplugged! Trust me, tangled or damaged cables are not part of the plan here.
Ribbon cables are delicate little guys and can easily get damaged, so handle them with care!
– Gently unlock the connector and ease the ribbon cables out—slow and steady wins the race!
Step 8

– Grab that trusty screwdriver and pop out those 3mm Torx T5 screws holding down the metal housing. You’ve got this!
Step 9

– Grab your trusty tweezers and gently peel away the tape holding the screen in place on the metal frame. Easy does it—take your time to avoid any mishaps.
Step 10

Ribbon cables are super delicate, so handle them with care! They can break easily if you’re not careful.
– Gently pull out the ribbon cables through the opening in the metal cage. Just take your time with it!
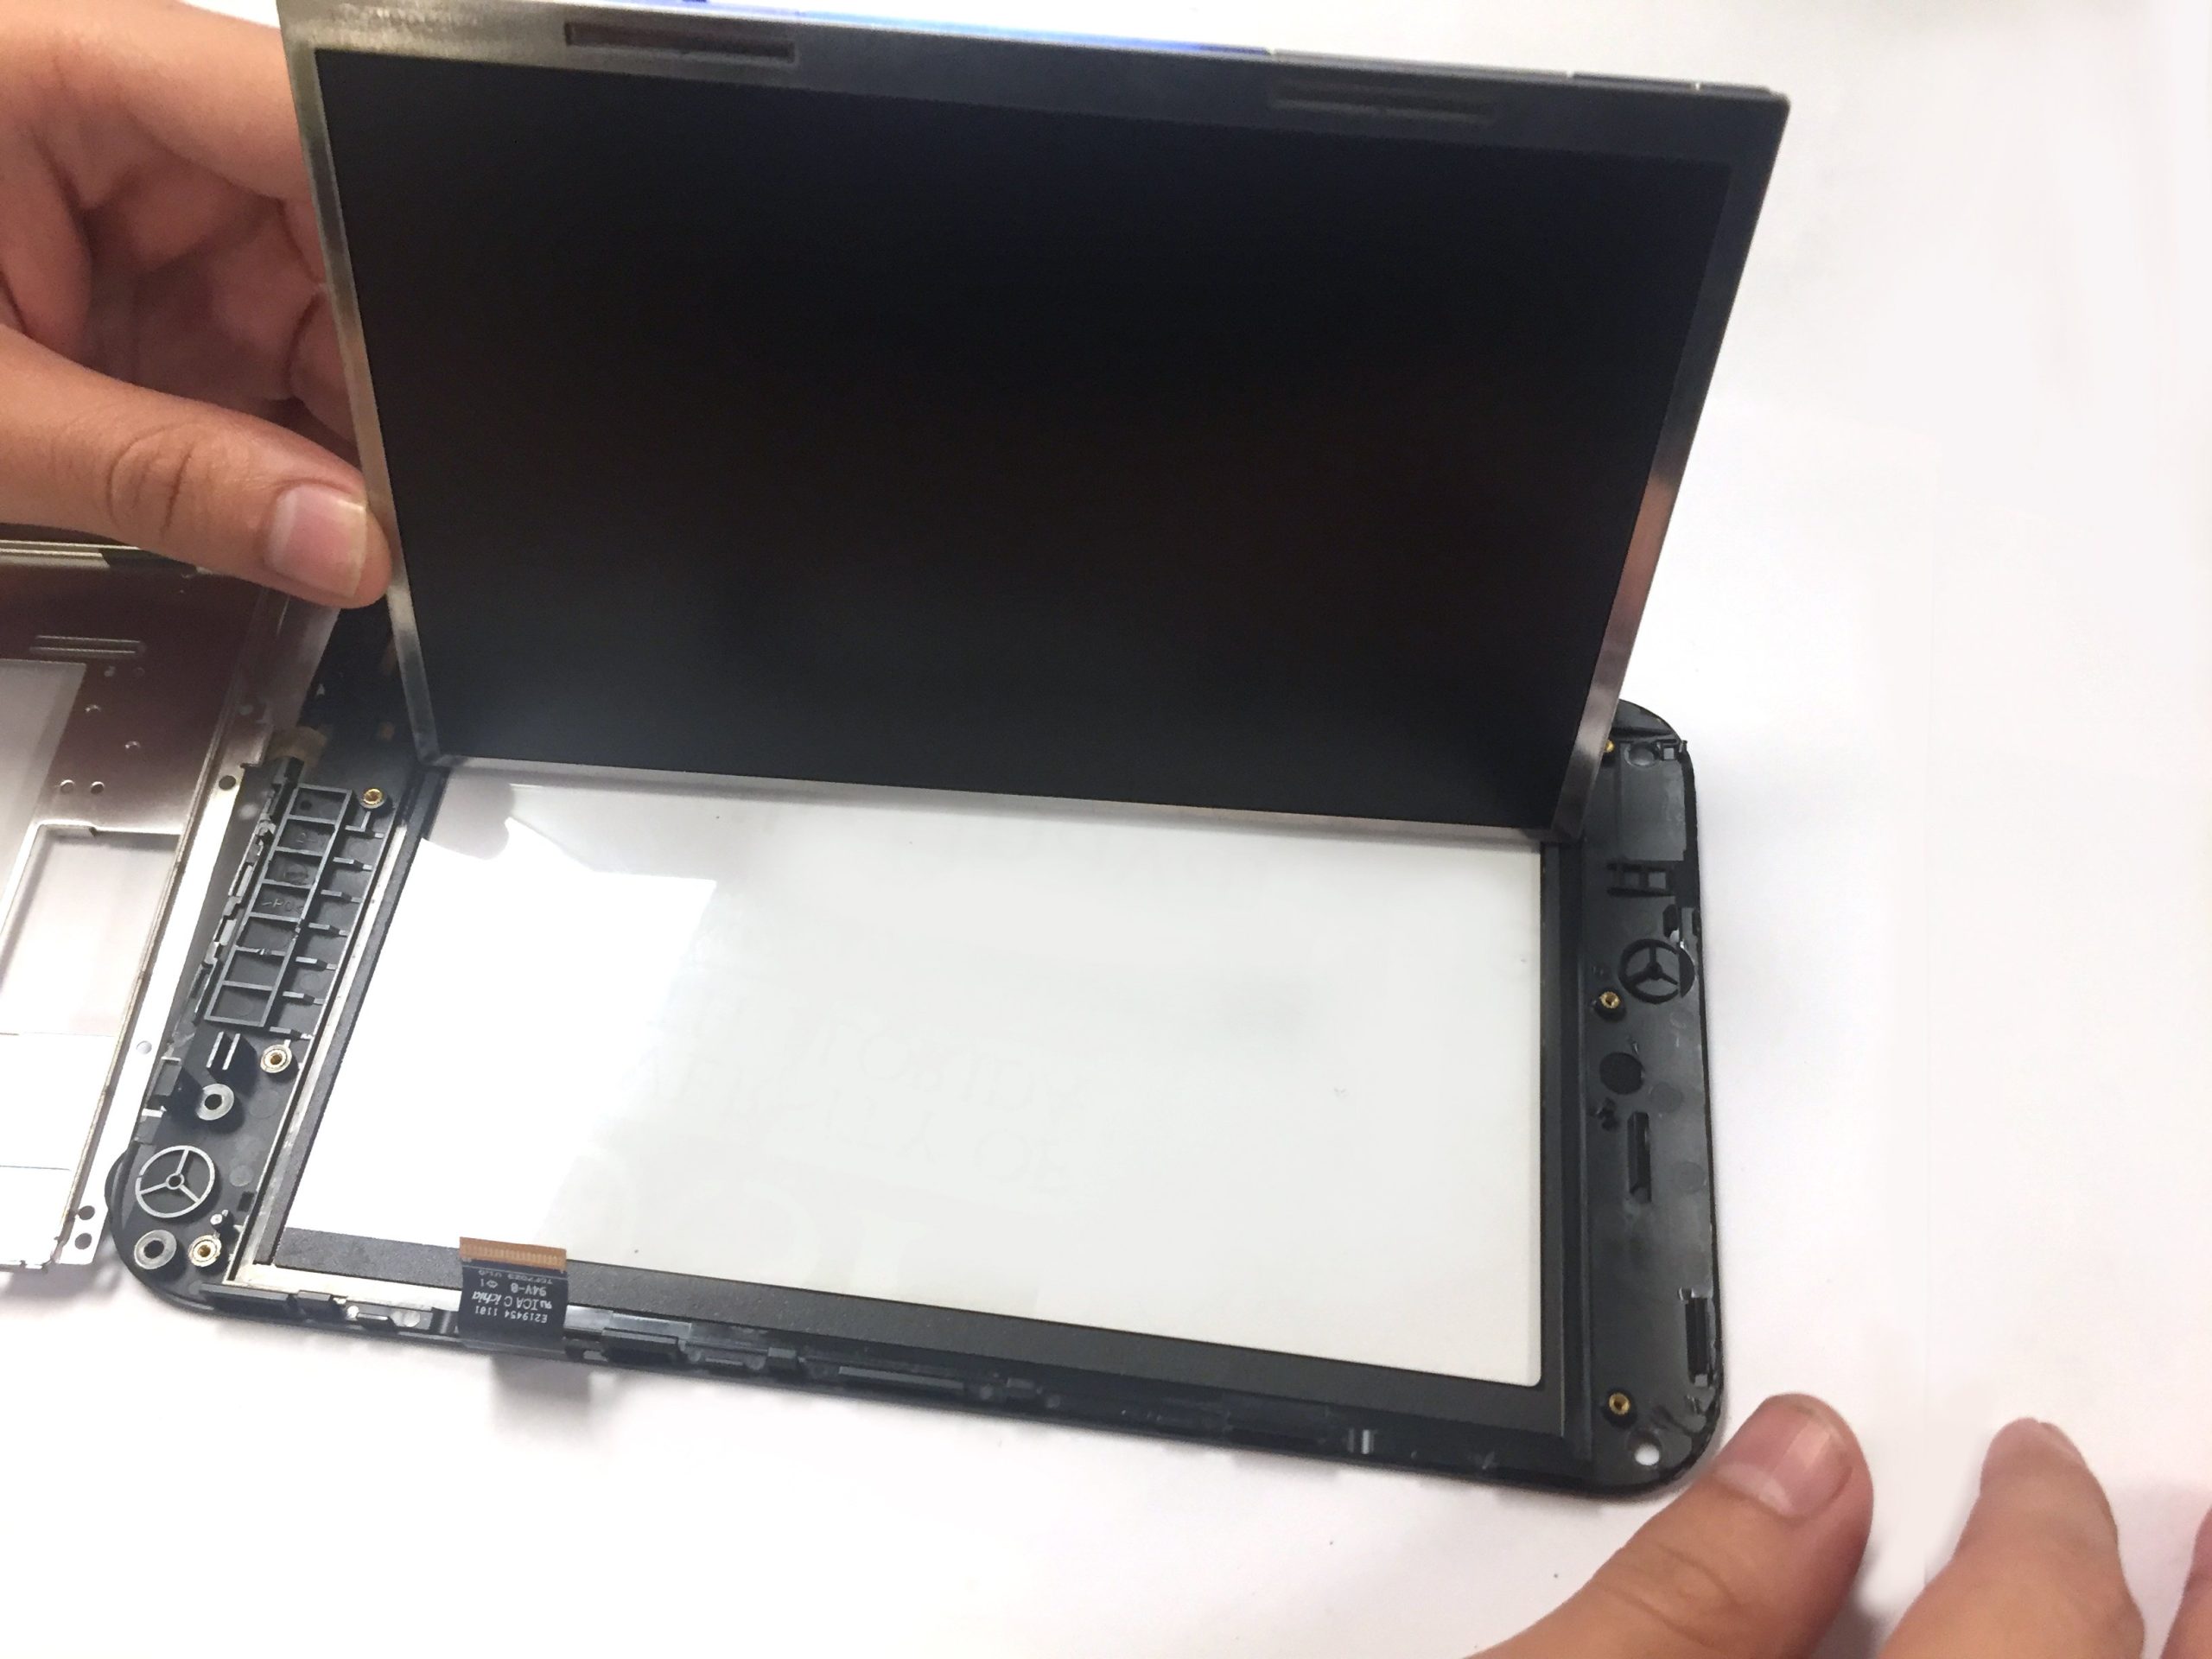
– Lift the metal cage surrounding the screen by swinging it from one side. A little nudge should do the trick!
Step 11

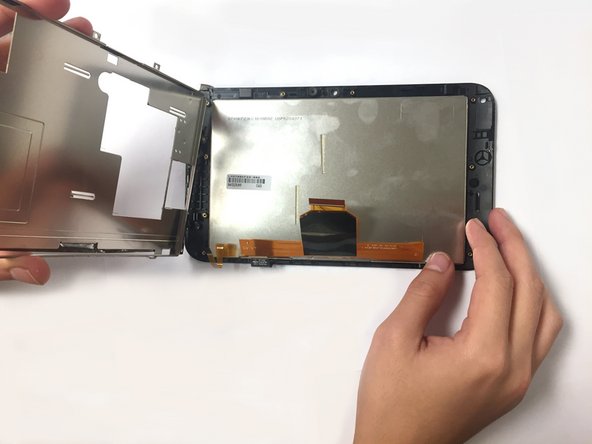
– Gently lift the screen from the front glass to remove it.
Success!