Dell Streak Display Replacement
Duration: 45 minutes
Steps: 6 Steps
Start by checking out the teardown guide for the Dell Streak Phone. It’s a great way to get familiar with the device’s insides before diving into the repair. Trust us, it’s worth the read!
Step 1


– Gently loosen up those clamps keeping the LCD screen locked down. Don’t sweat it if some clamps are still holding on—just leave those snug little guys for later!
Step 2


– The gorilla glass is snugly attached to the case. Grab a slotted screwdriver and carefully work your way around the perimeter to pop that glass off!
– Sometimes, the gorilla glass will decide to part ways with the LCD quite easily, while other times it may put up a bit of a fight.
– (No need to feel bad for the shattered display, it can handle a little tough love!)
Step 3


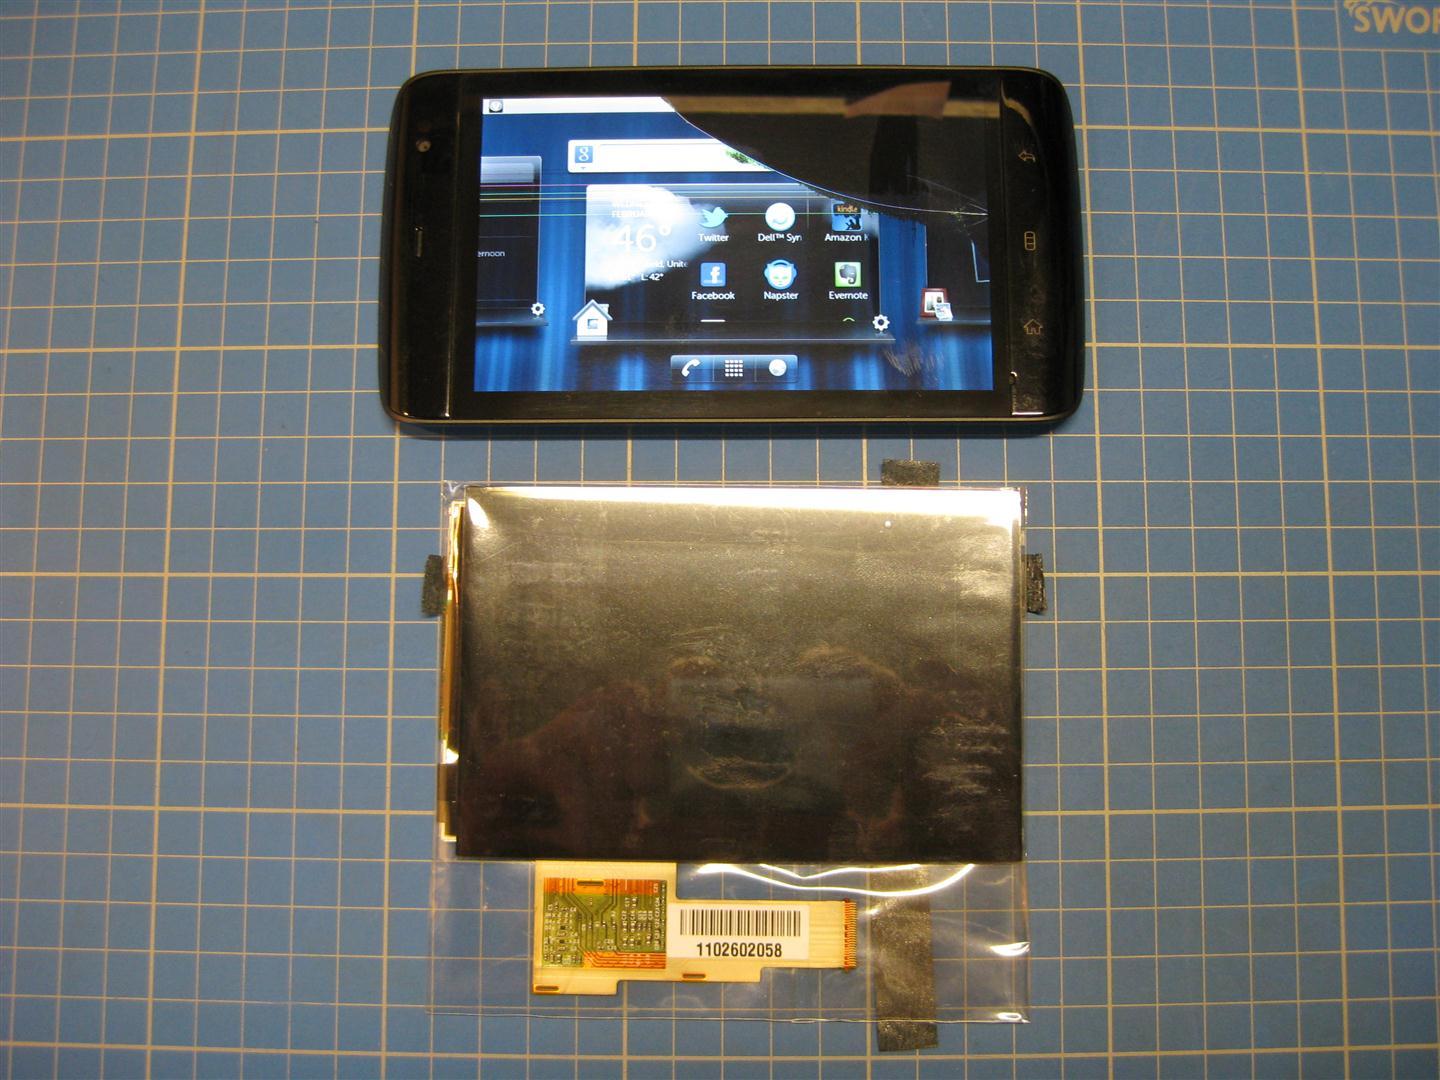
– Carefully lift the new display out of the case. To make it easier, gently fold the LCD ribbon cable as you do this.
Step 4


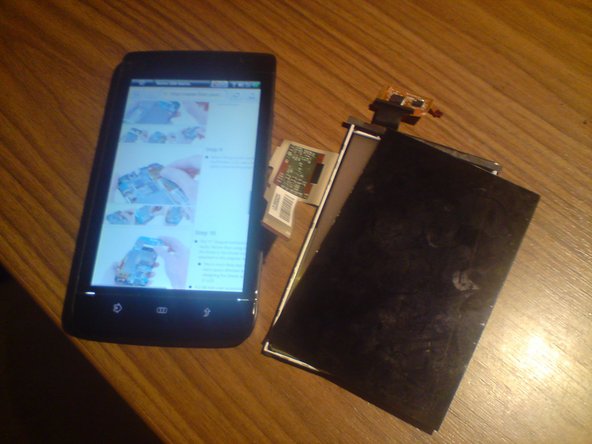
– Alright, the display is out of the case—nice work!
– Heads up: the lifted display is officially retired. For instance, I accidentally snagged the touchscreen ribbon cable even though I thought I had it handled.
Step 5

– Time to pop in that shiny new display! Just a friendly reminder: you’ll want to tackle steps 3 to 2 in reverse order. I found it a bit tricky to tuck in that LCD ribbon cable for the new display, but hey, don’t be intimidated—give it your best shot!
– Now, let’s get that phone back together.
Step 6

– To put everything back together, just work your way through these steps in reverse – easy peasy!
– You’re almost done! If you need help or want to leave the repair to the pros, you can always schedule a repair
Success!