Dell Streak Teardown
Duration: 45 minutes
Steps: 15 Steps
The Streak is making its debut in the ever-growing world of Android smartphones. As Dell’s first smartphone, it’s only fitting that we give it a proper inspection to uncover what’s inside. This device also marks the first time we’ve assigned a subjective ‘repairability’ score, so you know we’re diving deep! In the final step of our teardown, we’ll share both the highlights and lowlights of its repair features, along with its score. Check it out!
Step 1


– Finally, the Dell Streak has made its way to the U.S.! And guess what? It’s now in the hands of our team at Salvation Repair. So, let’s dive in and see what this device has to offer!
– The Dell Streak packs a punch with these features:
– A stunning 5″ 800×480 TFT LCD Display
– A 5 MP rear-facing camera, plus a VGA front-facing camera for those selfies
– Runs on the Android 1.6 (Donut) operating system
– Powered by a 1 GHz Qualcomm 8250 Snapdragon processor
– Durable Corning Gorilla Glass front panel to keep it looking sharp
Step 2


Alright, this is looking oddly familiar…
– The battery cover comes off a breeze – just like it should!
Step 3


Honestly, the battery life on this 5″ display isn’t exactly a secret – Dell just didn’t feel like sharing the details. Let’s just say you might want to keep your charger handy!
– Now that the rear panel is out of the way, you can easily remove the battery from its compartment. This is a breeze!
– The Streak’s 3.7 V 1530 mAh (5.66 Whr) battery is the power behind this device, but we’re not making any promises about how long it’ll last – that’s up to you to find out!
– Take a look at the inner face of the battery and you’ll notice it’s covered with a steel sheet, not plastic. This clever design helps keep the battery slim and sleek – and who knows, maybe it’ll even double as a mini shield?
Step 4

– Once the battery is out of the way, you can easily slide the pre-installed 16 GB microSD card right out of its little home.
– And there you have it—Dell’s approved user serviceability at its best! Now, who’s ready to dive into some warranty-voiding adventures?
Step 5


The back of the device is all smooth and screw-free—it’s hiding them somewhere, and we’re about to find out where!
– Grab your trusty plastic opening tool and gently pop off the bezel that’s holding tight to the top edge of the Streak. No sweat, you’ve got this!
– Eureka! Screws are in sight. That’s a win, my friend.
Step 6


Heads up! The capacitive control circuitry is snugly attached to the inside of the lower bezel, so the smart move is to pry it up from below (as shown). That way, you keep things intact and avoid any unfortunate circuit casualties!
– Now it’s time to get a little aggressive – gently pry up the lower bezel from the body of the Streak. It’s easier than you think, so don’t be shy!
– For now, let’s keep the bezel attached, since the connector is hiding inside the device. No need to get too fancy just yet.
– After some careful digging, you’ll find the five T5 Torx screws holding the rear case in place. Remove them, and you’ll be one step closer to fixing your device. If you need help, you can always schedule a repair
Step 7


Check it out! The sturdy Gorilla Glass front panel is now in sight. Built tough, it can handle drops from above waist height like a champ.
– With a little gentle persuasion using a plastic opening tool, the rear case pops right off like it’s ready for a party.
– Inside the rear case, you’ll find a treasure trove of components, including:
– LED flash
– Headphone jack
– Loudspeaker (for speakerphone)
– Antennas
Step 8


– Now we’re making progress – let’s carefully remove the small plastic bezel attached to the lower edge of the motherboard.
– You’ve reached a milestone: both the front-facing and rear-facing cameras can now be safely disconnected from the motherboard.
Step 9


– Before you free the motherboard from its cozy little spot, make sure to unplug the touchscreen, LCD, and control button ribbon cables. Treat them gently—no yanking or pulling like it’s a tug-of-war!
Step 10


The extra space in the Streak’s design, which accommodates its 5″ LCD, is likely the culprit behind this issue.
– Getting the “C”-shaped motherboard out is a breeze! Instead of having separate daughterboards like the Droid 2, the Streak keeps things simple with all its components snugly attached to this one motherboard.
– Spotting a 2 GB microSD card near the top? That’s the one! It’s not meant for everyday use, so don’t go trying to pry it out.
– This little card is dedicated to housing system and application files only—Dell prefers you leave it be!
Step 11

– Let’s take a peek at the heavy-hitters on the motherboard:
– Qualcomm QSD8250 Snapdragon processor – your device’s speedster!
– Analog Devices ADV7520 Low Power HDMI™/DVI Transmitter – making sure your visuals are fresh!
– Hynix H8BES0UU0MCR NAND-based MCP – think of it as the storage magician!
– Qualcomm MXU6219 RF Transceiver – keeping those signals nice and strong!
– Qualcomm PM7540 Power Management chip – the energy-saving champ!
– TriQuint Semiconductor TQS 7M5012 Power Amp (Quad-band GSM) – for those sweet mobile connections!
– Texas Instruments TPS 65023 Integrated Power Management IC – all about that power balance!
Step 12

– Now that we’ve got the motherboard’s front side covered, let’s flip it over and see what’s cooking on the back. It’s a pretty straightforward affair, but keep an eye out for a few key features:
– The microphone is hiding back here, so be careful not to damage it as you work.
– You’ll also find the pressure contacts for the capacitive controls on the lower bezel. These are what help your device figure out when you’re trying to use the controls, so they’re pretty important.
– There are also some proximity sensors back here that help your device know when your face is, well, in the way. This is what helps it turn off the screen when you’re on a call, for example.
– Finally, you’ll spot the ambient light sensor for the front-facing camera. This little guy helps your device adjust the screen’s brightness so you can take great-looking selfies, even in tough lighting conditions.
Step 13


– The cameras on the Streak are pretty similar to the ones on the iPhone 4 – think of it like cousins, not twins, but close enough!
– The rear-facing camera has auto-focus and can take 5 MP still images, which is pretty sweet. The front-facing camera, on the other hand, shoots at VGA quality, which is still plenty good for a quick selfie or video call.
Step 14


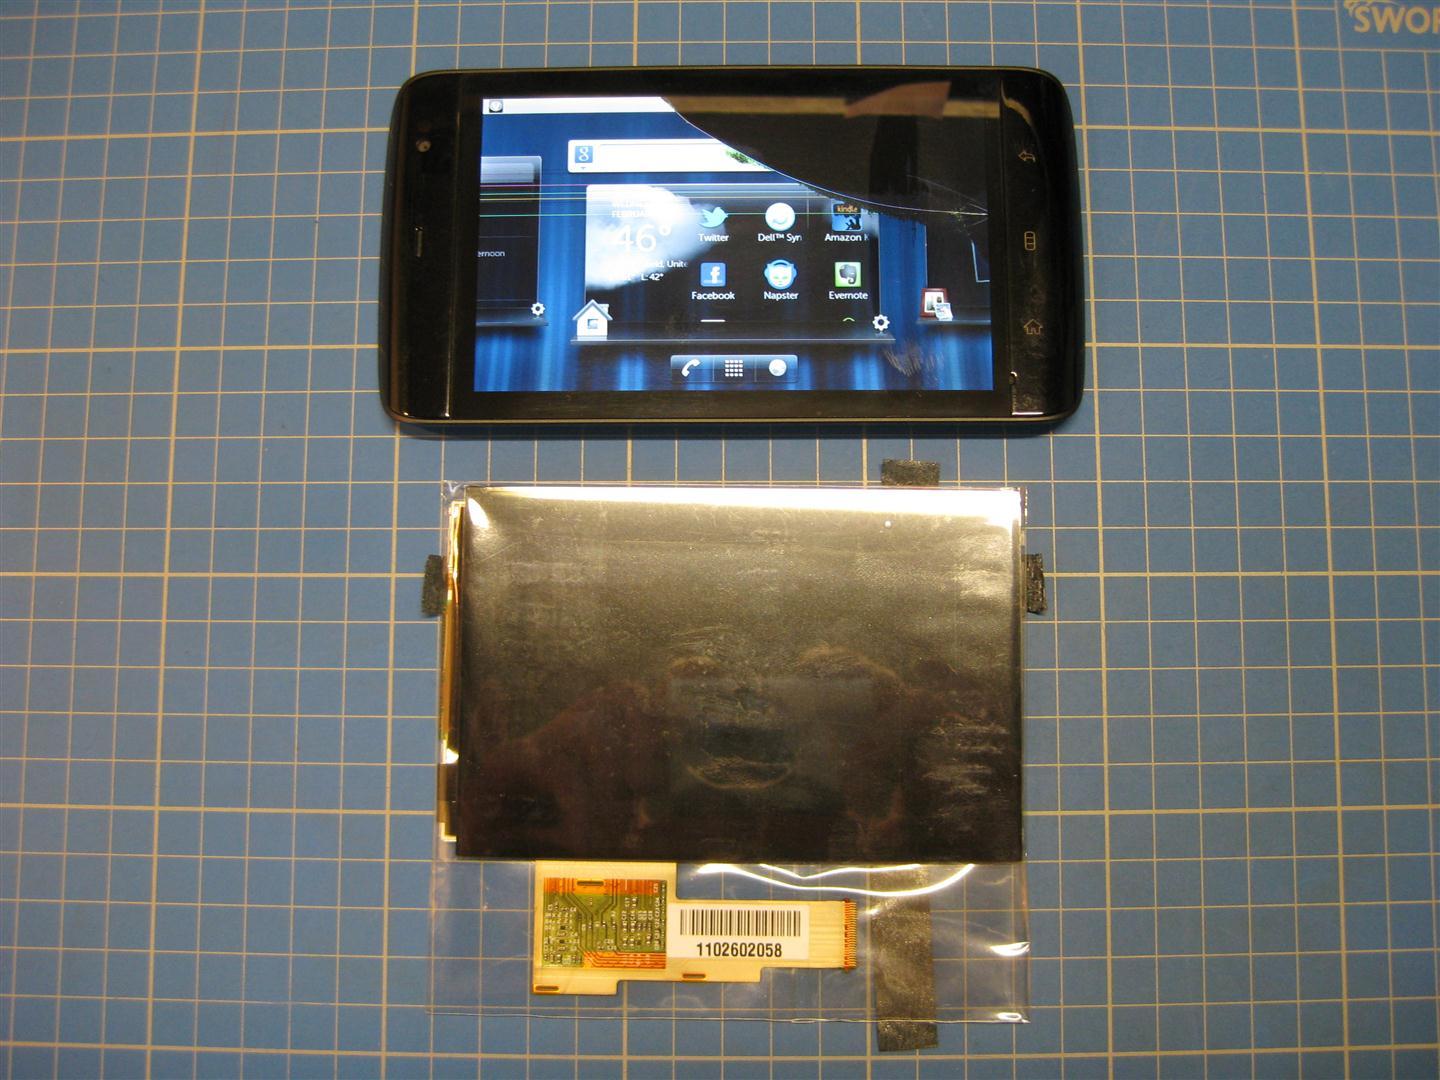
The LCD is fused to the front panel glass, giving your device extra durability and keeping that capacitive touch panel super responsive!
– Unfortunately, the LCD of the Streak is stuck like a stubborn sticker to the front panel glass. But fear not! With a bit of careful prying and some elbow grease, you can separate that LCD/glass subassembly from the front panel, which is secured with some really tough 3M adhesive.
– Now, let’s peek inside the front panel assembly. It’s not a treasure trove, but you’ll spot the ear speaker and the vibrator motor chilling near the top edge.
– The touchscreen ribbon cable is a little bundle of fun featuring:
– Pixcir’s rather talked-about Tango S32 Touchscreen controller.
– Atmel’s ATmega168P 8-bit AVR microcontroller.
Step 15


– Dell Streak Repairability: 8 out of 10 (10 is the best repair buddy!).
– Good: Swapping out the battery? A breeze! It takes less than a minute – just blink and it’s done.
– Good: Getting inside? Just a little prying on those bezels and taking out five screws – easy peasy!
– Good: Our favorite part! The cables use standard connectors, and yes, we’re talking about the beloved ZIF connectors.
– Neutral: Here’s a heads-up – the rear panel has a bit of a flimsy feel for a $600 gadget, so handle with care.
– Bad: Watch out! The LCD is glued to the Gorilla Glass, which means a pricier fix if you only shatter the glass.
Success!