Dell Venue 7 Motherboard Replacement
Duration: 45 minutes
Steps: 12 Steps
Before you jump into replacing the whole motherboard, make sure everything’s still working properly. Many components are linked to the motherboard, so it’s worth checking them all first. If you’re unsure or things aren’t quite clicking, don’t hesitate to schedule a repair.
Step 1


If your case is badly damaged, use caution because the fragments may be sharp.
– Let’s get started by carefully prying off the back case using a spudger or your fingers.
Tools Used

Step 2

– Carefully detach the battery from the motherboard using your fingers or a pair of tweezers. Take it slow and steady – no rush here!
Tools Used

Step 3

Do not bend or warp the battery in any way as it can be a fire hazard.
The battery is glued in there, so don’t be shy about giving it a little extra oomph when it’s time to take it out.
– Gently coax the battery out by pulling on the edges and easing it off the base like you’re peeling a sticker. You’ve got this!
Step 4

– Gently use a spudger to detach the camera from the motherboard. You’ve got this!
Tools Used
Step 5

– Let’s get started by carefully removing the camera from your device.
Step 6


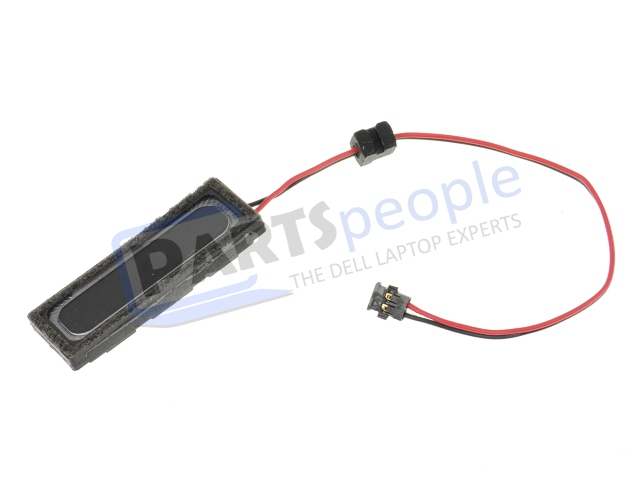
– Time to get that ribbon cable out from around the speaker wire – grab a trusty spudger and gently pry it loose.
Tools Used
Step 7


– Gently pop the speaker wire loose from the motherboard by levering the connector upwards with your trusty spudger. Easy does it!
Tools Used
Step 8

– Peel away the plastic shield from the speaker like it’s the last slice of pizza you need to get to!
Step 9
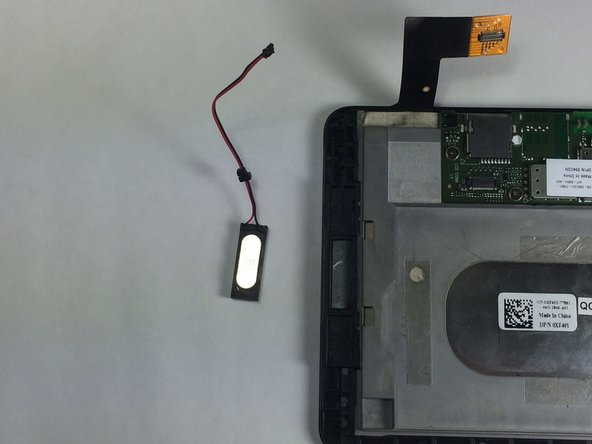

– Give the wire a gentle tug and pop that speaker out.
Step 10


– Pop off the last two connections on the motherboard like a pro.
– For the first connector, flip up the little clasp, then slide the ribbon cable out—smooth as butter.
– For the second connector, grab your trusty spudger and gently pry it loose from the motherboard—no stress, just finesse!
Tools Used
Step 11


– Let’s get started by removing all 8 of the 2.1mm Phillips head screws from the motherboard. This is a crucial step, so take your time and make sure you’ve got them all out.
Step 12

– To wrap things up, just reverse the steps and you’ll be all set!
– You did it! If you need help with anything else, you can always schedule a repair
Success!