Dell Venue 8 Battery Replacement
Duration: 45 minutes
Steps: 4 Steps
Looks like your Dell Venue 8 has decided to take a little break from working its battery magic. No worries—we’re here to get that power back in action! Let’s dive into the world of battery replacement and have your tablet buzzing with energy once again.
Step 1
As you work your magic, you’ll start to hear the satisfying click sounds of the clips unhinging – it’s like music to your ears!
– Keep the device positioned with the screen facing upward. Take your plastic opening tool, slide it into the seam, and glide it smoothly around the edges of the case—it’s like tracing the outline of a masterpiece.
– Once you’ve loosened things up, carefully lift off the back panel of the device and set it aside. You’re making progress!
Step 2
Look for the silver screws marked with an ‘S’ or a handy sticker —check out the updated image to guide your way!
– Grab your trusty T-5 Torx screwdriver and take out those 14 screws! You’ll find 11 sleek black 3.6mm screws and 3 shiny 4.45mm silver screws just waiting to be set free.
– Next, gently coax those perimeter clips open and let the internal plastic case come off with ease. You’ve got this!
Step 3
– Gently tug the power clip away from the motherboard by pulling it down towards the bottom of the tablet. It should come loose with a bit of finesse!
Step 4
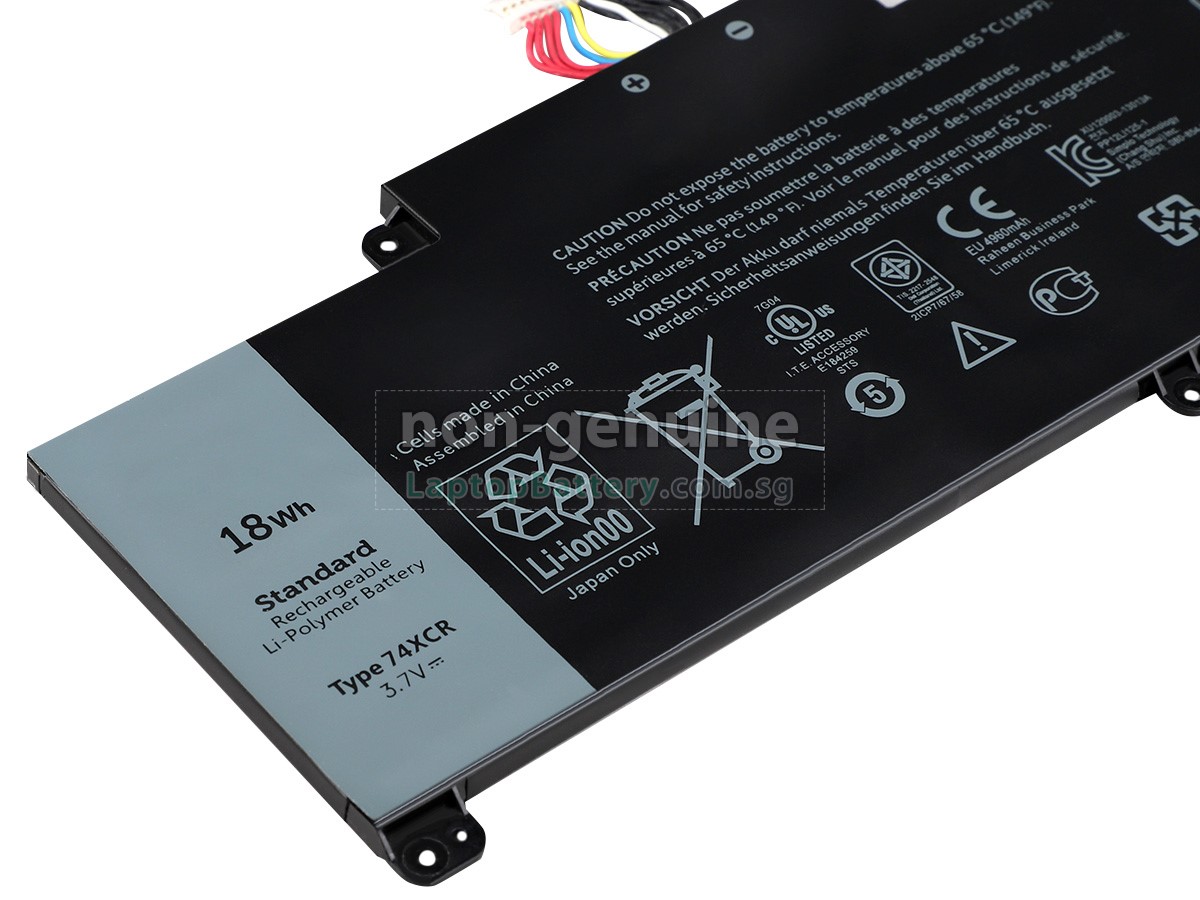
The tablet’s battery is snugly secured with a bit of gentle adhesive.
– Carefully nudge the battery away from the device using your trusty plastic opening tool to set it free.
Success!


