Dell XPS 13 Back Cover Replacement
Duration: 45 minutes
Steps: 5 Steps
Ready to tackle the Dell XPS 13? This guide walks you through swapping out the back cover with confidence and ease!
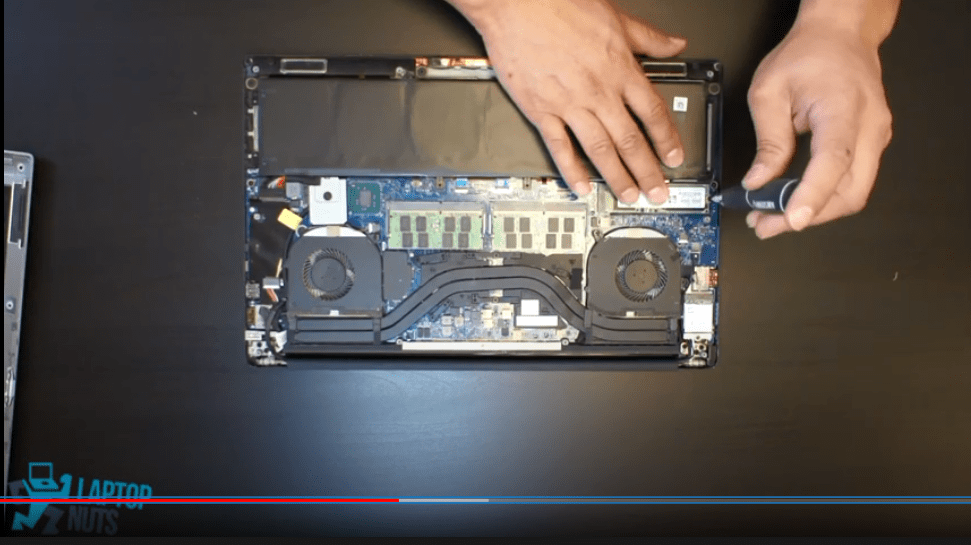
Step 1


– Take out the eight 4 mm T5 Torx screws holding down the bottom cover—easy does it!
Step 2


– Time to get started! Use a trusty plastic opening tool to carefully pry open the ‘XPS’ flap in the middle. Take your time and work your way around – it’s like opening a little door to the inside of your device!
Step 3

– Time to flex! Unscrew the lone Phillips screw hiding under the flap.
Step 4

– Grab an opening pick or a nifty plastic pry tool, and gently sneak it into the case clips starting from the back edge. Take your time, no need to rush—steady hands win the day!
Step 5

– Put your device back together by following these steps in reverse—it’s as easy as rewinding a mixtape.
– If you need help, you can always schedule a repair.
Success!