Dell XPS 15 9550 Battery Replacement
Duration: 45 minutes
Steps: 6 Steps
Your Dell XPS 15 9550 isn’t feeling its usual energetic self? If it only powers on while plugged in or conks out way too quickly, it’s probably time to give your battery a new lease on life with a replacement!
Step 1

Double-check that your laptop is powered down and ready for some repair love!
– Flip that laptop over like it’s about to reveal its secrets.
– Grab your trusty T5 Torx Screwdriver and unscrew the ten 3 mm screws around the edge of the laptop’s back cover—go ahead, you’ve got this!
Tools Used

Step 2


– Pop open the info panel door—it’s smack in the middle of the back side.
– Keep that door propped open and grab a Phillips #00 Screwdriver to unscrew the two 10 mm screws. You’ve got this!
Tools Used

Step 3


Don’t go all Hulk on that panel! If it’s playing hard to get, grab a plastic spudger and gently wiggle it free where it’s stuck.
– Gently lift the two corners of the back panel near the hinge, and it should pop right off, freeing the whole panel in one smooth move!
Step 4


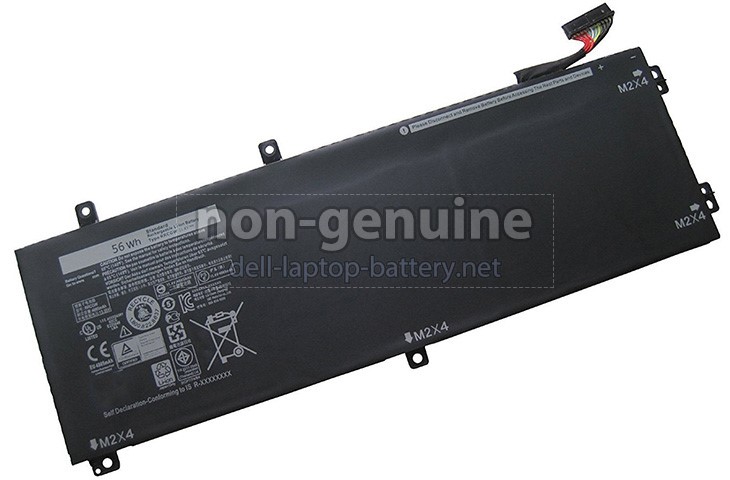
Each screw is marked ‘M2X4’ with a little arrow pointing right at it, making it easy to spot.
– Let’s get started! Use a trusty Philips #00 Screwdriver to carefully remove the seven 3 mm long screws from around the battery’s perimeter. Take your time and make sure they’re all out before moving on to the next step.
Step 5

– Carefully lift the back of the battery with a gentle touch.
Step 6


– Get a good grip on that black connector – you’ve got this!
– Gently pull the connector towards the battery, and it should come loose, releasing both the connector and the battery from the laptop. Easy peasy!
Success!